Working with nodes
Nodes are the building blocks of every agentic workflow. Each node performs a specific functio—such as retrieving data, invoking a language model, coordinating tools, or applying utilities—and passes its output to the next step in the workflow.
This guide explains how to work with nodes, how to connect and combine them, and how to apply guardrails. For field-level configuration details for each node type, see Configuring nodes.
If you’re new to building workflows, start with Get started, which walks through the full workflow lifecycle from draft to launch.
Node categories
Nodes are organized into four categories based on the kind of work they perform. You'll find them in the Nodes panel on the left side of the workflow builder.
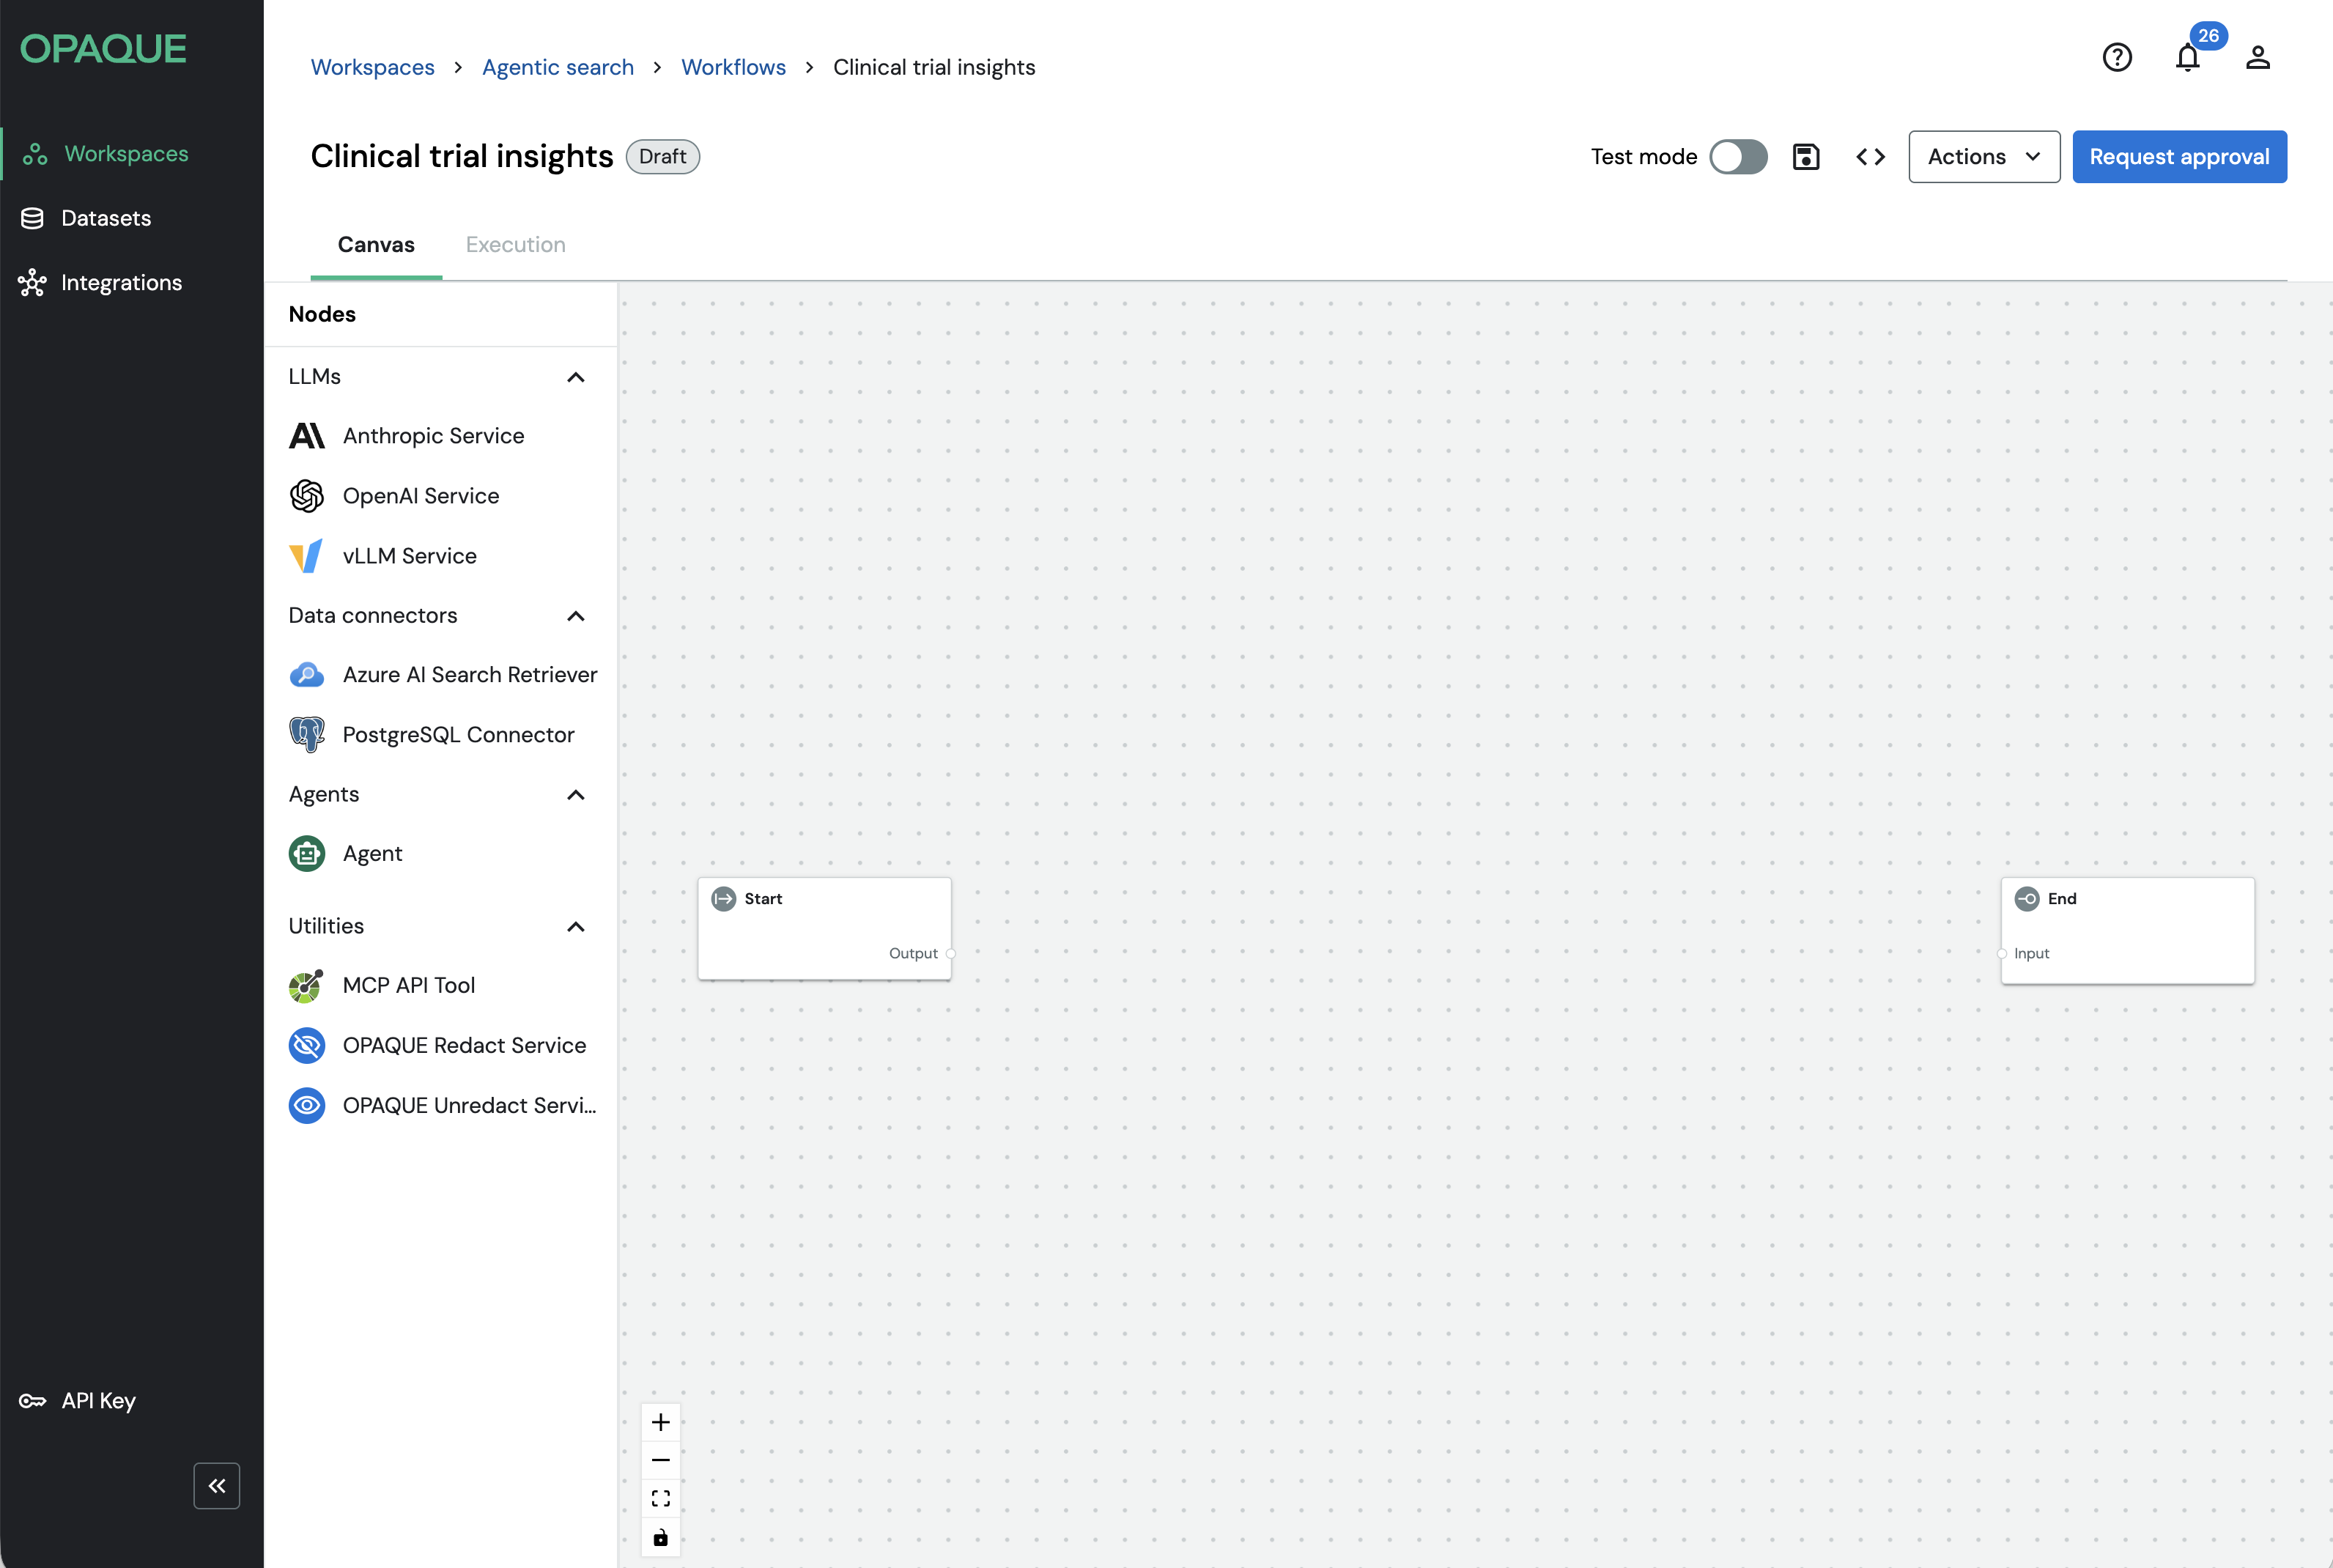
The Nodes panel shows the default agent types, plus any preconfigured data connectors or LLMs shared with your workspace.
- LLMs call hosted language models to generate, transform, or reason over text. They're typically the final step in a workflow, but can also be used at intermediate steps. Available nodes: Anthropic Service, Azure LLM Service, OpenAI Service, vLLM Service.
- Data connectors retrieve structured or unstructured data from external systems and pass it to downstream nodes — most commonly LLMs or agents — to ground responses in trusted data sources. Available nodes: Azure AI Search Retriever, HyDE Retriever, Multi-Query Retriever, Neo4j-Cypher, PostgreSQL Connector, Smart Retriever.
- Agents perform goal-directed reasoning. Instead of executing a single fixed operation, the Agent node can evaluate context and decide which steps to take at runtime, including invoking other nodes dynamically. See Working with agents for details.
- Utilities perform supporting operations such as calling external tools or protecting sensitive data. Available nodes: MCP Tool, OPAQUE Redact, OPAQUE Unredact.
Note
If your admin has shared preconfigured integrations with your workspace, you’ll also see additional data connectors and LLMs listed in the panel. Preconfigured integrations are marked with a hub icon (). See Using integrations for details.
You don't need to use every category in a single workflow. Some workflows consist of a single model node; others combine retrievers, agents, tools, and utilities into multi-step pipelines.
Connecting nodes
Connections define both the execution order of your workflow and how data flows between steps. During execution, data moves from Start to End by following the connections you define on the canvas.
Each node exposes input ports on the left (which receive data) and output ports on the right (which emit data). To connect two nodes, drag from an output port of an upstream node and drop it onto an input port of a downstream node.
Once connected, the workflow executes sequentially along these paths, passing each node's output into the next.
You don't need to connect every node to every other node—only define the paths required for the data and execution flow you want.
Combining nodes
You can combine nodes of the same type or mix different types to create workflows that range from simple pipelines to more flexible, agentic systems. Think in terms of capabilities rather than individual nodes: what data do you need, what processing is required, and where should results flow next.
The following table shows common patterns and when to use them.
| If you want to… | Use this approach |
|---|---|
| Pull documents or results from a search index. | A single data connector |
| Ask questions, generate summaries, or reason over text. | A single LLM |
| Retrieve context and reason over it. | Data connector → LLM in the same workflow |
| Use different data sources for different tasks. | Multiple data connectors |
| Chain multiple reasoning steps or compare outputs. | Multiple LLMs |
| Protect or restore sensitive data before and after model processing. | OPAQUE Redact → processing node → OPAQUE Unredact |
| Let an agent decide whether and how to query a data source. | Agent + PostgreSQL tool + (optional) Retriever tool |
Standard mode and tool mode
Some nodes in OPAQUE can operate in either standard mode or tool mode. The mode determines how and when a node executes within a workflow.
Standard mode
In standard mode, a node is part of the primary workflow graph. It executes as data flows from Start to End, following the connections you define on the canvas. Inputs and outputs are explicitly wired between nodes, and the node runs exactly once per workflow invocation, in sequence.
Standard mode is used for linear or branching workflows such as retrieval-augmented generation (RAG), data preprocessing, or fixed multi-step pipelines.
Tool mode
In tool mode, a node is not part of the main Start-to-End sequence. Instead, it is registered as a tool that an Agent node can invoke dynamically during execution—only if and when the Agent decides to use it.
When a node is switched to tool mode, its input and output ports are replaced by a single connection handle that links it to an Agent node. It does not need to be placed between Start and End.
Tool mode enables agentic behavior, where the Agent reasons about which tools to call and when, rather than following a fixed execution path. Use it when building workflows where the execution path should adapt at runtime—for example, allowing an agent to decide whether to query a database, call an external API, or choose between multiple retrieval strategies.
For fixed, predictable workflows, standard mode is usually sufficient.
Which nodes support tool mode
The following table provides an overview of nodes and the modes they support.
| Node | Standard mode | Tool mode |
|---|---|---|
| Anthropic | ||
| Azure LLM | ||
| OpenAI | ||
| vLLM | ||
| Azure AI Search | ||
| HyDE | ||
| Multi-query | ||
| Neo4j | ||
| PostgreSQL | ||
| Smart Retriever | ||
| Agent | ||
| MCP Tool | ||
| OPAQUE Redact | ||
| OPAQUE Unredact |
When a node is in tool mode, it cannot be placed in the Start-to-End flow and is accessible exclusively through an Agent node during execution. For details on enabling tool mode and designing agent-driven workflows, see Working with agents.
Guardrails
Guardrails let you enforce safety, policy, or formatting constraints at the node level. Every node type exposes the same Guardrails panel, so you can apply them consistently across your workflow—each node runs its rails independently as execution progresses.
Guardrails let you enforce safety, policy, or formatting constraints for each node. All node types expose the same Guardrails panel, so once you learn how guardrails work, you can apply them consistently across your workflow.
Opaque guardrails are powered by NeMo Guardrails. You’ll define behavior using two languages: YAML for configuration and Colang for rail logic.
Known limitation
Guardrails are not supported with Anthropic models (no workaround at this time) or GPT-5. Use GPT-4 when rails are required.
Enable guardrails
To enable guardrails:
- Select a node on the canvas.
-
Click the icon to open the Guardrails panel.
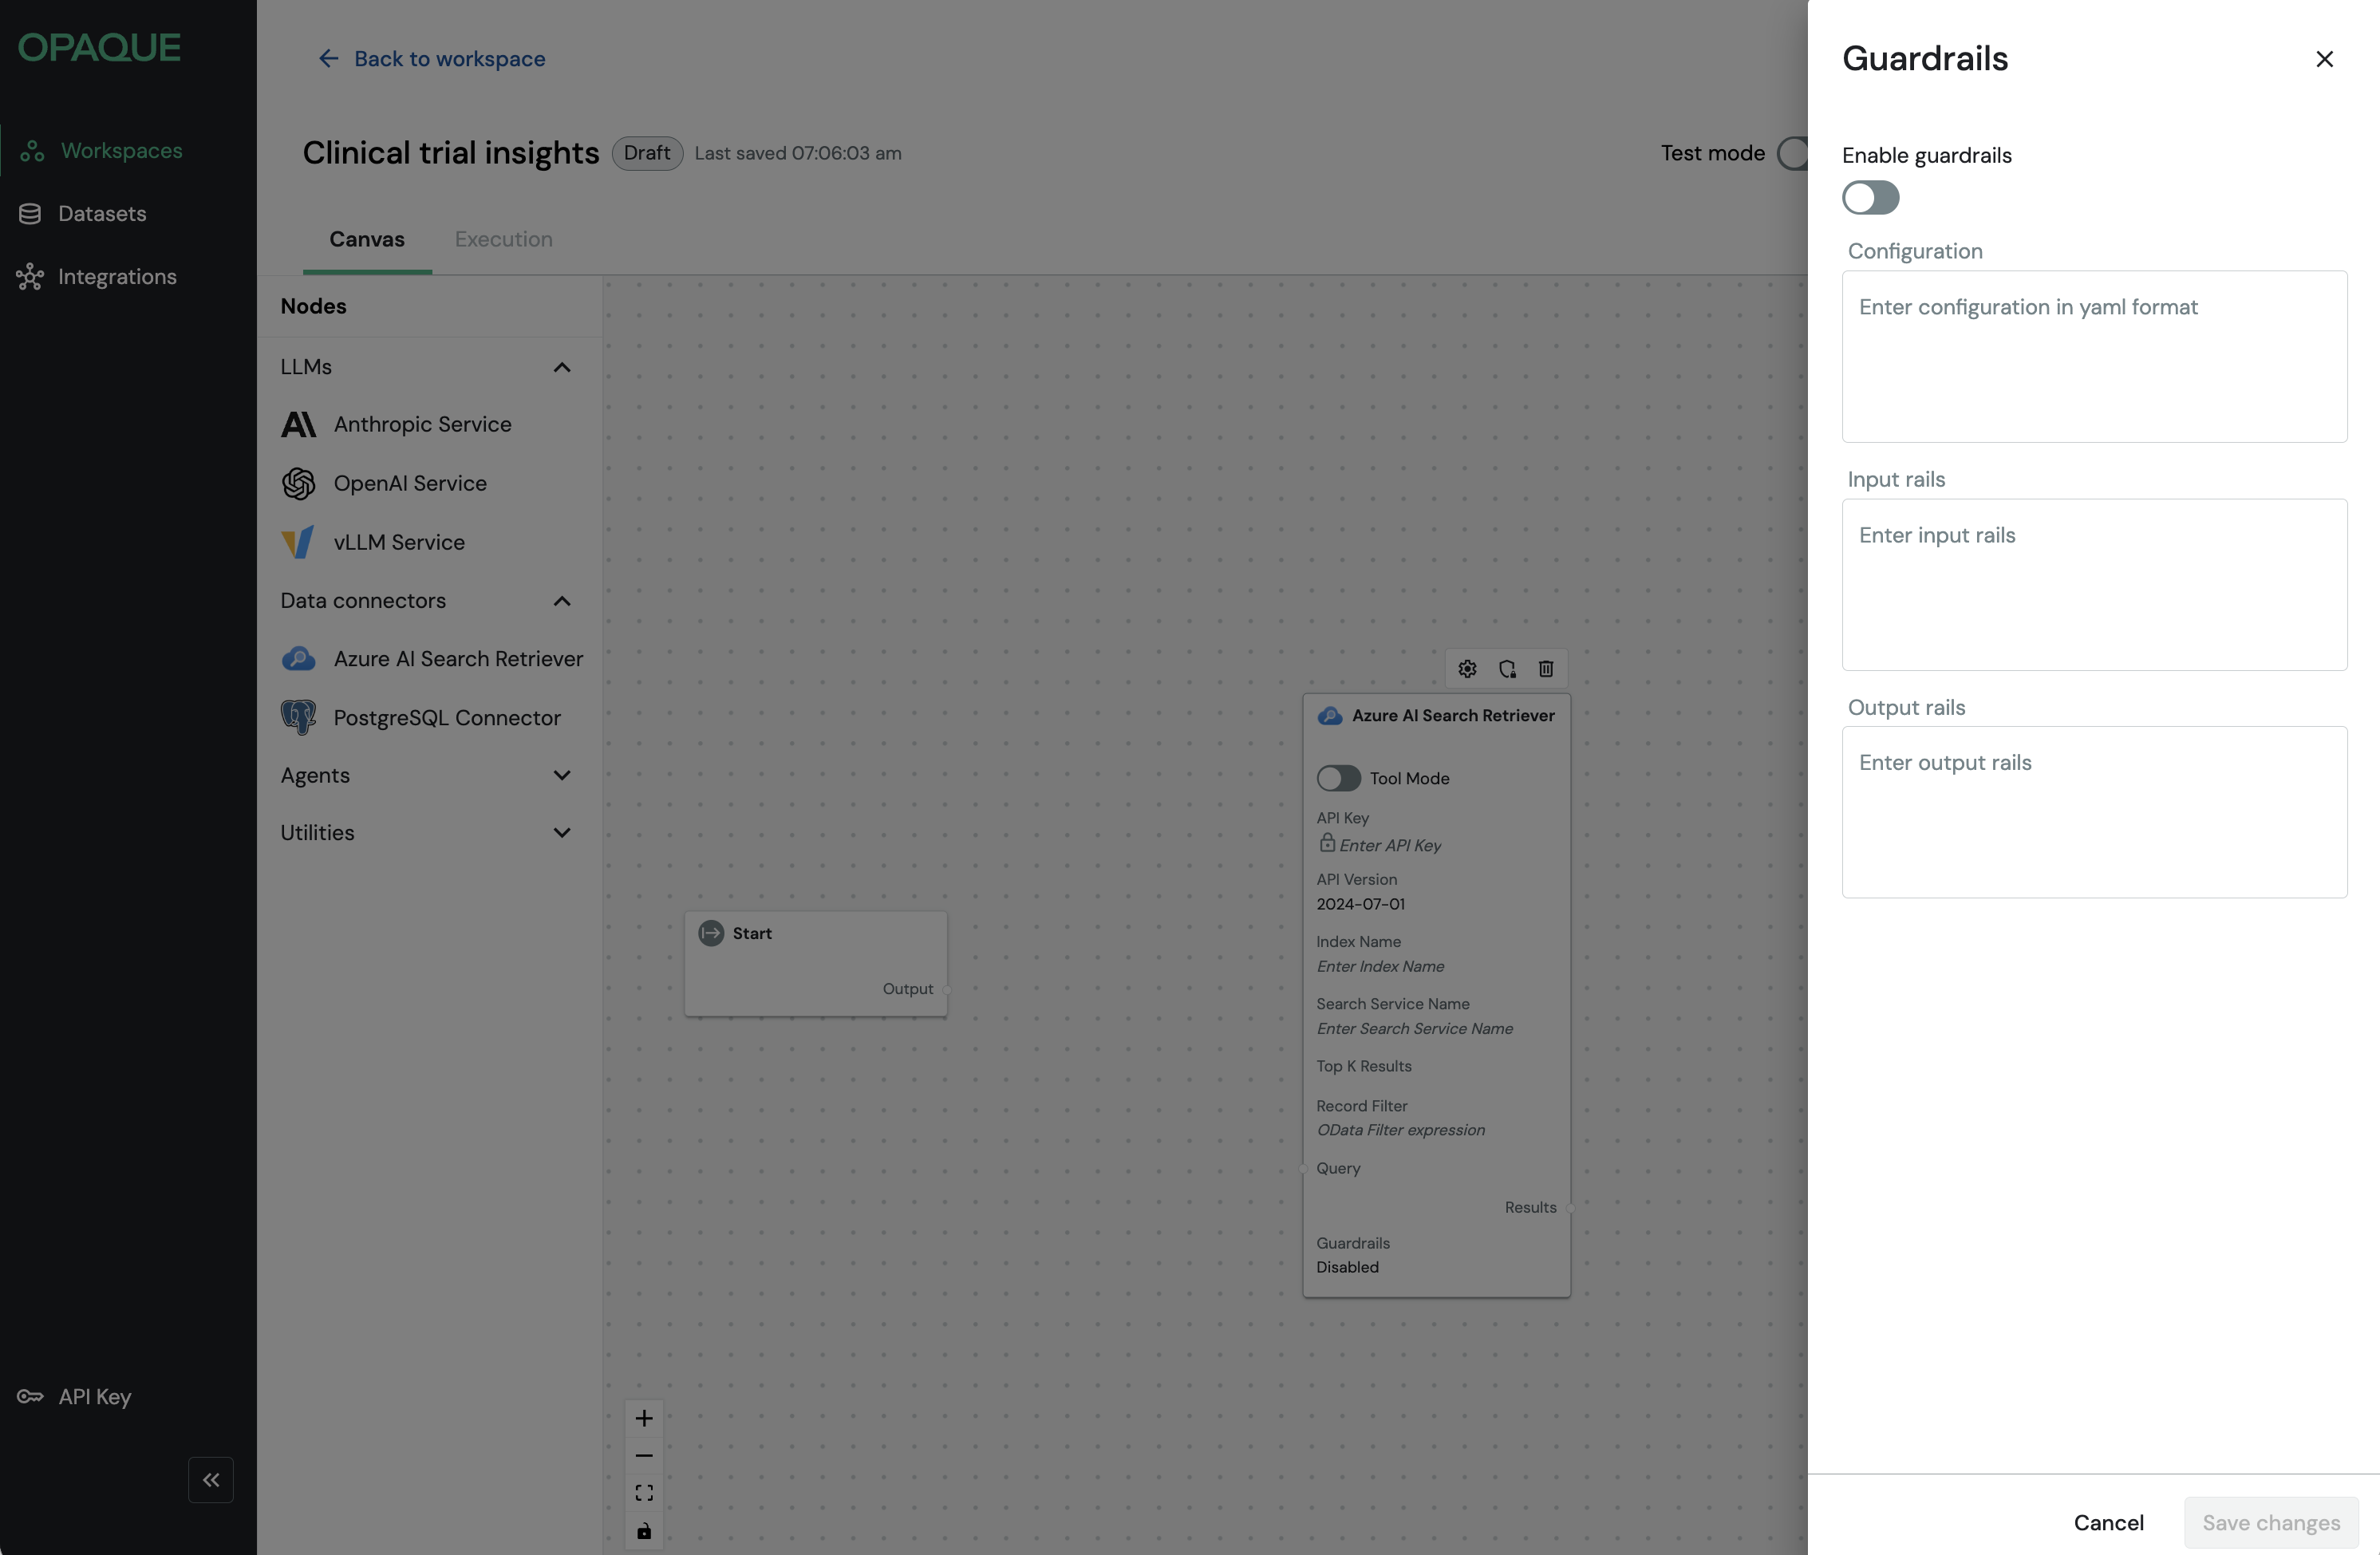
The guardrails panel is the same for every node. You can configure YAML once, and add Colang rules for input and output as needed.
-
Toggle Enable guardrails.
- Enter your configuration in one or more of the following sections:
- Configuration: NeMo YAML config, including the model your rails use.
- Input rails: Colang logic that runs before the node executes.
- Output rails: Colang logic that runs after the node executes.
- Click Save changes.
Note
In the current release, rails block execution if they return anything other than the original text or an empty string. Echo the original text to allow it to pass through.
Example: Configuration (YAML)
The YAML configuration block specifies the model your guardrails will use. This should be a dedicated model separate from your task LLM.
config:
  models:
    - type: main
      engine: openai
      model: gpt-4
      parameters:
        api_key: ${OPENAI_API_KEY}
colang_version: "2.x"
Example: Input rails (Colang)
Input rails run before the node executes. Use them to validate, filter, or block inputs that don't meet your requirements.
The following example blocks inputs that contain PII:
import core
import llm

flow main
  activate llm continuation

flow input rails $input_text
  $contains_pii = await check user utterance $input_text
  if $contains_pii
    bot say "Input blocked: PII detected."
    abort
  bot say $input_text
  abort

flow check user utterance $input_text -> $contains_pii
  $contains_pii = ... "Return True if the text contains PII, else False."
  return $contains_pii
Example: Output rails (Colang)
Output rails run after the node executes. Use them to validate or enforce formatting requirements on model responses.
The following example blocks responses that are not valid JSON:
import core
import llm

flow main
  activate llm continuation

flow output rails $model_output
  $is_json = ... "Return True if $model_output is valid JSON, else False."
  if not $is_json
    bot say "Output must be valid JSON."
    abort
  bot say $model_output
  abort
Note
Colang syntax and flow control are defined by NeMo Guardrails. The examples above show simple patterns. For more advanced use cases, refer to the NeMo Guardrails documentation.
Best practices
- Use a dedicated guardrails model (e.g., GPT-4) separate from your task LLM.
- Start simple: add either input or output rails first, then expand.
- Keep rail prompts concise—long prompts slow the workflow.
- In production, log blocked inputs and outputs for auditing purposes.
Troubleshooting
| Issue | Resolution |
|---|---|
| Rails never fire | Make sure your Colang defines a flow main and that your logic is in the correct section (Input rails or Output rails). |
| Everything is blocked | Returning anything other than the original text or an empty string aborts execution. Echo the original text explicitly to allow it to pass. |
| Timeouts | Lower the guardrails model’s temperature or increase the SDK timeout. |