First steps for admins
OPAQUE uses a role-based system to ensure secure, governed collaboration. As an admin—either at the organization or workspace level—you’ll need to complete a few setup tasks before users can start building workflows and begin working with data and jobs.
Organization admins
As an organization admin, your primary responsibility is to assign workspace admins who will create and manage individual workspaces.
-
Sign in using your SSO credentials.
Sign in to OPAQUE using your organization’s single sign-on (SSO) credentials.
Note
When you first sign in, you won’t have admin privileges yet. OPAQUE will assign the organization admin role within one business day. Once granted, you’ll be able to manage users and access organization-wide audit logs.
-
Assign workspace admins.
Promote team members (including yourself) to workspace admins so they can begin creating workspaces:
- Go to Admin in the left-hand nav.
-
Find the member in the list and click the icon on the right to open the member panel.
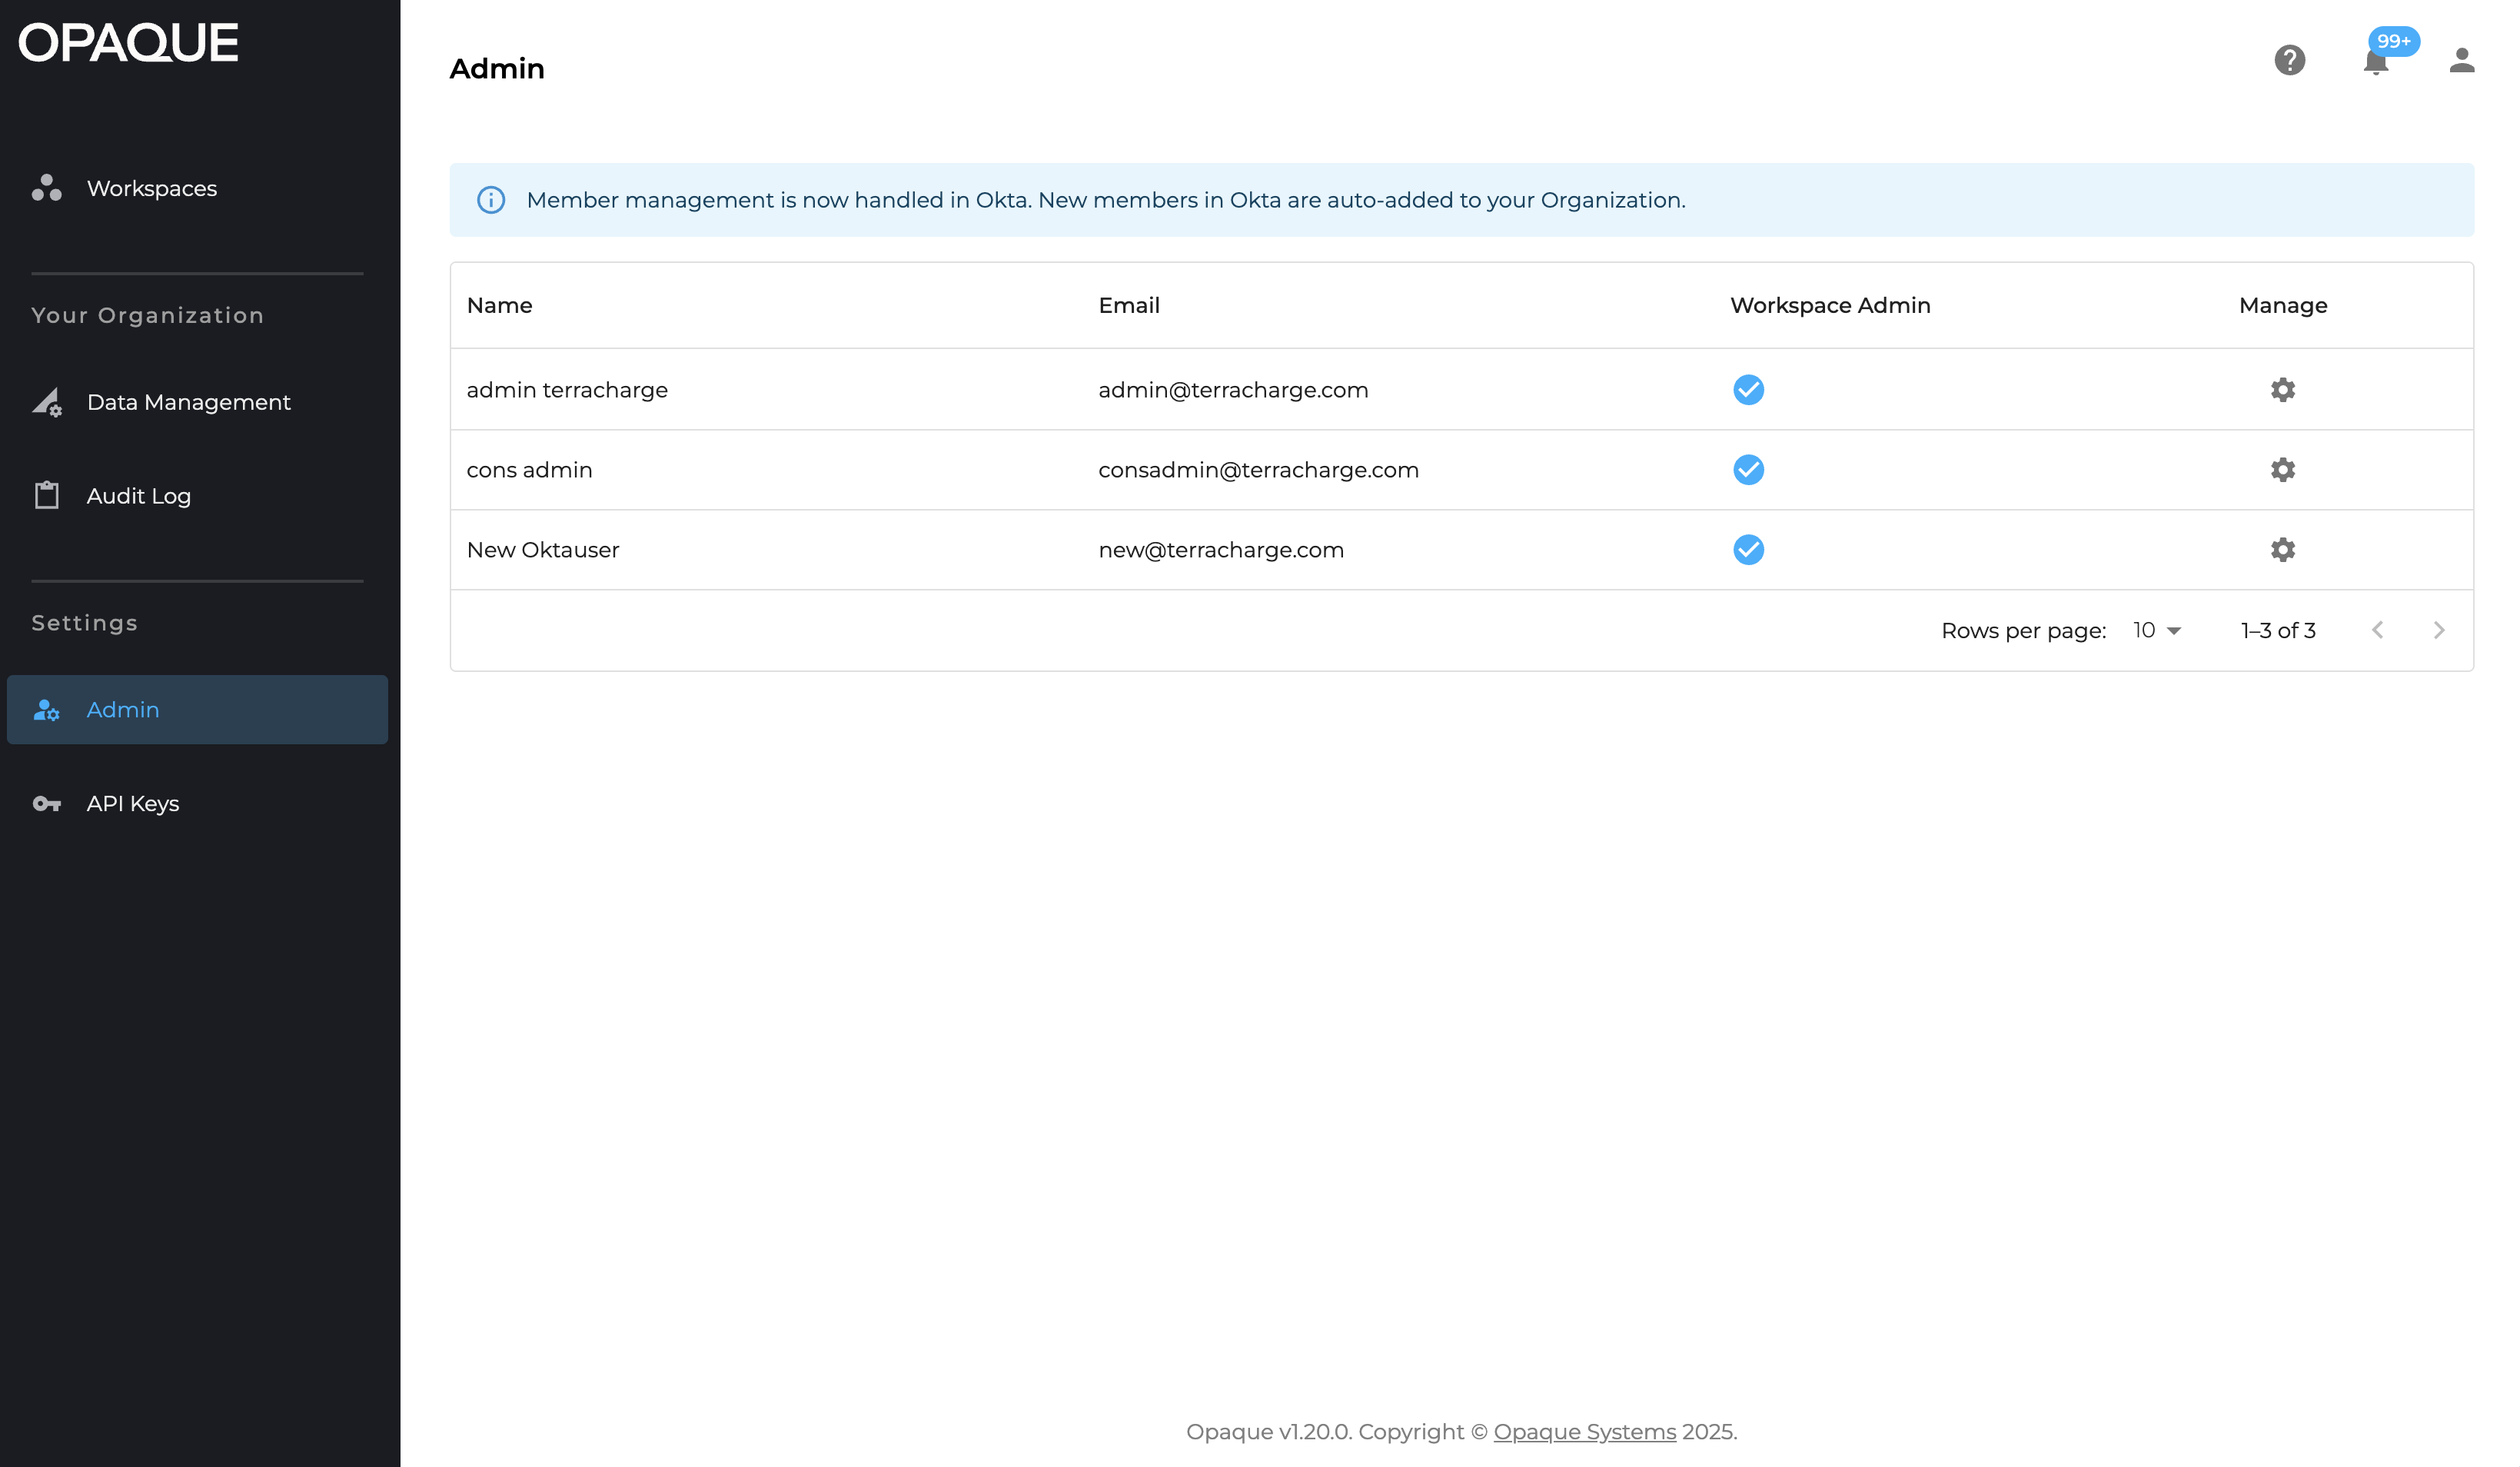
You assign workspace admins on the Admin page.
-
Select Workspace admin and click Save.
Info
From this panel, you can also add members to or remove members from existing workspaces. For details, see Managing users.
-
Notify assigned workspace admins.
Let workspace admins know they can now create and manage workspaces, add pre-configured services (integrations), upload datasets.
-
(Optional) Configure shared resources for workspaces.
-
For agentic workspaces: Add integrations.
Add preconfigured, reusable components that can be shared across workspaces and workflows. See Use integrations for details.
-
For analytics and ML workspaces: Add datasets.
Connect datasets and define sharing policies to make data available for use in jobs and workflows. For details, see the Data section.
-
-
Review attestation reports and audit logs.
Select Trust in the left-hand nav to access attestation reports and audit logs.
-
Archive a workspace when no longer in use.
When a workspace is archived, you can no longer run workflows or jobs. Existing job history and results are preserved. See Archive workspaces for details.
Workspace admins
Workspace admins are responsible for setting up and managing individual workspaces. Your role enables secure collaboration within and across teams. Common tasks include:
-
(Optional) Configure shared resources for workspaces.
-
For agentic workspaces: Add integrations.
Add preconfigured, reusable components that can be shared across workspaces and workflows. See Use integrations for details.
-
For analytics and ML workspaces: Add datasets.
Connect datasets and define sharing policies to make data available for use in jobs and workflows. For details, see the Data section.
-
-
Create a workspace and add workspace members.
Workspace creation involves two steps:
- Define workspace details: Define workspace details: Add members and select the workspace type (Agentic AI or Analytics & ML).
- Set execution policies: Choose approval and run policies for workspace-level workloads.
To get started, go to Workspaces and click New workspace. See Create workspaces for full instructions.
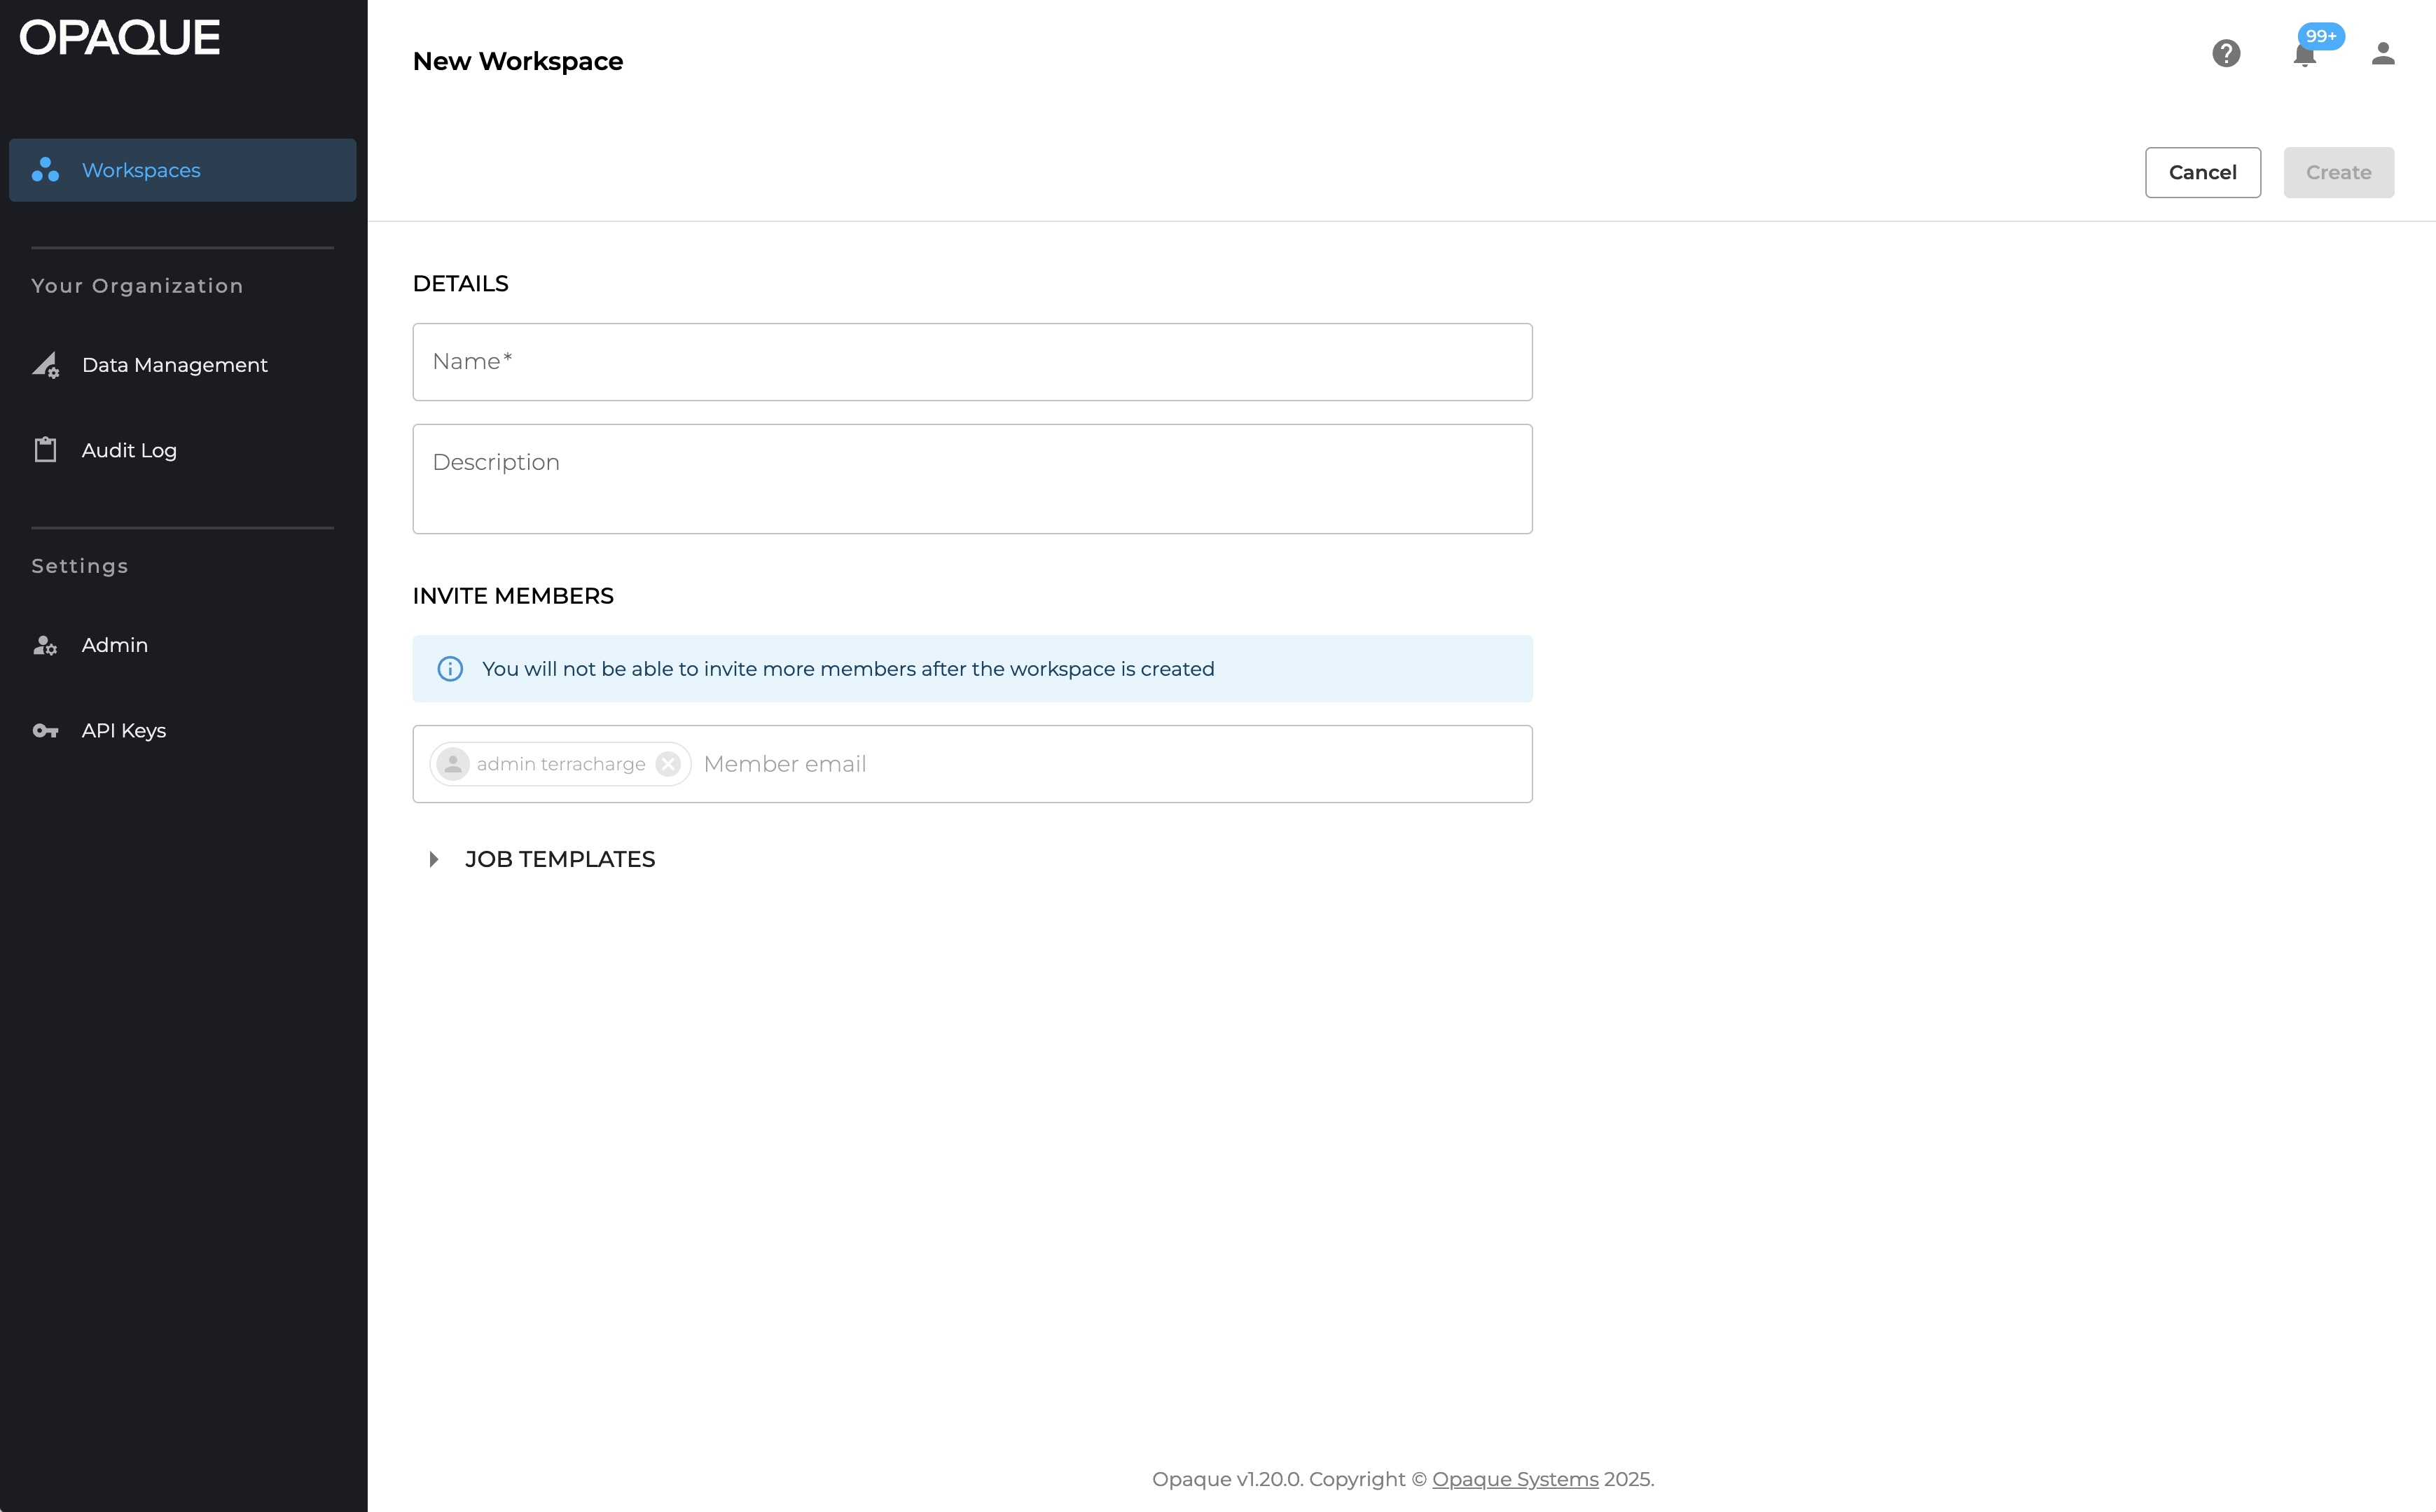
Click New workspace to get started.
-
Monitor workspace activity.
In your workspace, select the Audit Logs tab to track workflow-related activities (such as workflow creation, data sharing, job submission and more).
-
Archive a workspace when no longer in use.
When a workspace is archived, you can no longer run workflows or jobs. Existing job history and results are preserved. See Archive workspaces for details.
Next steps
- Learn about roles and permissions and managing users as organization admin.
- Understand workspaces and how to manage users and policies on the workspace level.
- Review how to use integrations and manage data.