Get started
This guide walks you through creating, configuring, and running a no-code job using the Overlap template — the available job template in OPAQUE.
To access no-code jobs, go to Workspaces, select an Analytics and ML workspace, then click Jobs → No-code Jobs. This opens the No-code Jobs list for that workspace, where you can monitor job status, access job details, and filter or rerun past jobs.
Step 1: Create a job
- On the No-code Jobs page, click New Job.
- Enter a name (max 50 characters) and an optional description (max 150 characters).
- If you plan to run this job more than once, check Enable job reruns.
- Click Save.
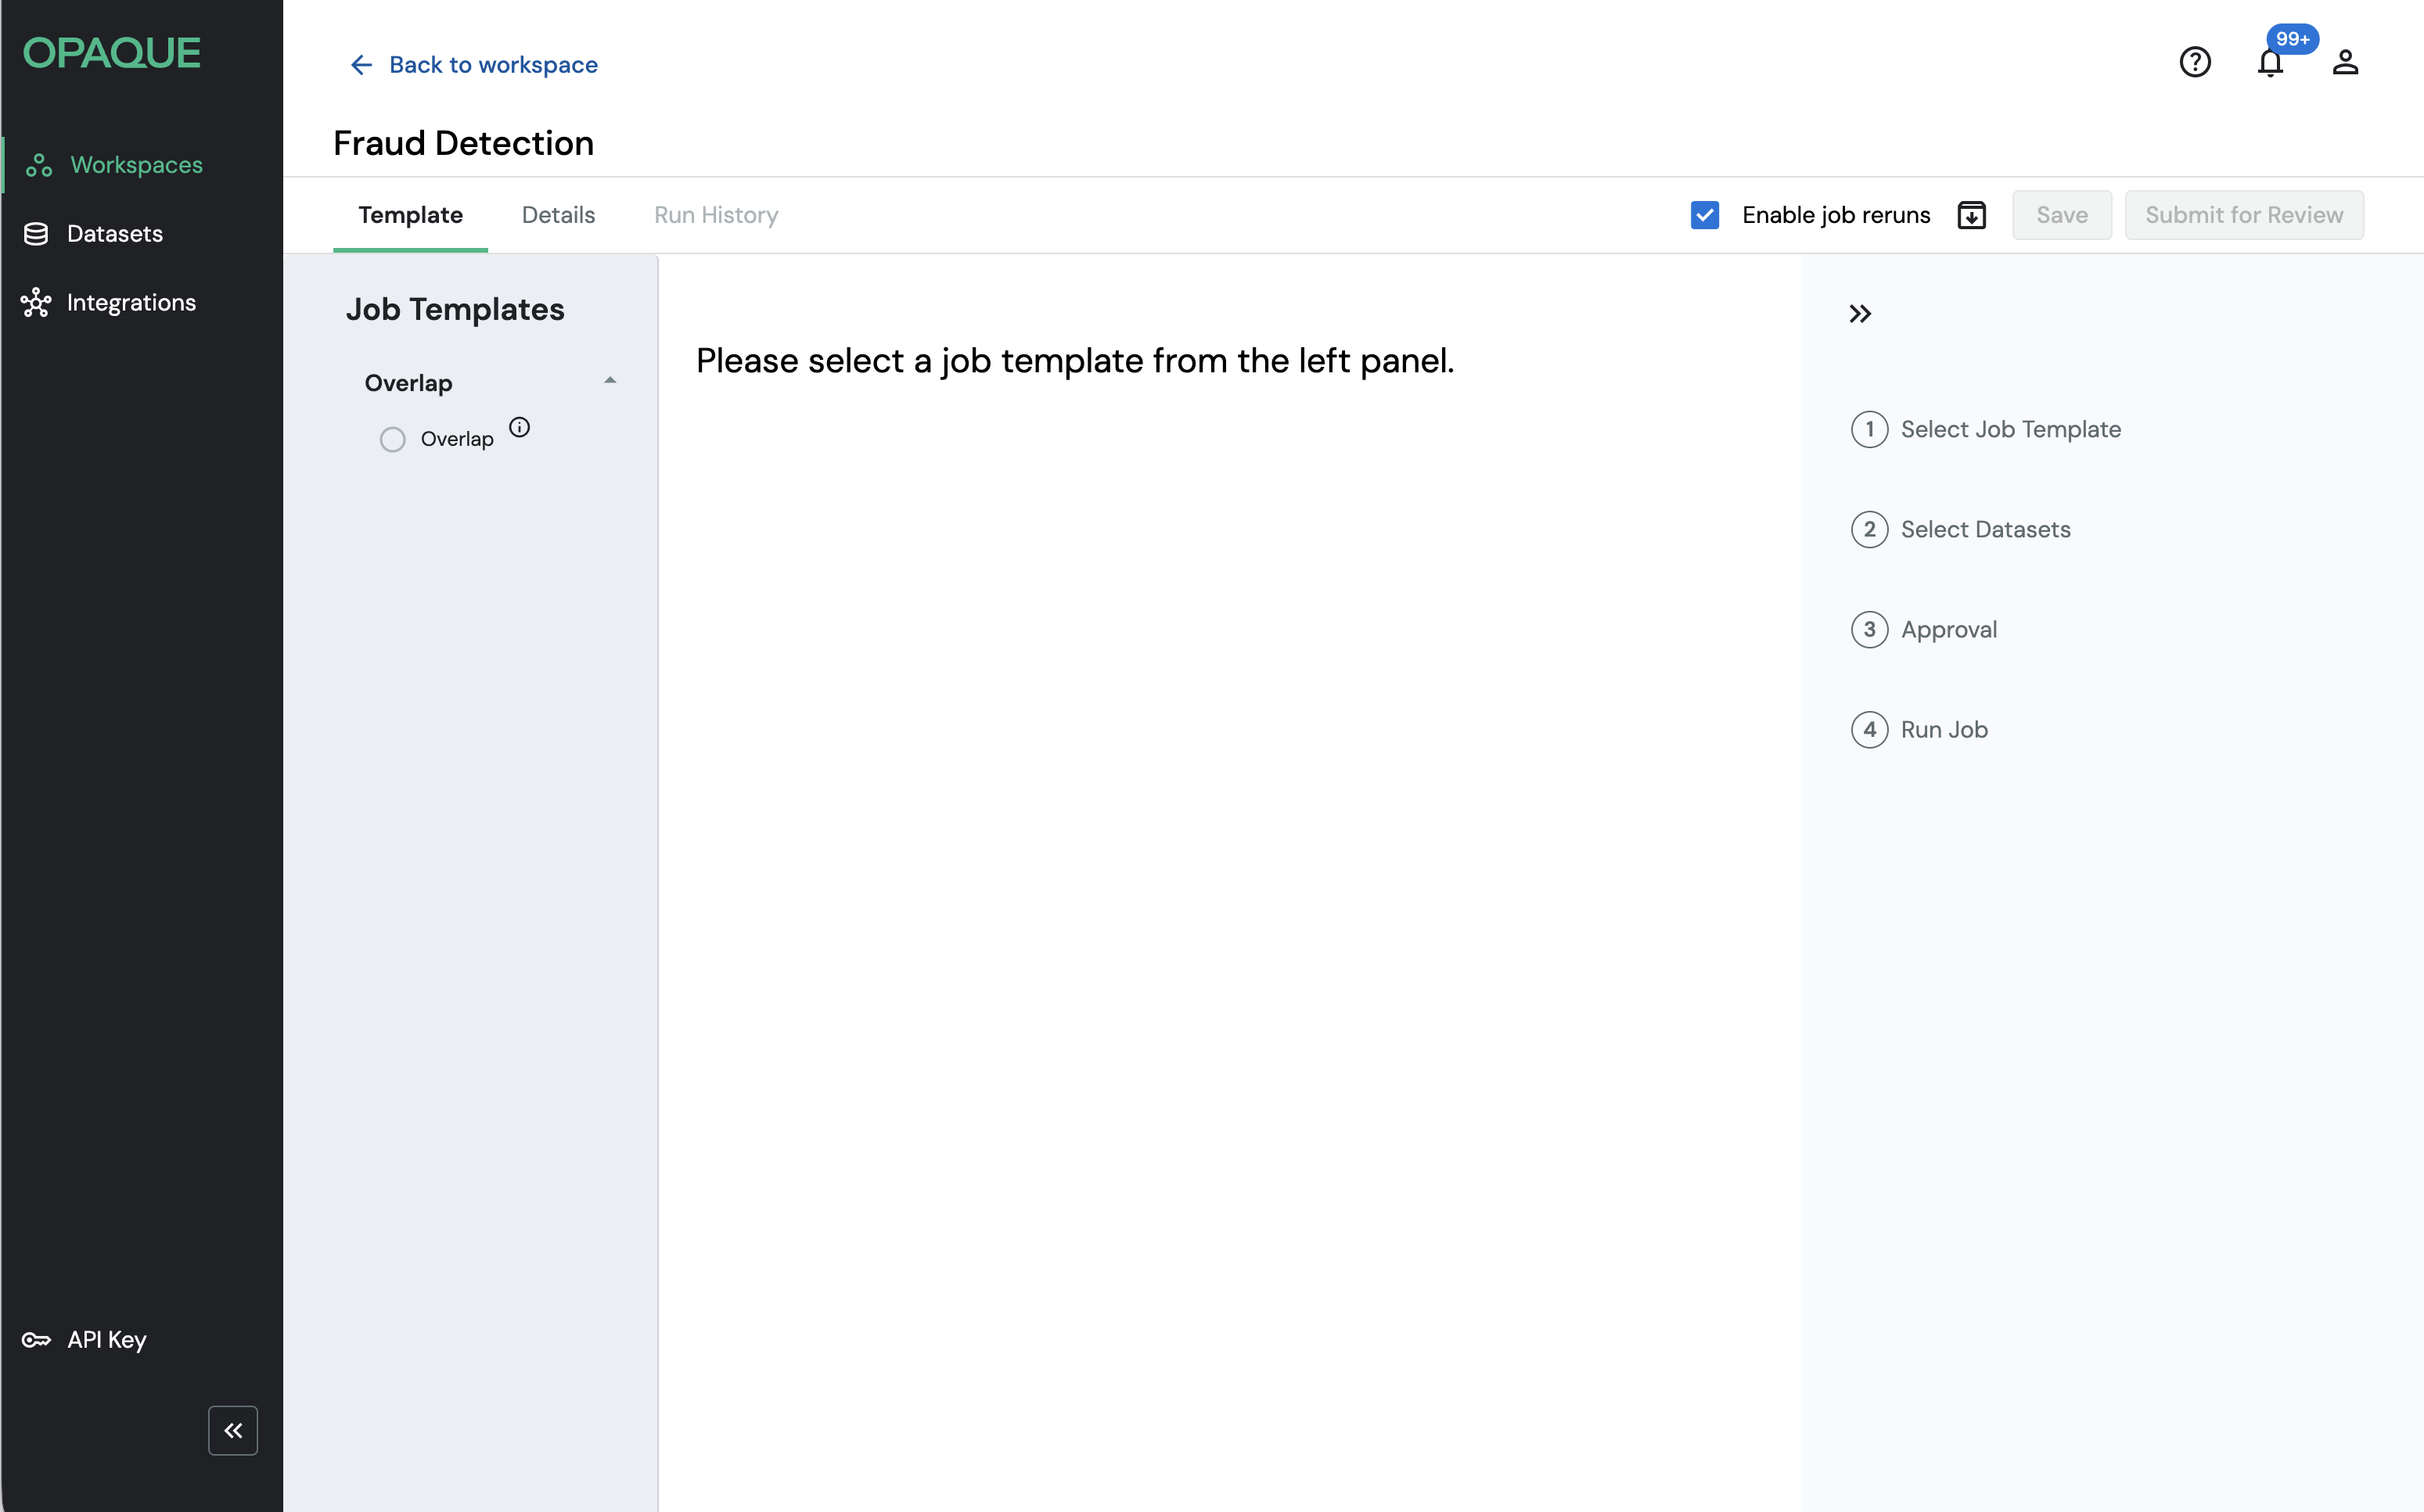
The job opens on the Template tab, showing the Job Templates panel on the left.
Tip
You can enable reruns at creation time only. If you're not sure yet, it's worth enabling it — you can always choose not to rerun the job later.
Your new no-code job, ready to be defined.
Step 2: Select and configure the template
In the Job Templates panel, select Overlap.
Note
If you don't see any templates listed, your workspace admin needs to add the Overlap template to the workspace first. Admins can do this from the Templates section on the workspace's Overview page.
Your new no-code job, ready to be defined.
About the Overlap template
The Overlap template calculates how many records in your dataset also appear in a collaborator's dataset, based on a shared unique identifier. The results show the number of matched records and the match rate, grouped by a column you choose.
Use this template when you want to answer questions like: "How many of our customers also appear in our partner's dataset, and how does that break down by region or segment?"
Configure the template
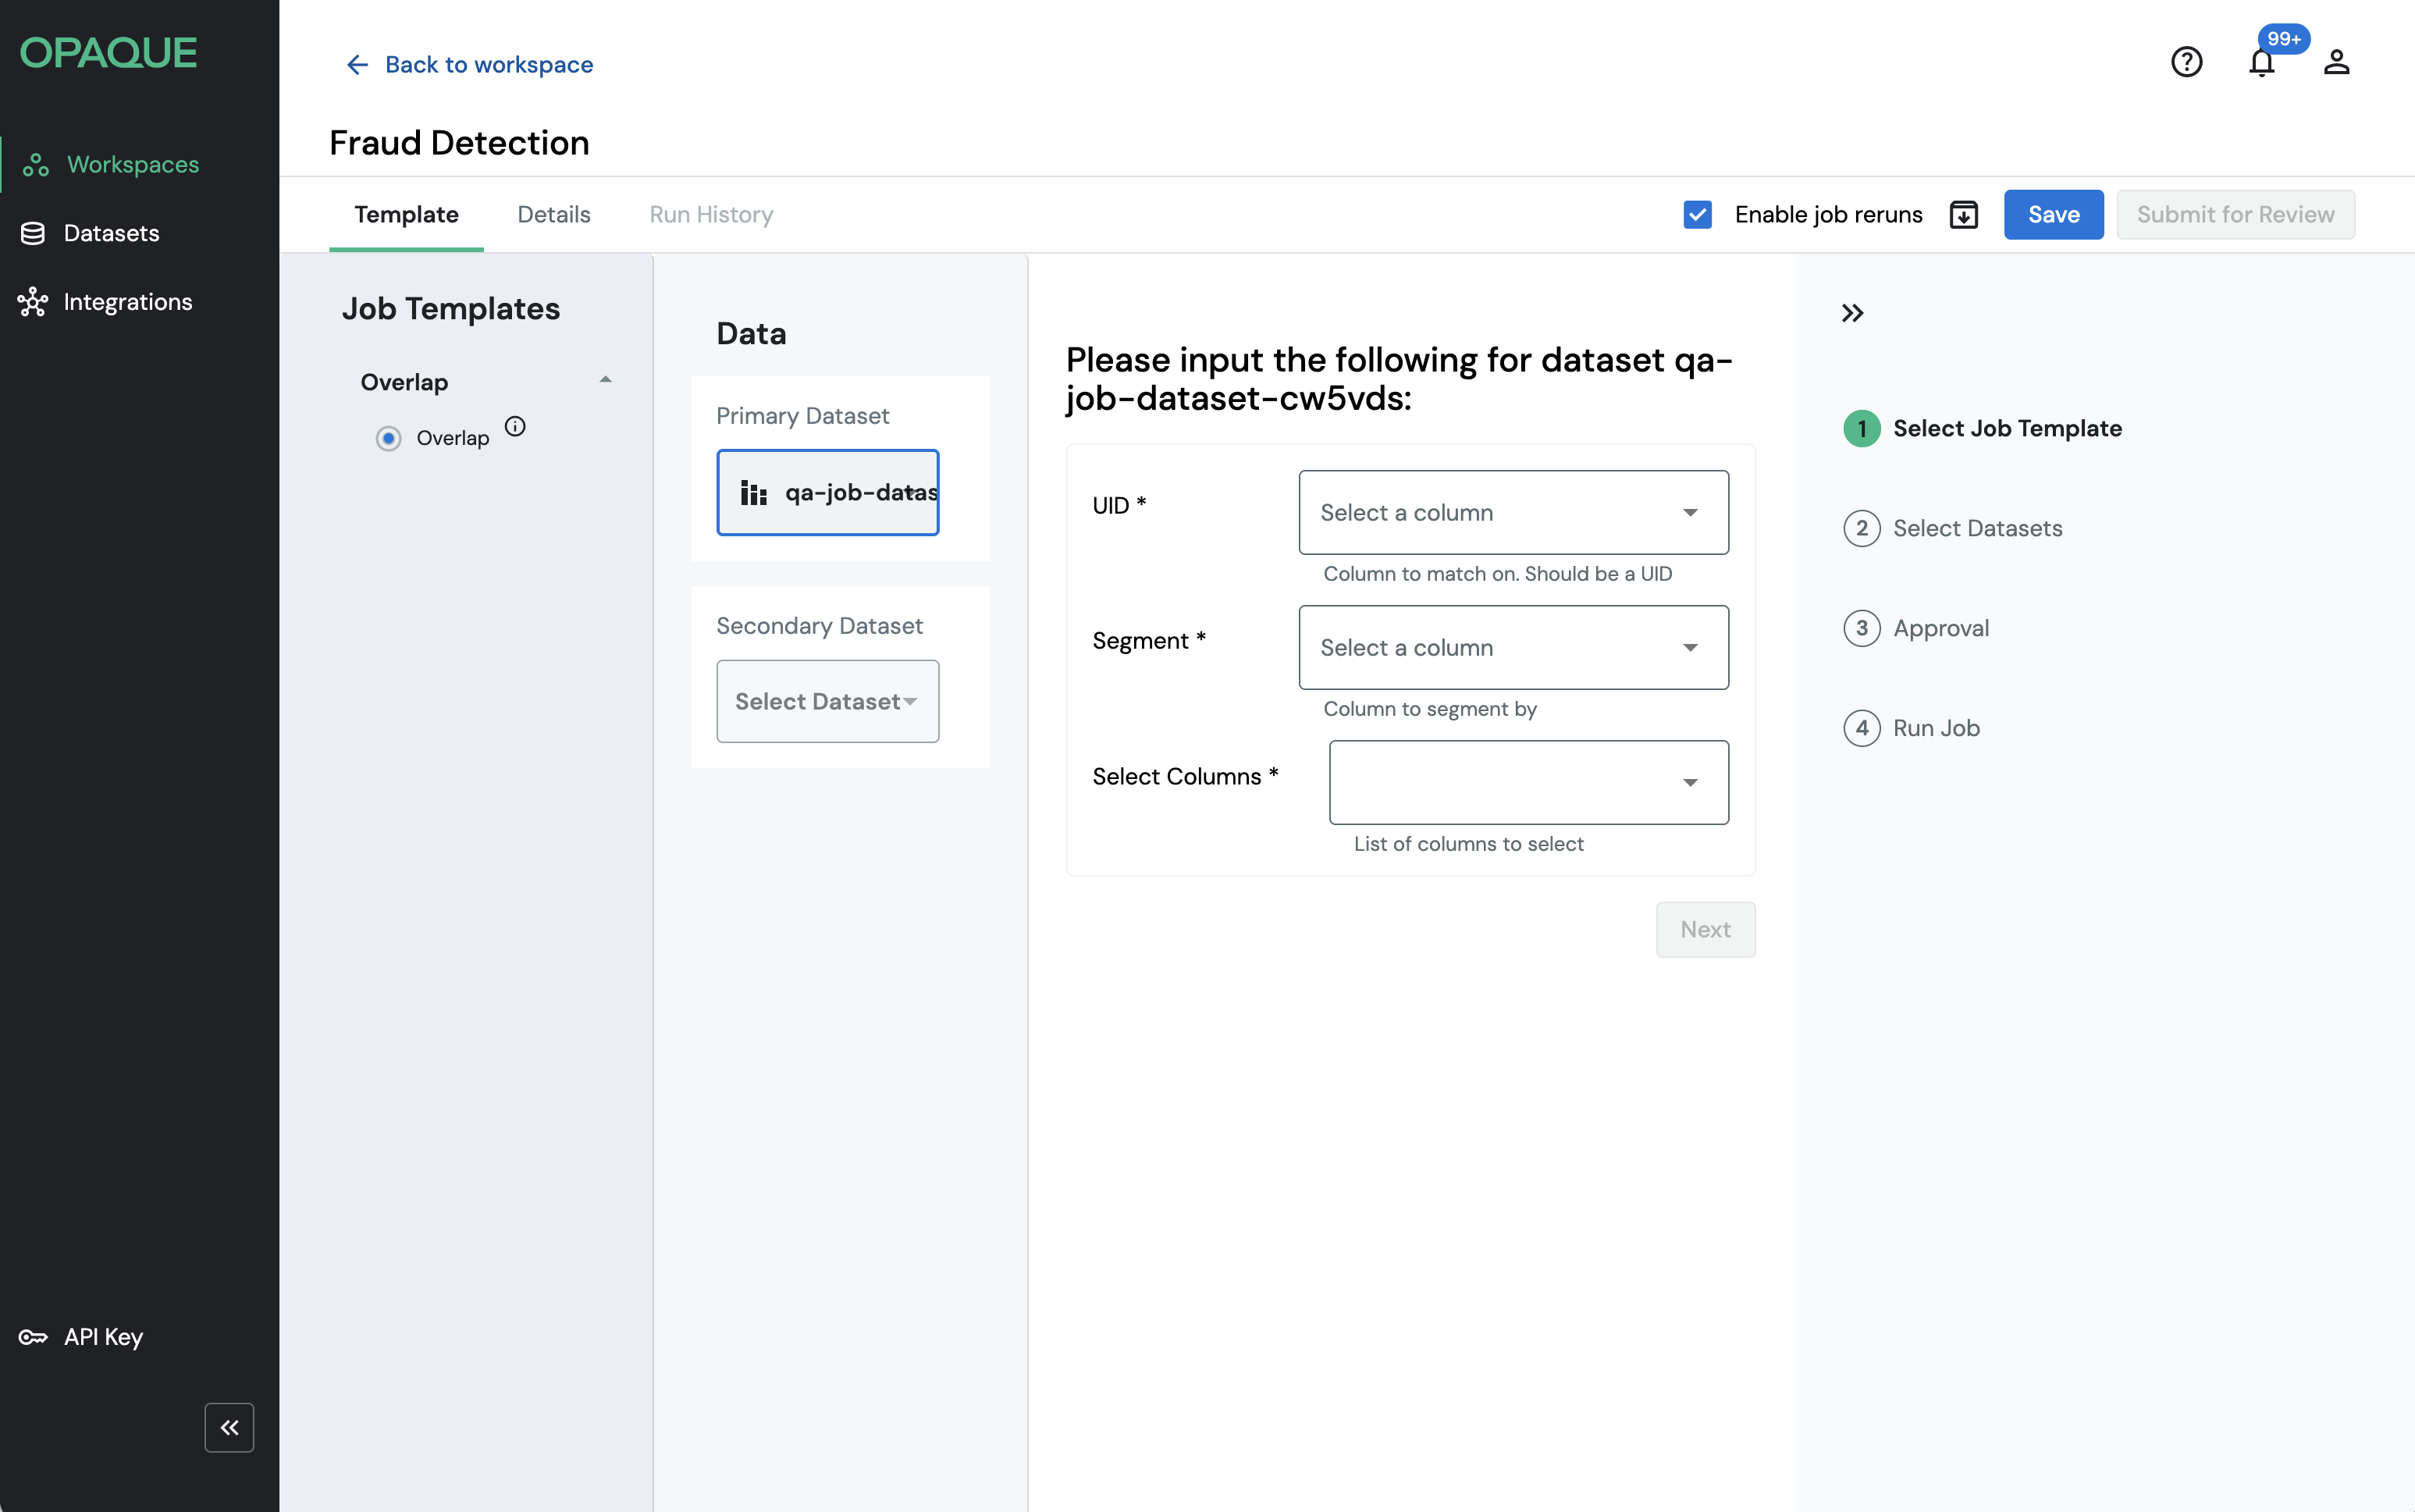
Once you select the Overlap template, the Data pane appears in the center of the page. You'll configure two datasets and their inputs.
Primary Dataset—your dataset.
Click Select Dataset and choose your primary dataset from the list. Once selected, you'll be prompted to configure the following fields:
| Field | Description |
|---|---|
| UID | The column used to match records between the two datasets. Select the column that contains a unique identifier, such as a customer ID or email address. |
| Segment | The column used to group results in the output, for example, region, account type, or product category. |
| Select Columns | The columns from your primary dataset to include in the output. |
Secondary Dataset—your collaborator's dataset.
Click Select Dataset and choose the secondary dataset. Once selected, configure its UID field—the column that corresponds to the UID in your primary dataset.
The Data pane also shows a Match Rate field for the secondary dataset, which will be populated in the output after the job runs.
When you're done, click Save to save your draft.
Note
Other workspace members can't see your template configuration until you submit the job for review.
Step 3: Submit for review
The steps in this section apply to multiparty workspaces. If you're in a single-party workspace, skip to Step 4—your job is automatically approved when you save it.
When your configuration is ready, click Submit for Review.
The job status changes from Draft to Under Review, and workspace members are notified. Use the Workflow panel to track each member's review status.
Known limitation
Members receive a general status notification — not individual review requests. You may want to notify reviewers directly.
If your job is rejected:
- Open the Workflow panel, find the Declined row, and read the reviewer's comment.
- Click Cancel Review to return the job to Draft.
- Make your changes, then click Submit for Review again.
When a job's status changes to Under Review, you'll receive a notification. To review it:
- Open the job from the No-code Jobs list, or click View job in your notifications.
- Review the template and dataset configuration on the Template tab.
- Click Approve or Reject.
- If rejecting, you must provide a comment.
- Comments are visible to all workspace members.
- Click Submit to record your review. You can't change your review after submission.
The Workflow panel updates to reflect your status: Pending, Approved, or Declined.
Step 4: Run the job
Once all workspace members approve the job, its status changes to Accepted and the job is locked—no further changes can be made.
Only the job creator can run an approved job:
- On the Template tab, click Run Job.
- The job status changes to Queued. If another job is currently running in the workspace, your job will wait until it's ready.
- Once execution begins, the status changes to Running.
Step 5. Check the outcome
When the job completes, its status changes to Succeeded. Results are encrypted and saved to your workspace storage.
To view results:
- On the Run History tab, select the completed run.
- Open the Results tab to preview the first 100 rows.
- Click Export Results to download the output as a CSV file.
Results are visible to the job creator only.
To view logs:
- On the Run History tab, select the run you want to inspect.
- Open the Logs tab to view execution details. If the job failed, error details appear at the top.
- Click Export Logs to download the logs as a TXT file.
Logs are visible to all workspace members.
Understanding the output
The Overlap template produces the following output columns:
| Column | Description |
|---|---|
| Overlap | The group name, based on the Segment column you selected from the primary dataset. |
| Matched_Users | The number of records in the primary dataset that also appear in the secondary dataset. |
| Match_Rate | The percentage of matching records in the primary dataset. |
Rerun a job
If you enabled reruns when creating the job, you can run it again at any time without resubmitting for review — unless you modify the template configuration. Each rerun is tracked separately in Run History, so you can compare outputs across executions.
For details on managing reruns, see Job Reruns.