Using integrations
Integrations in OPAQUE are preconfigured, reusable components that can be shared across workspaces and workflows. They let teams securely connect to external systems (like LLMs or data sources) without having to re-enter credentials or config details every time.
Integrations are ready-to-use building blocks: define them once, and make them available for anyone in your workspace to use in workflows.
Supported integration types
OPAQUE currently supports three types of integrations:
-
Data connectors (retrievers): Connect to external data sources to retrieve structured or unstructured data at runtime.
Example: An Azure AI Search Retriever integration that queries an enterprise search index.
-
LLMs (language models): Connect to large language models for text processing, analysis, or generation.
Example: An OpenAI Service integration or a vLLM Service integration.
-
MCP Tool: Configure an external tool that can be invoked by an Agent node running in tool mode using the Model Context Protocol (MCP).
Tip
You can also create an integration directly from the workflow builder. When configuring a supported node, select the "Save as a re-usable integration" checkbox at the bottom of the configuration panel to save it as a shared integration without leaving your workflow.
Create a new integration
To create a new integration:
-
Go to the Integrations page in the OPAQUE and click New Integration.
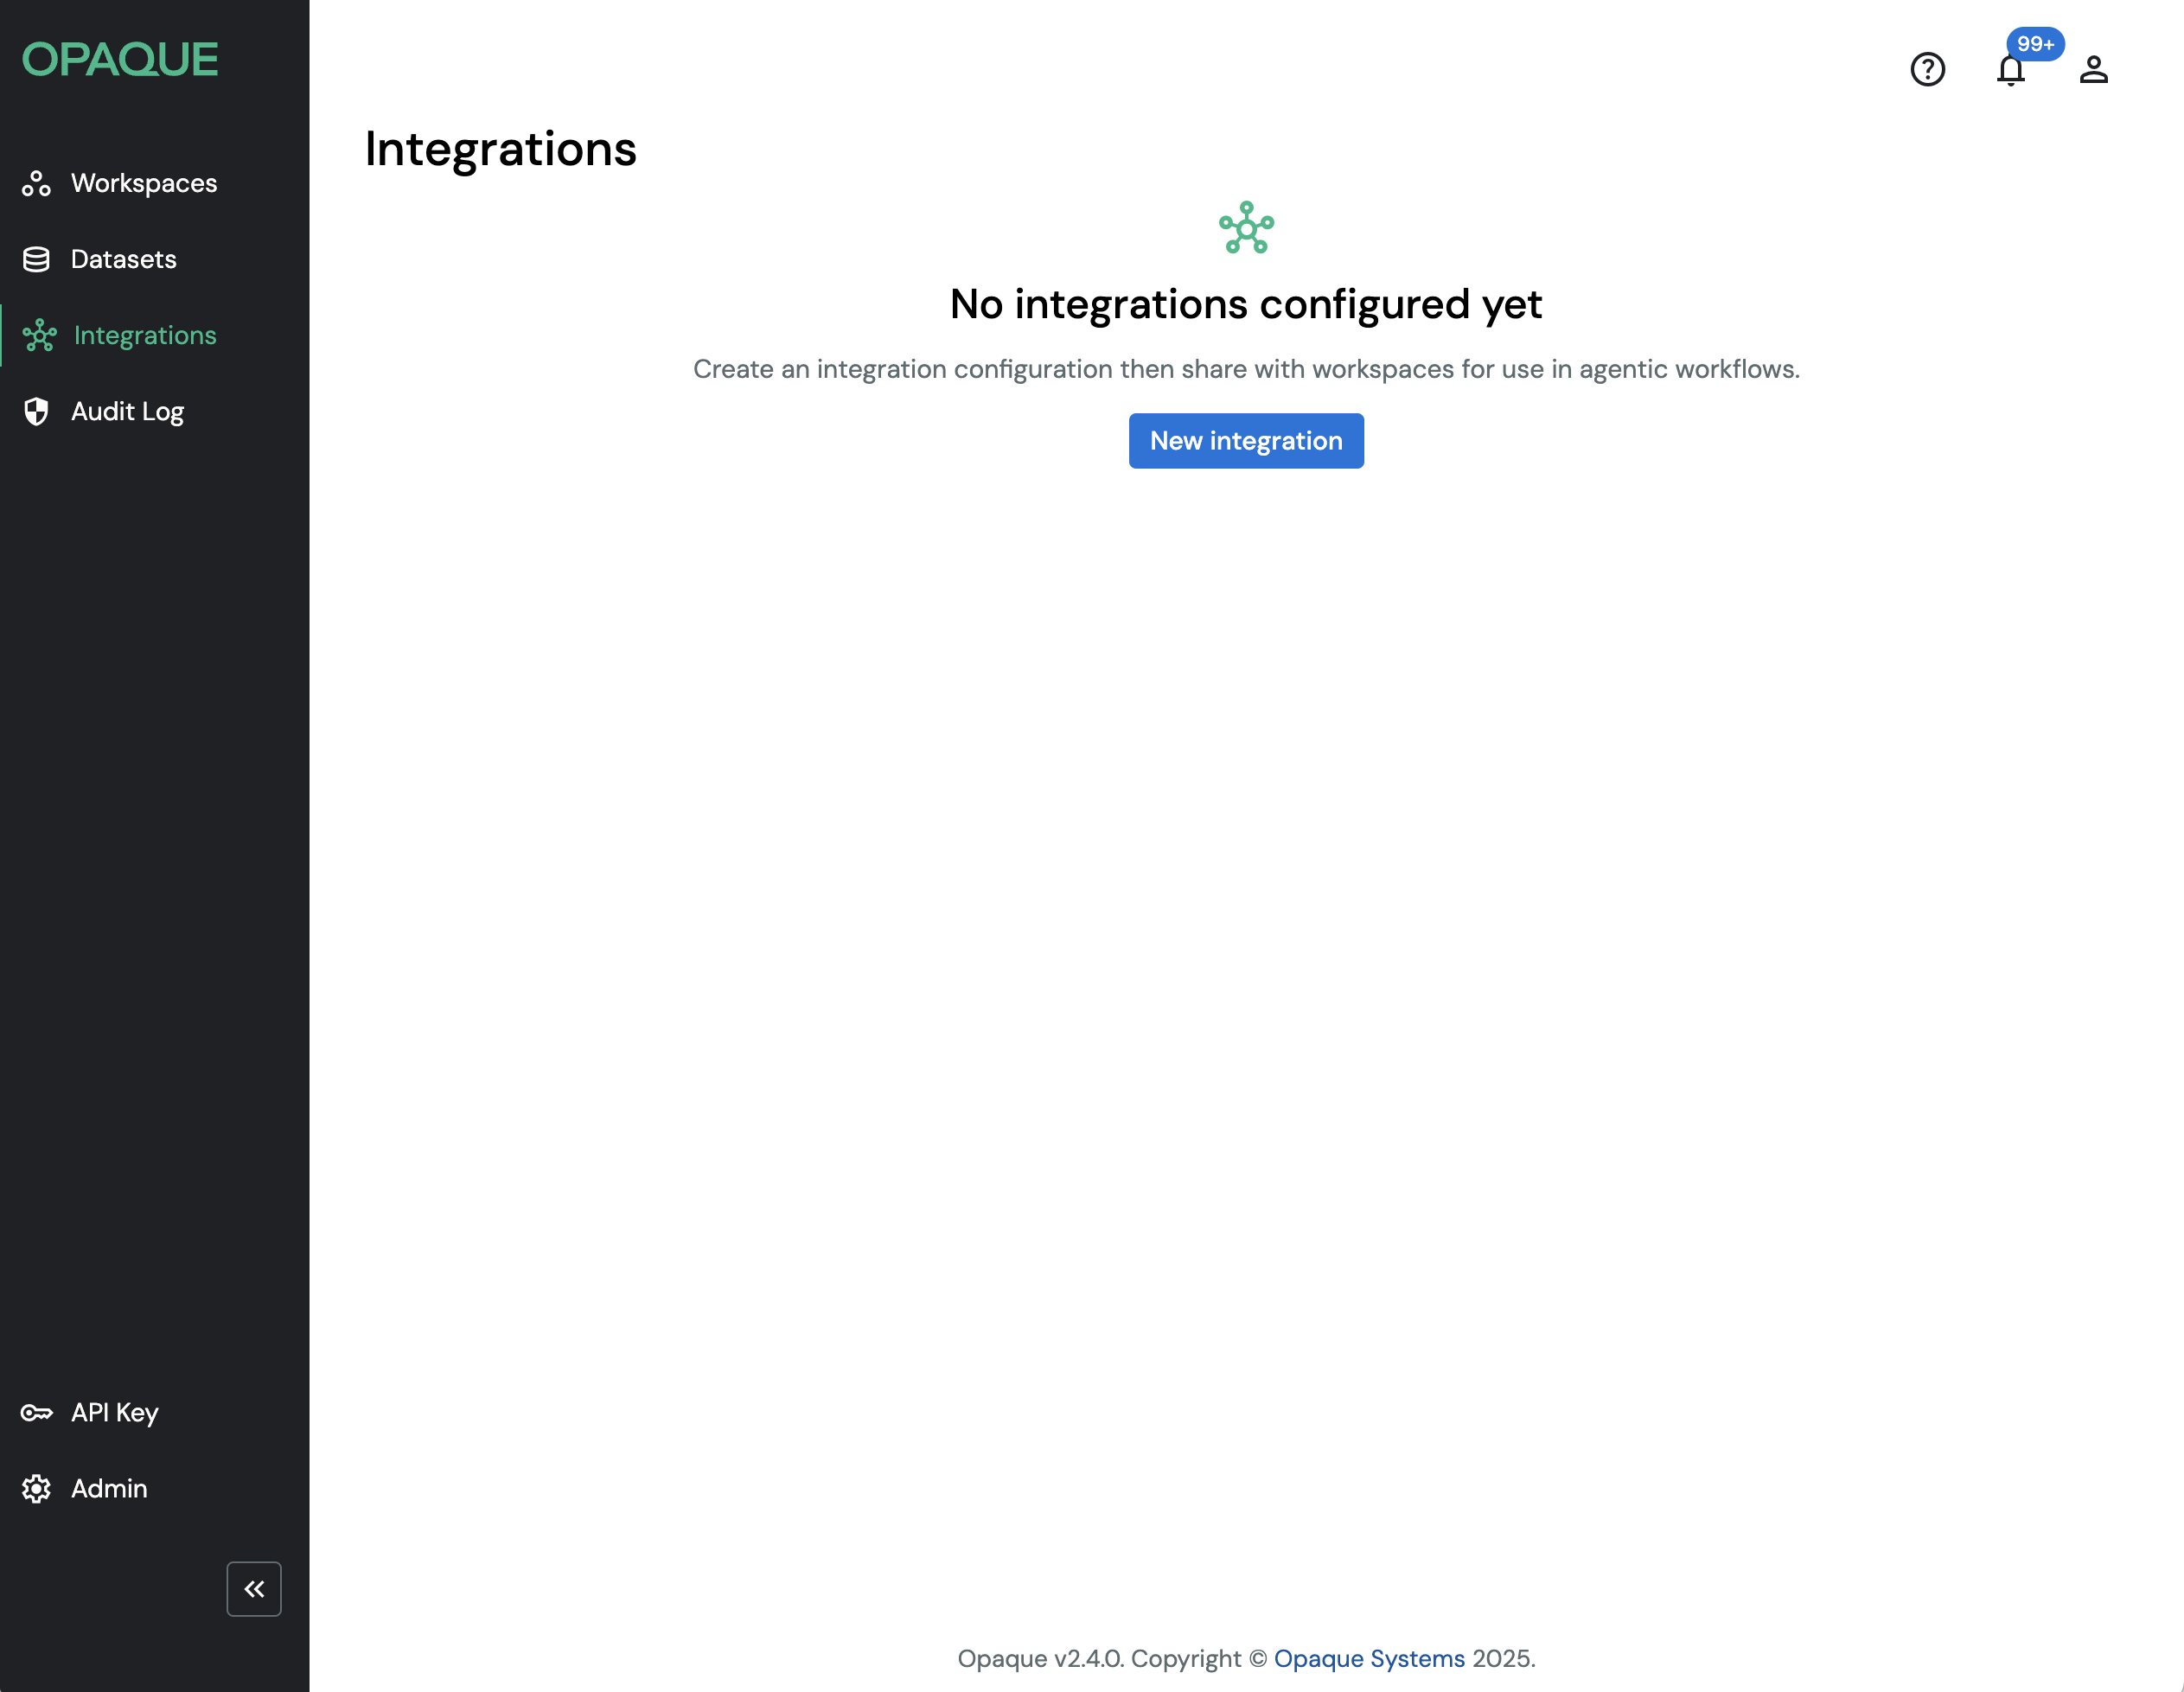
Go to the Integrations page to create a new integration.
-
Choose the integration type—either a Data connector or an LLM—and click Next.
- Data connector: Create when you want agents to pull information from an external data source (currently Azure AI Search).
- LLM: Create when you want agents to use a large language model (OpenAI or vLLM).
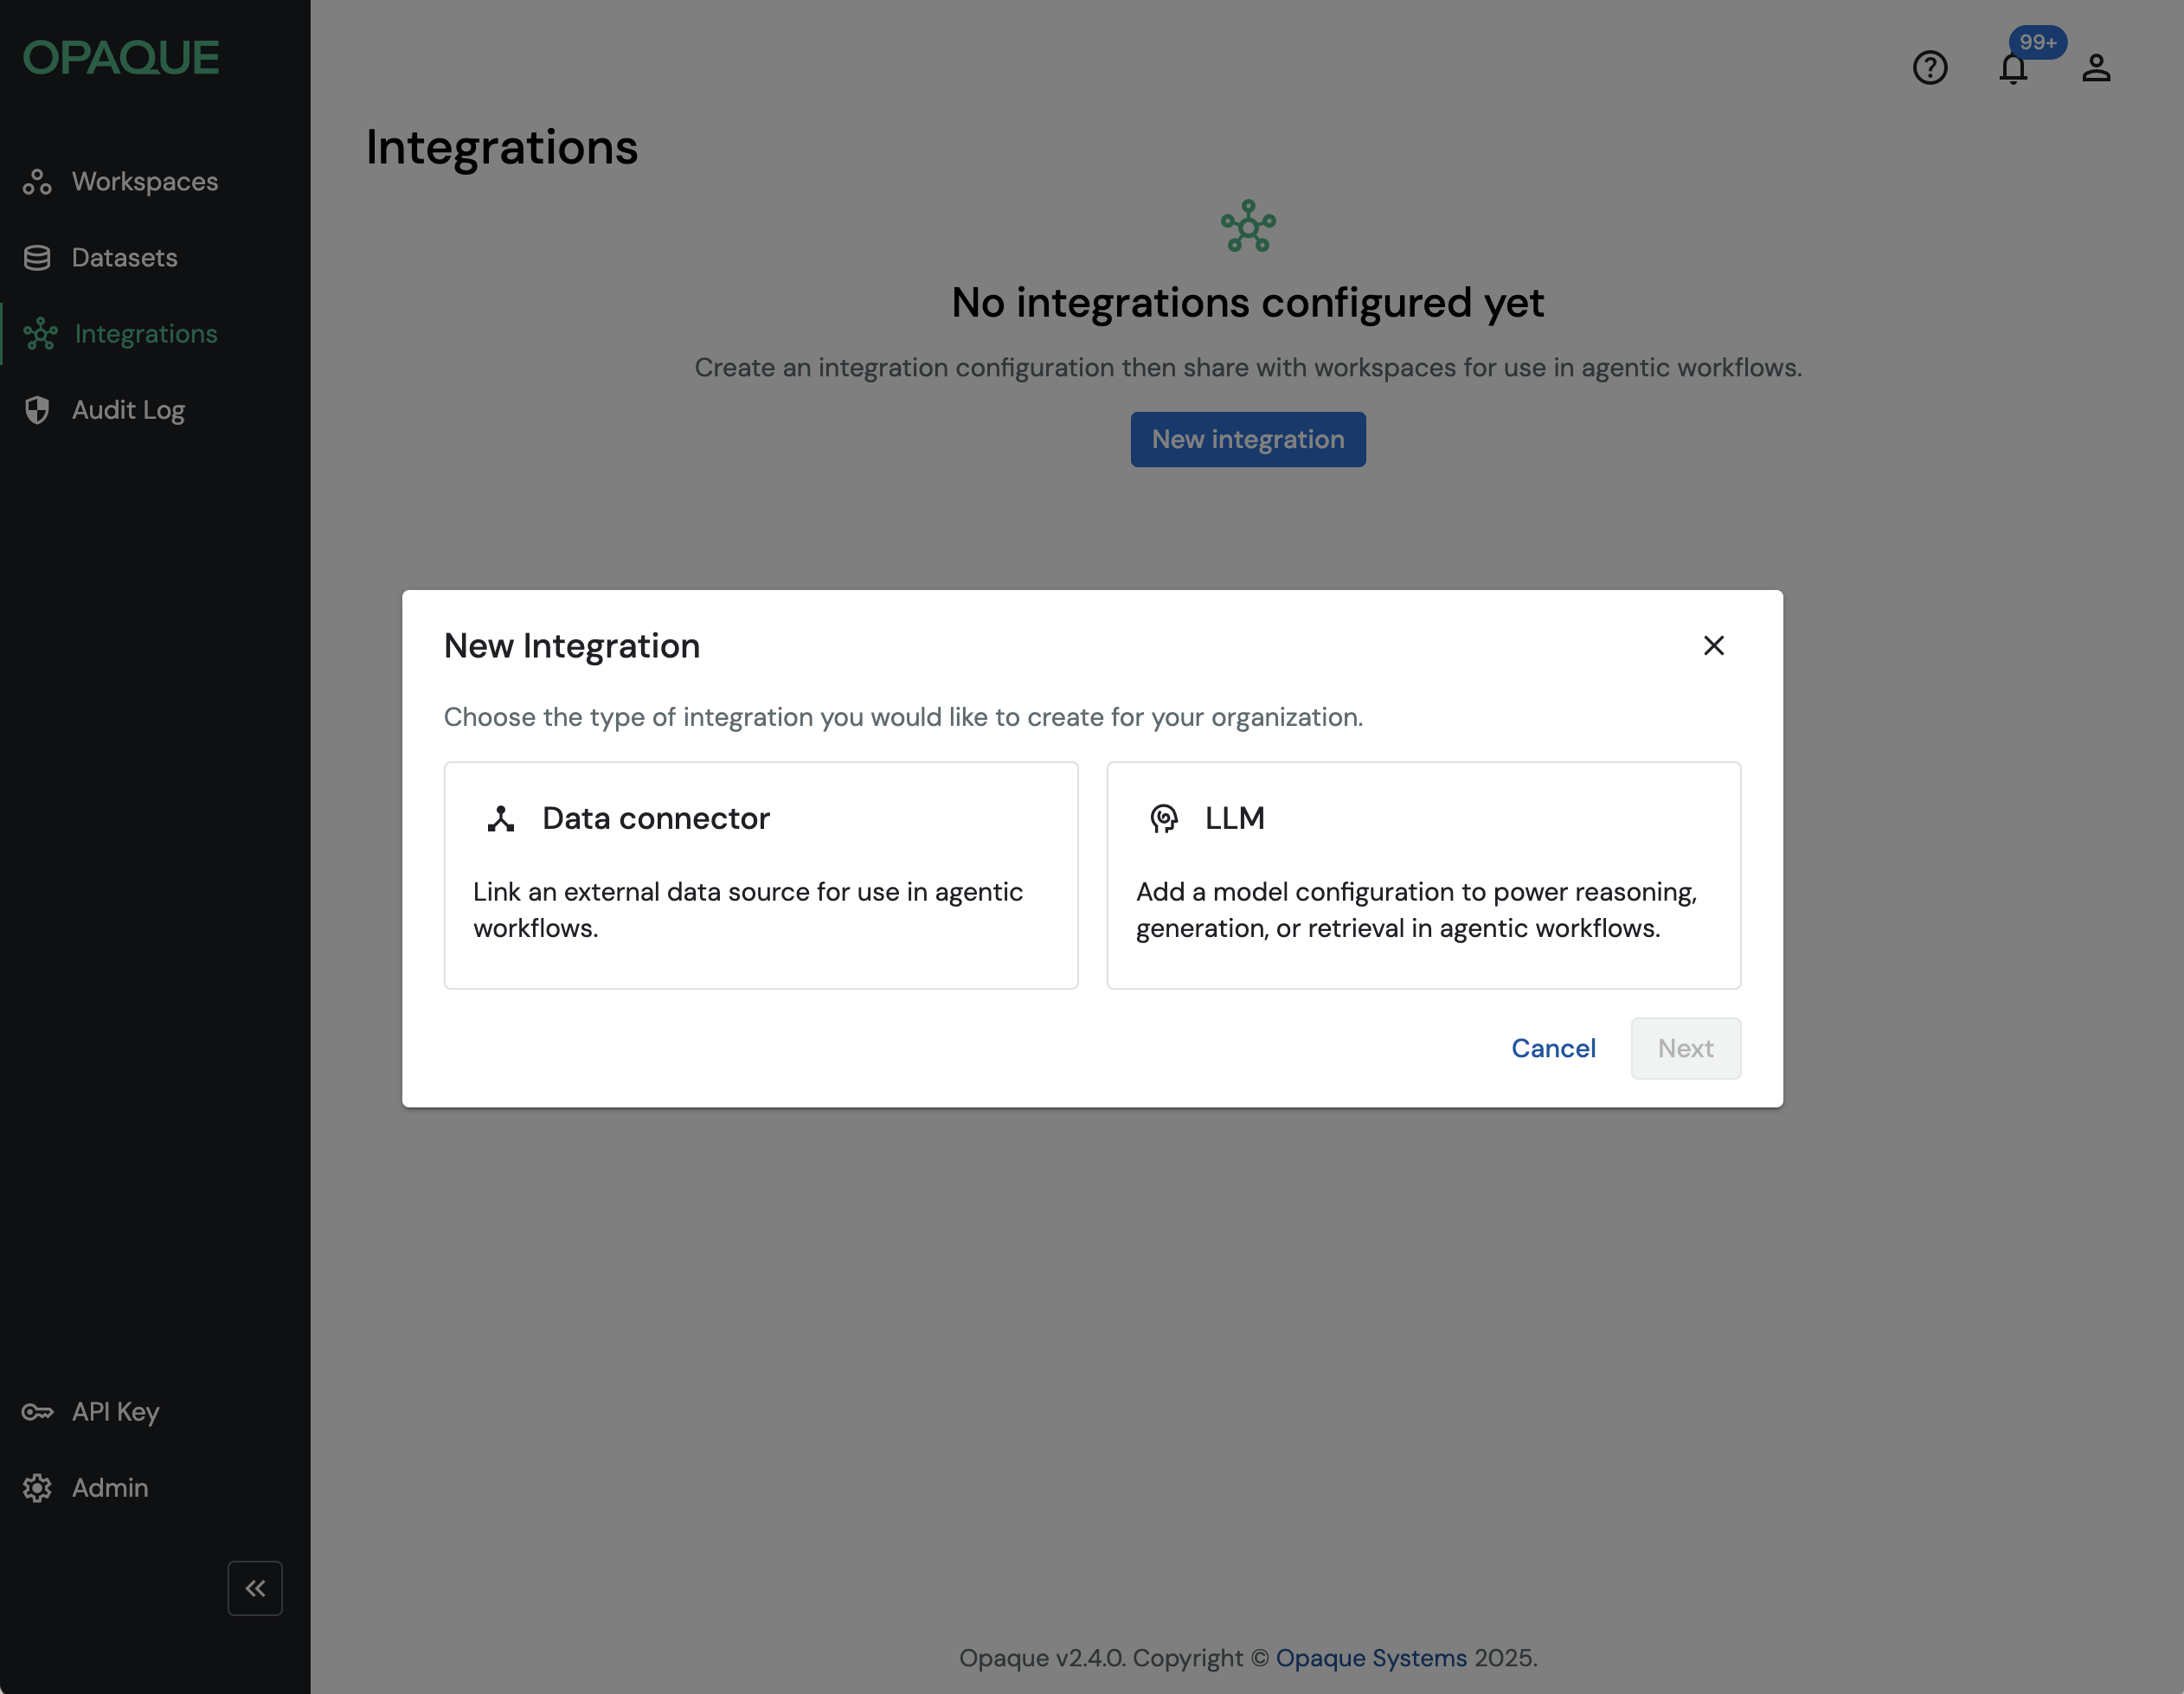
Choose an integration type.
-
Select the type of integration to add for use in agentic workflows.
. . . the available options are Azure AI Search Retriever, MCP Tool, HyDE Retriever, Multi-Query Retriever, Neo4j-Cypher, PostgreSQL Connector, and Smart Retriever.
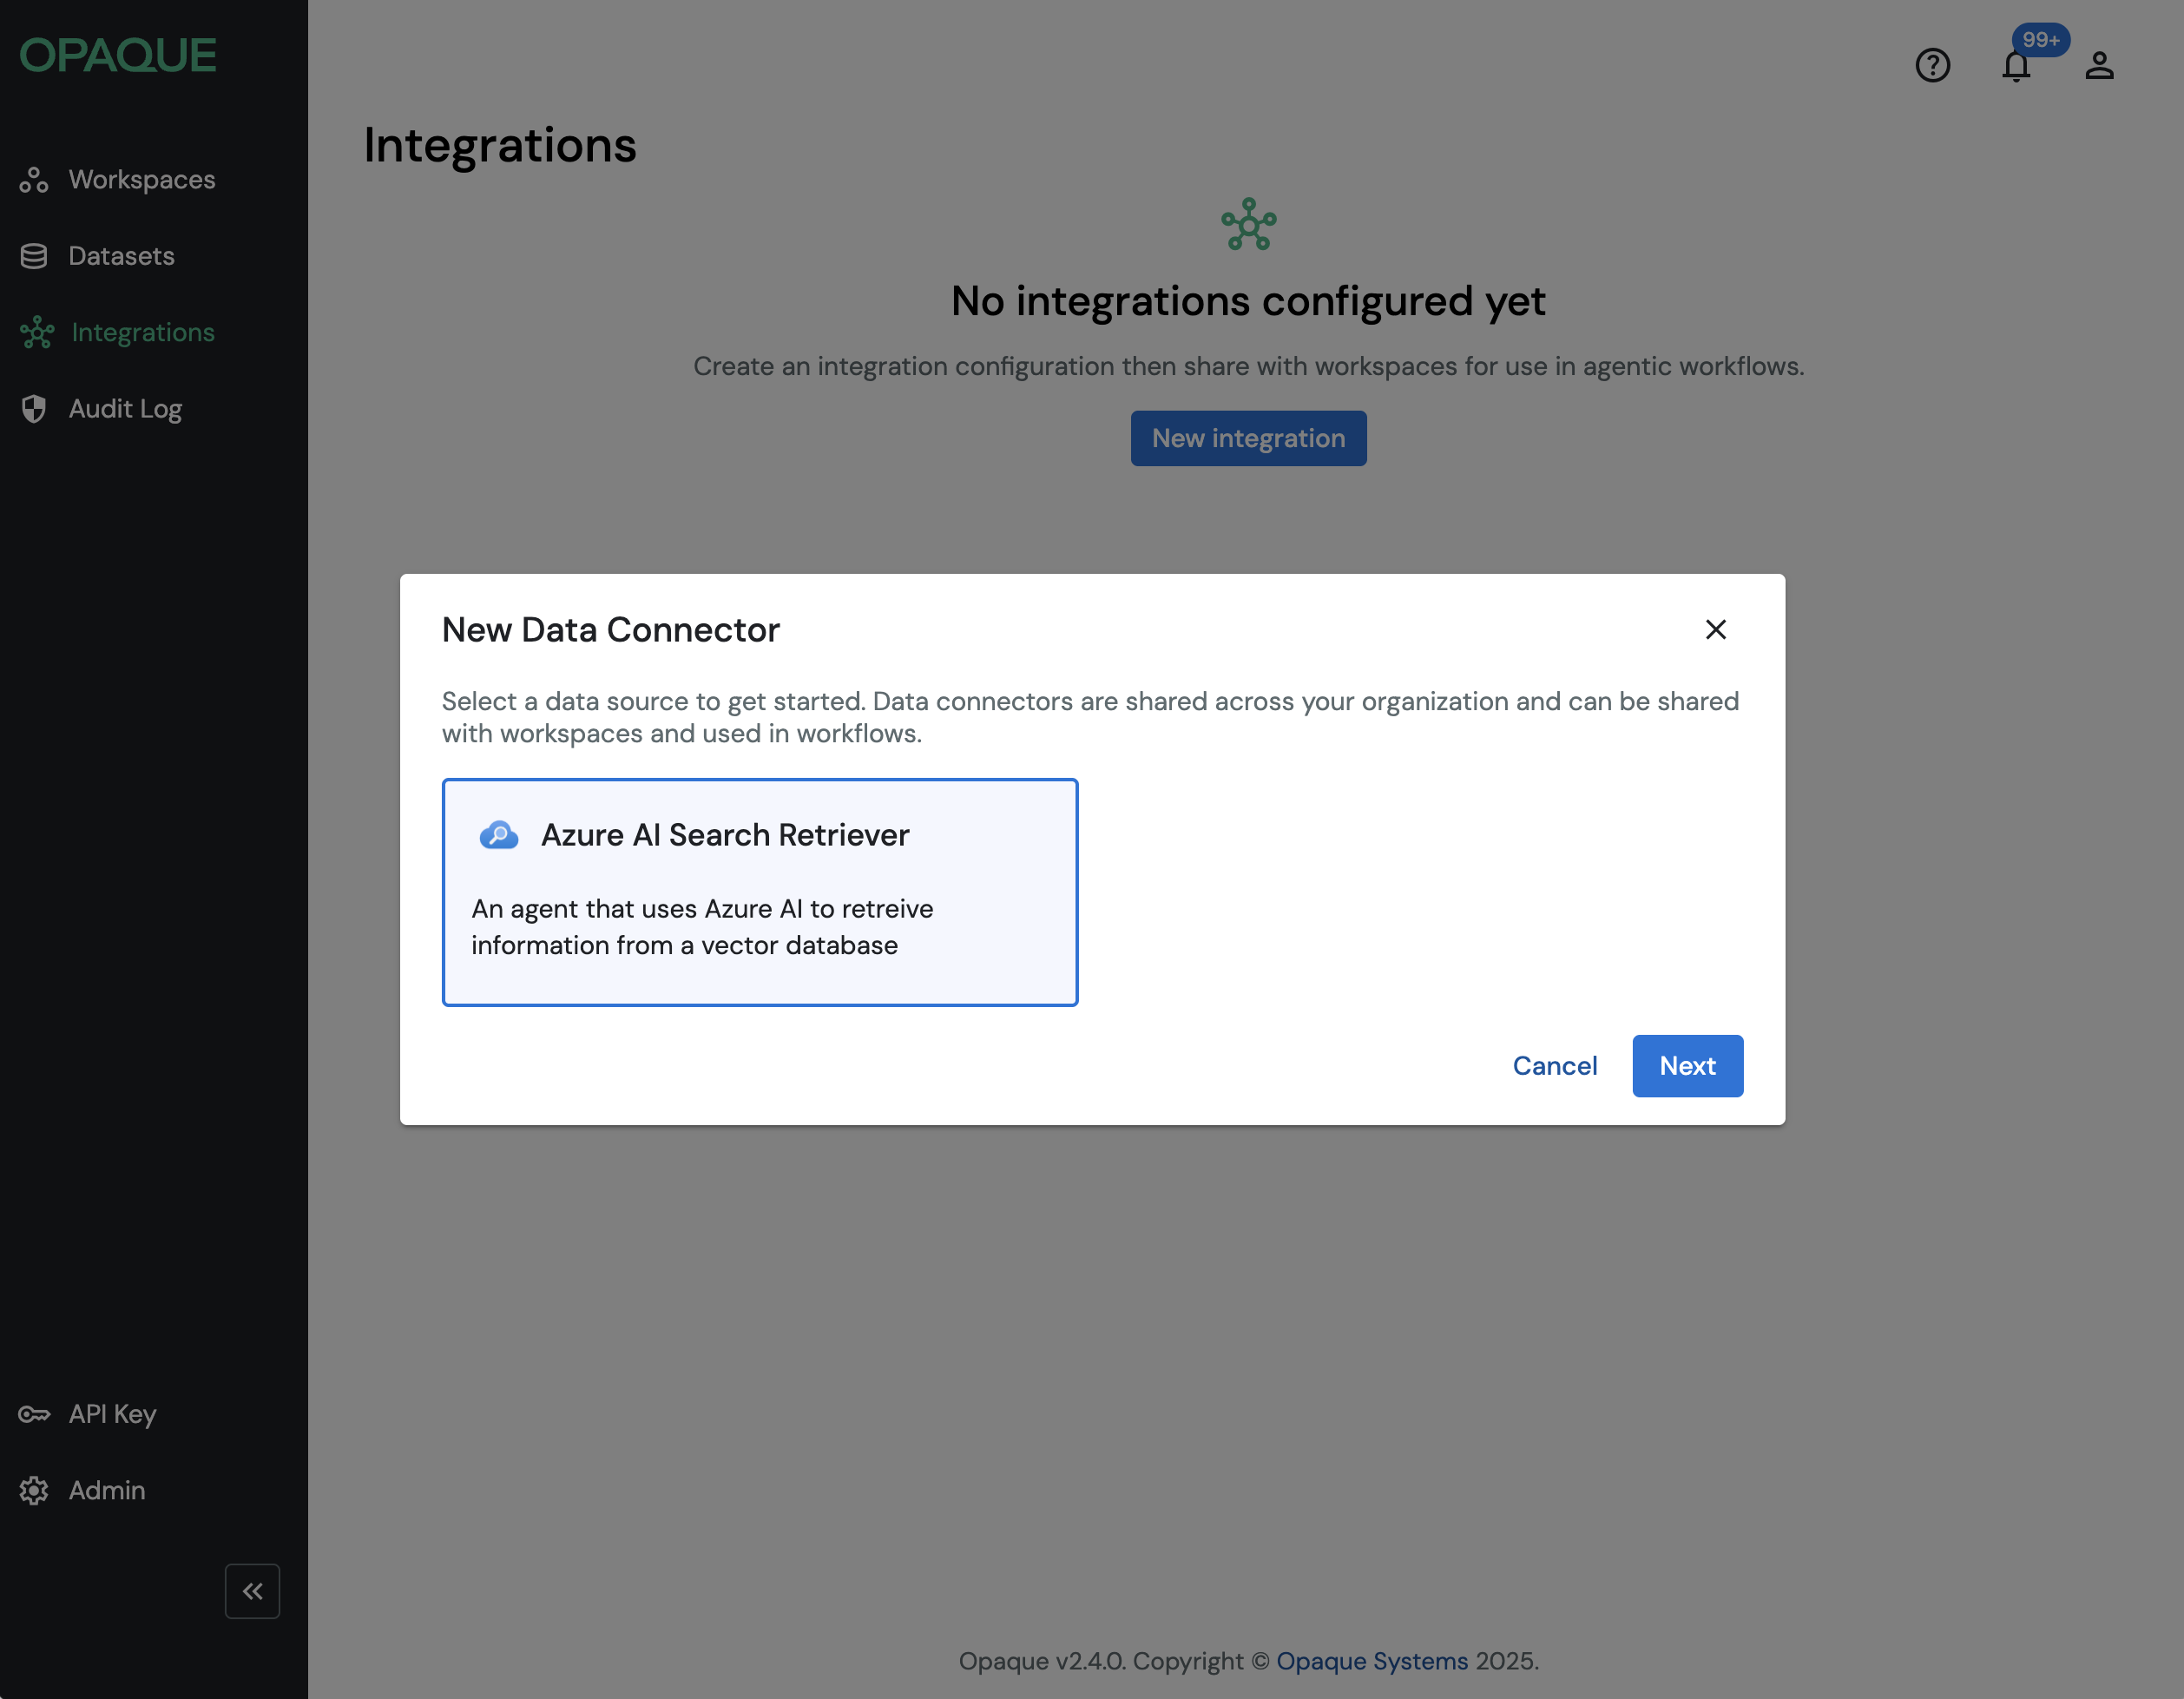
For data connectors, you can choose from seven connectors.
Note
Although the MCP Tool is currently grouped under data connectors, it is conceptually different. It provides a generic interface for agents to interact with external APIs, rather than connecting to a specific data source. This grouping is temporary and will be corrected in a future release.
... you can configure Anthropic Service, Azure LLM Service, OpenAI Service, vLLM Service.

When choosing an LLM configuration, you can choose from four models.
-
Configure the node. Give it a clear name and description so teammates can quickly recognize its purpose. Each integration type includes fields specific to its role.
Name integrations clearly
Choose names and descriptions that make sense to others in your organization. For example, use “Customer Search Index” instead of “Azure Test 1.” Clear naming helps teammates recognize and reuse the right integration without confusion.
When configuring Azure AI Search Retriever, you can supply the following fields:
- API key: Used to connect securely.
- API version: Optional; defaults to the latest supported version.
- Search index name: Used to query your data.
- Search service name: Identifies the Azure Search service hosting your index.
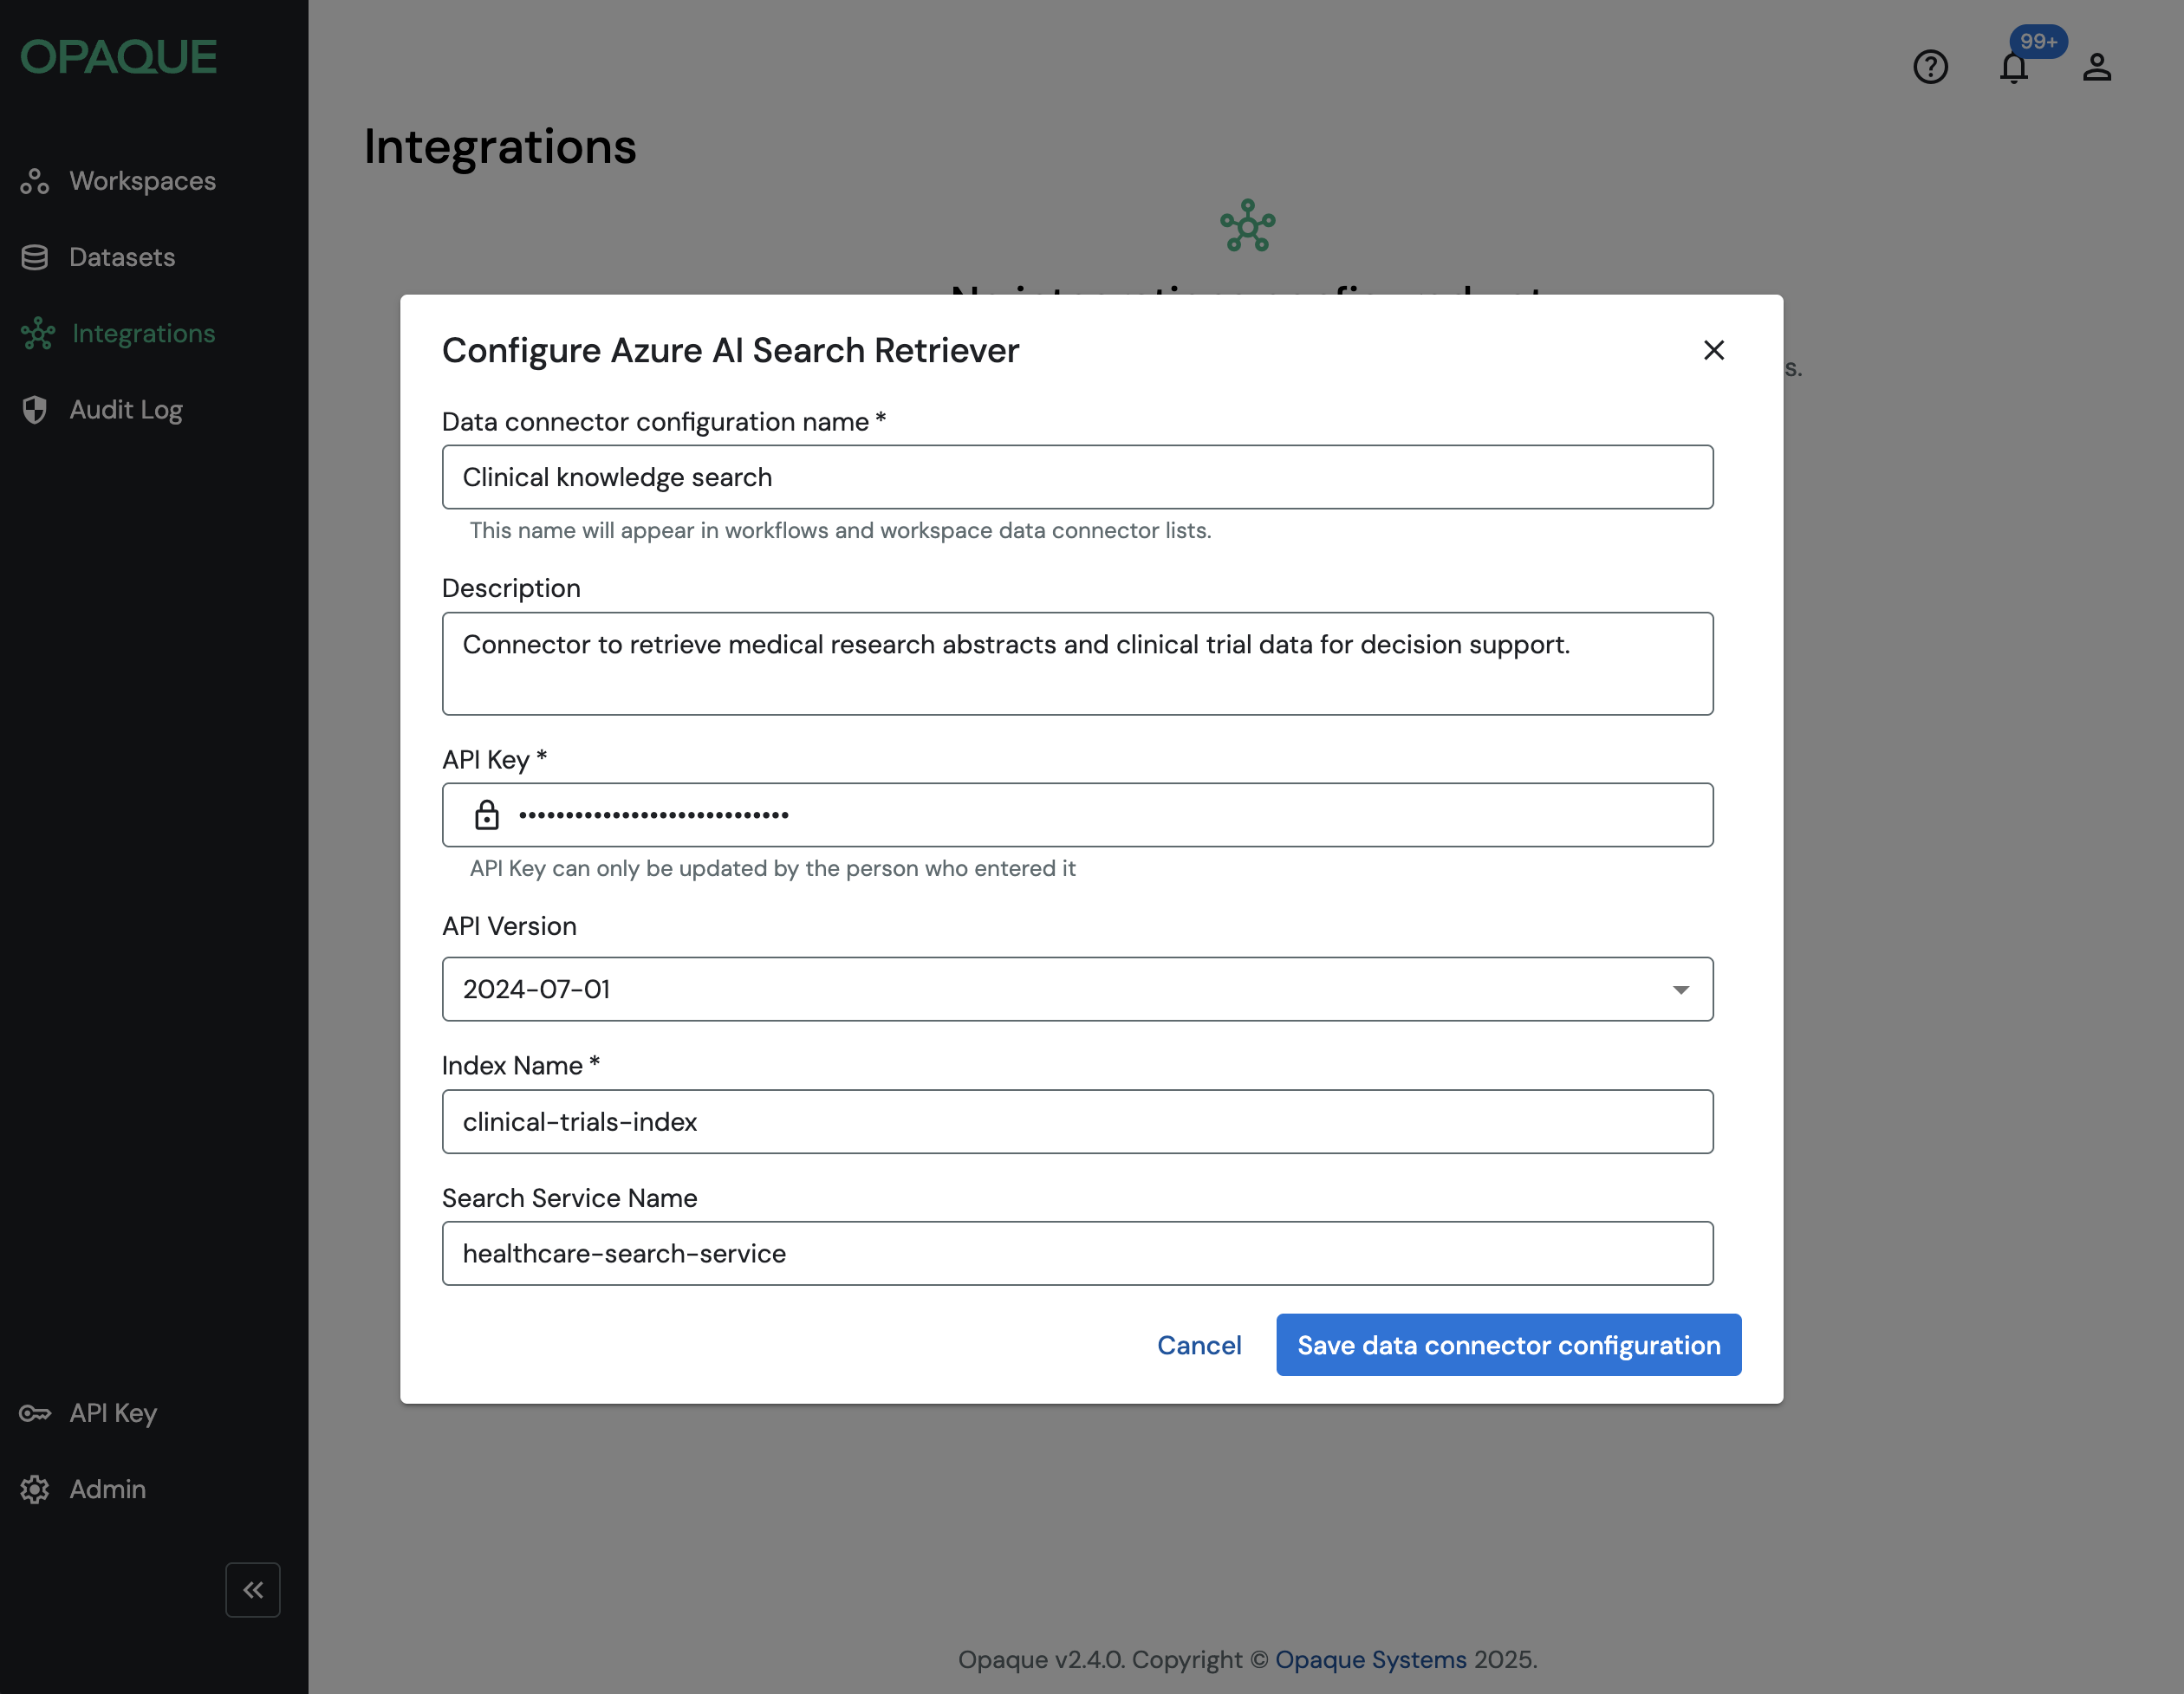
An example configuration of an Azure AI Search Retriever.
When configuring an LLM node, you’ll want to specify:
- Model name
- Temperature
- Maximum number of tokens
- API key/URL (depending on the service)
- Context prompt
Any fields you pre-specify here will be locked and uneditable for downstream users.
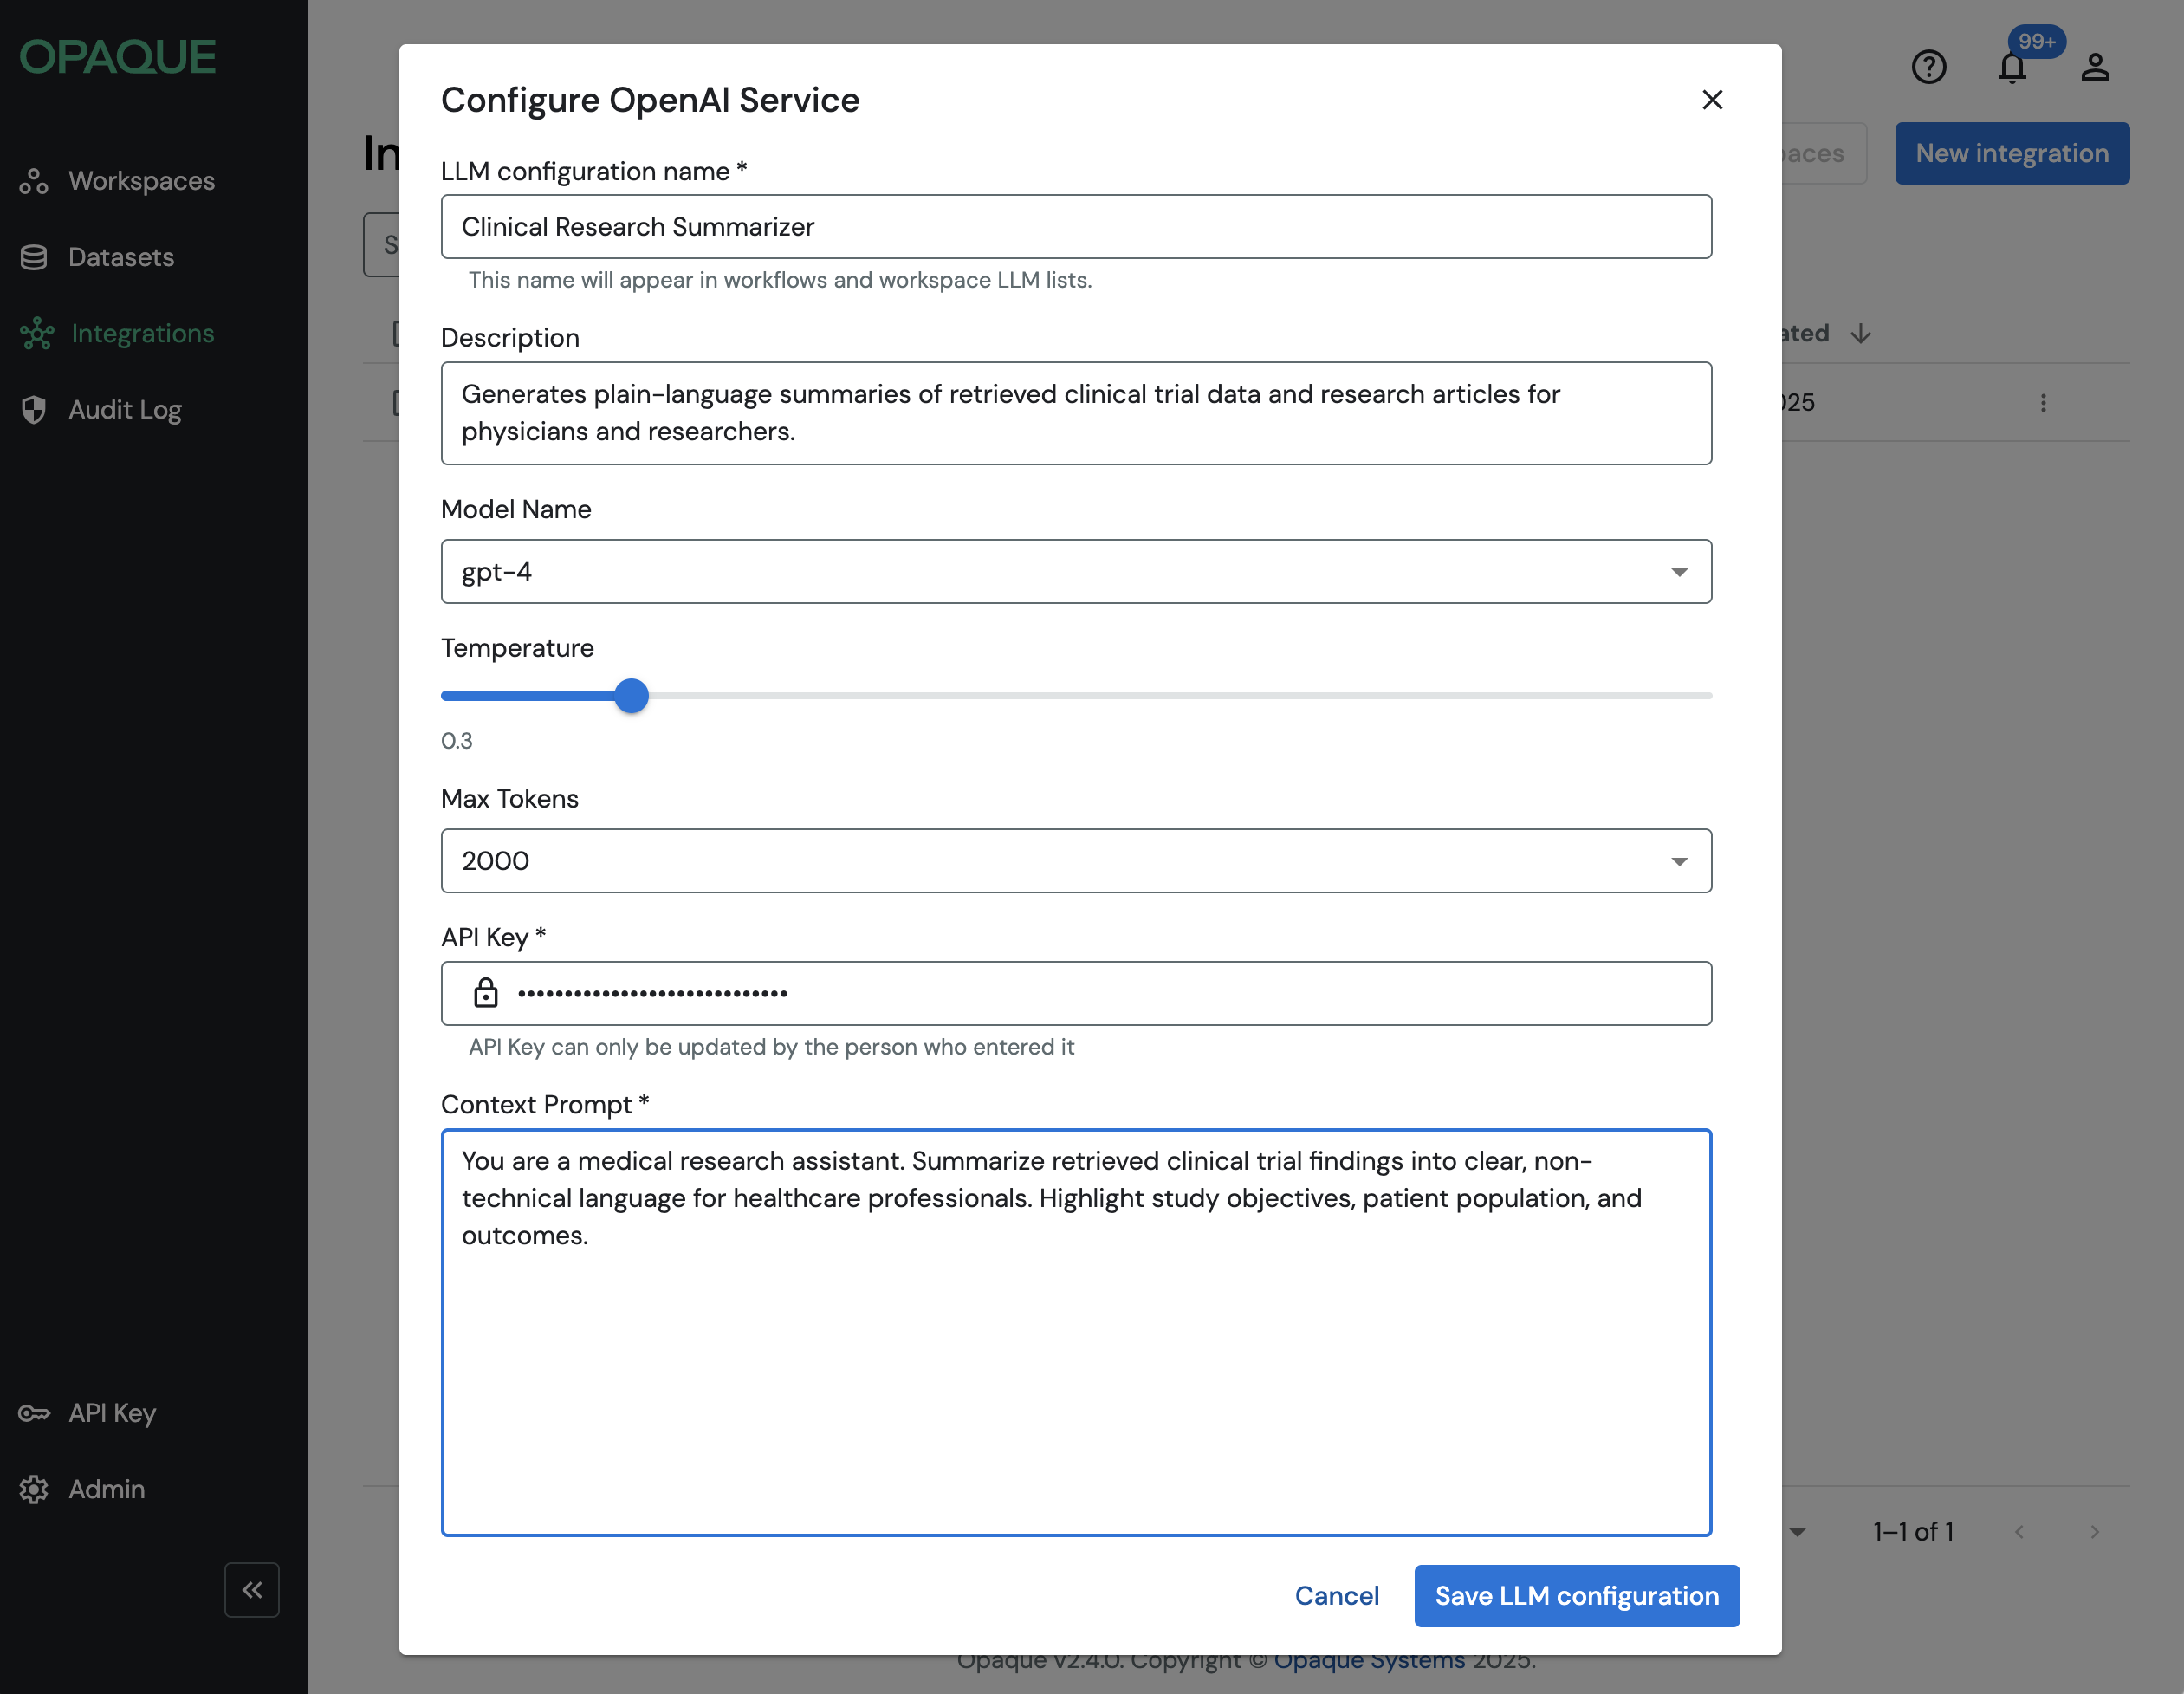
An example configuration of an OpenAI agent.
-
Click Save. The new integration appears on the Integrations page.
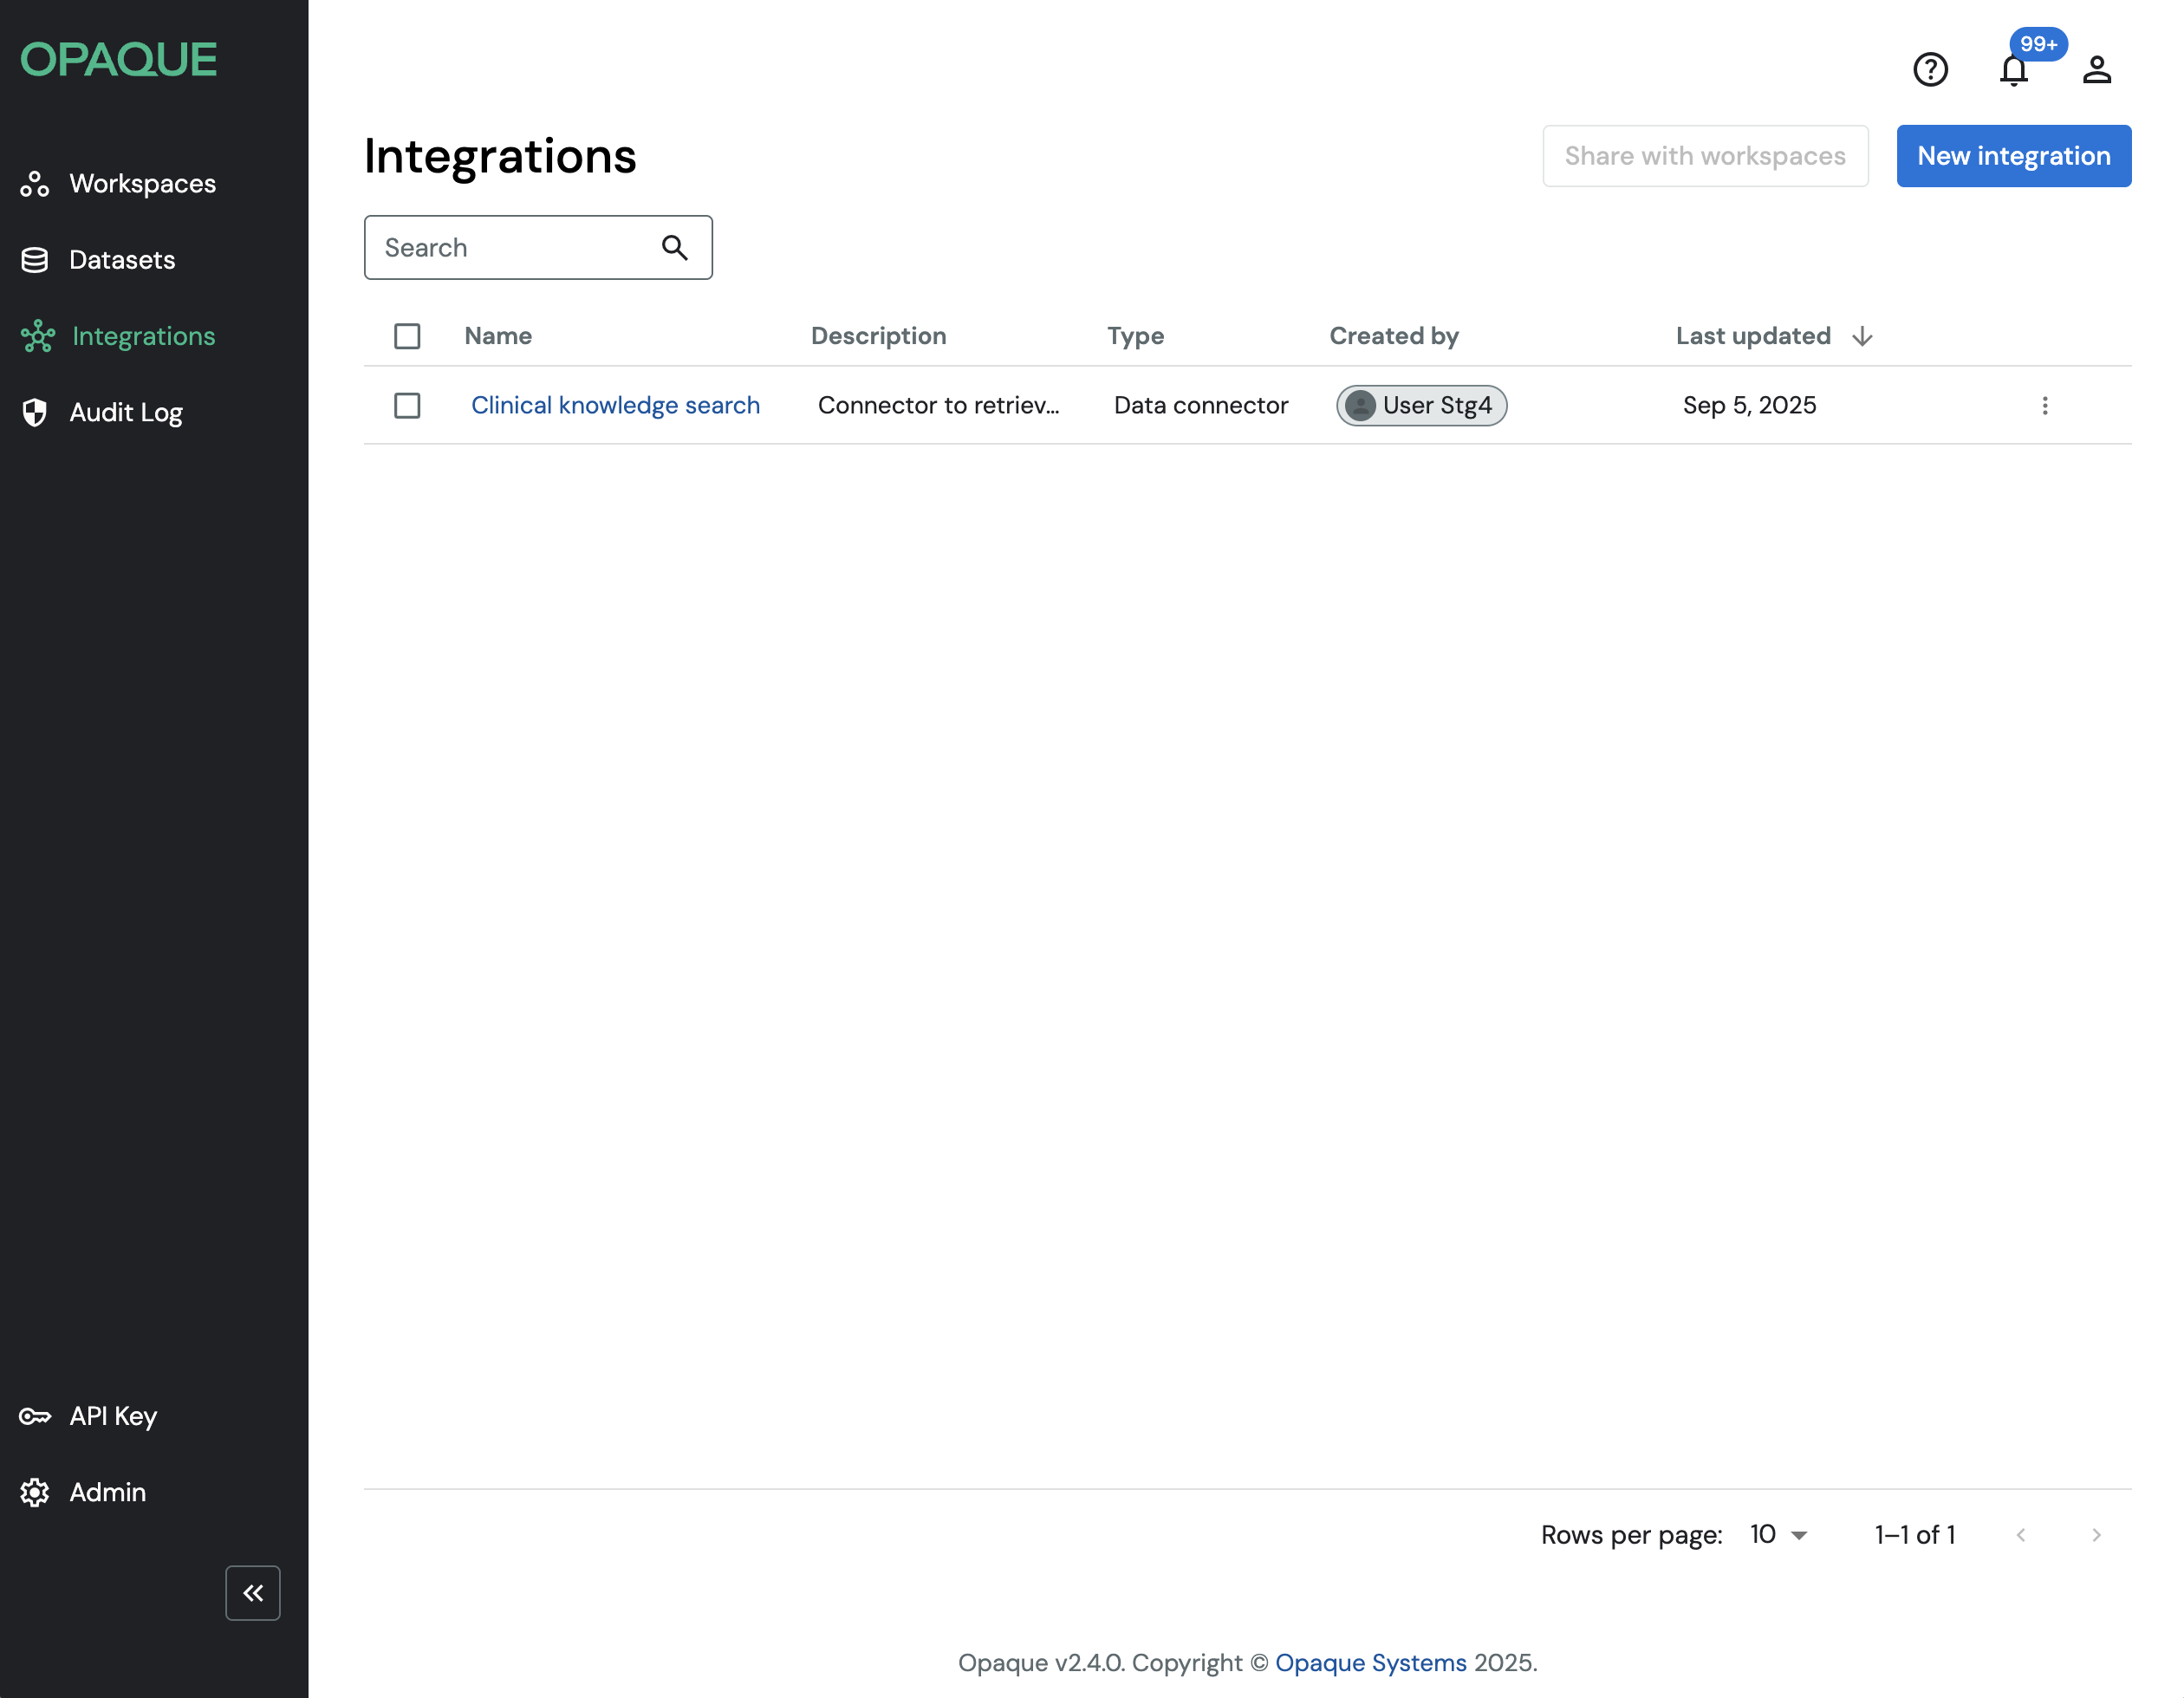
The Integrations page lists all preconfigured integrations that are available to your organization.
Share an integration with workspaces
Once created, an integration can be shared with one or more workspaces so it’s available in their workflows. Follow these steps:
-
On the Integrations page, select the integration from the list and click Share with workspaces. You’ll need to be the integration’s creator or a workspace admin to share it.
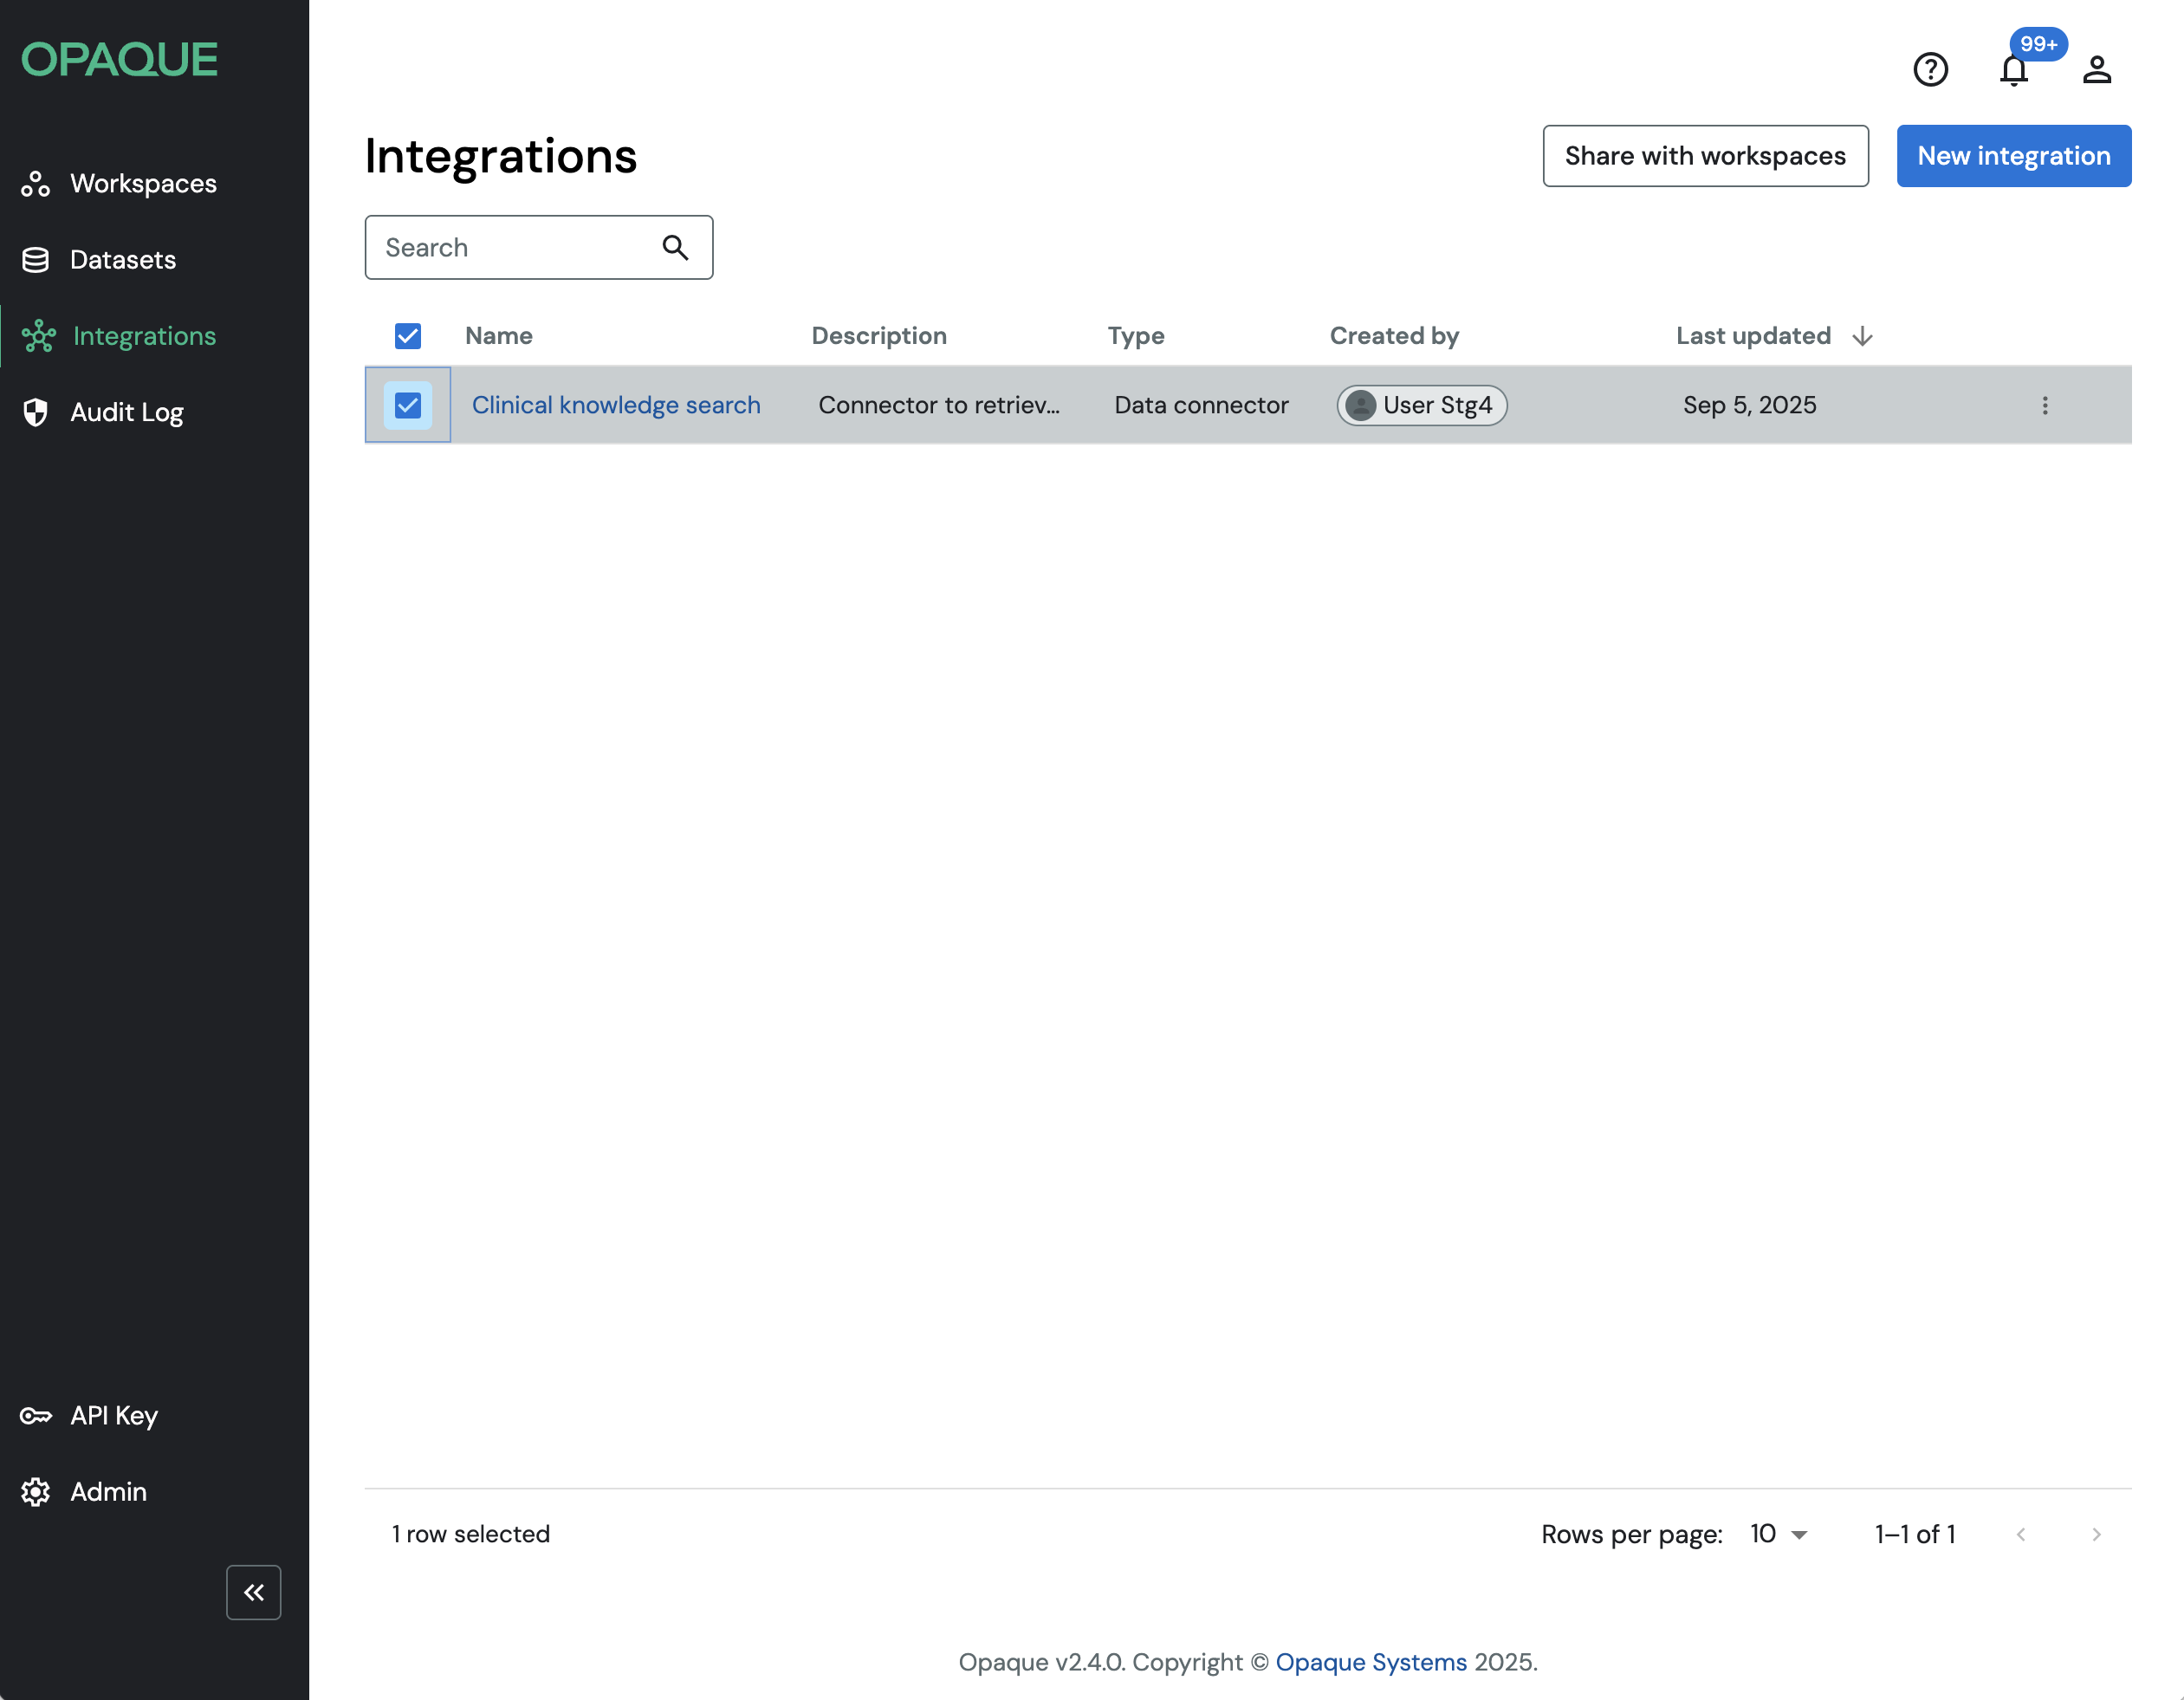
Select the integration and click Share with workspaces.
-
Choose one or more workspaces and click Share integration.
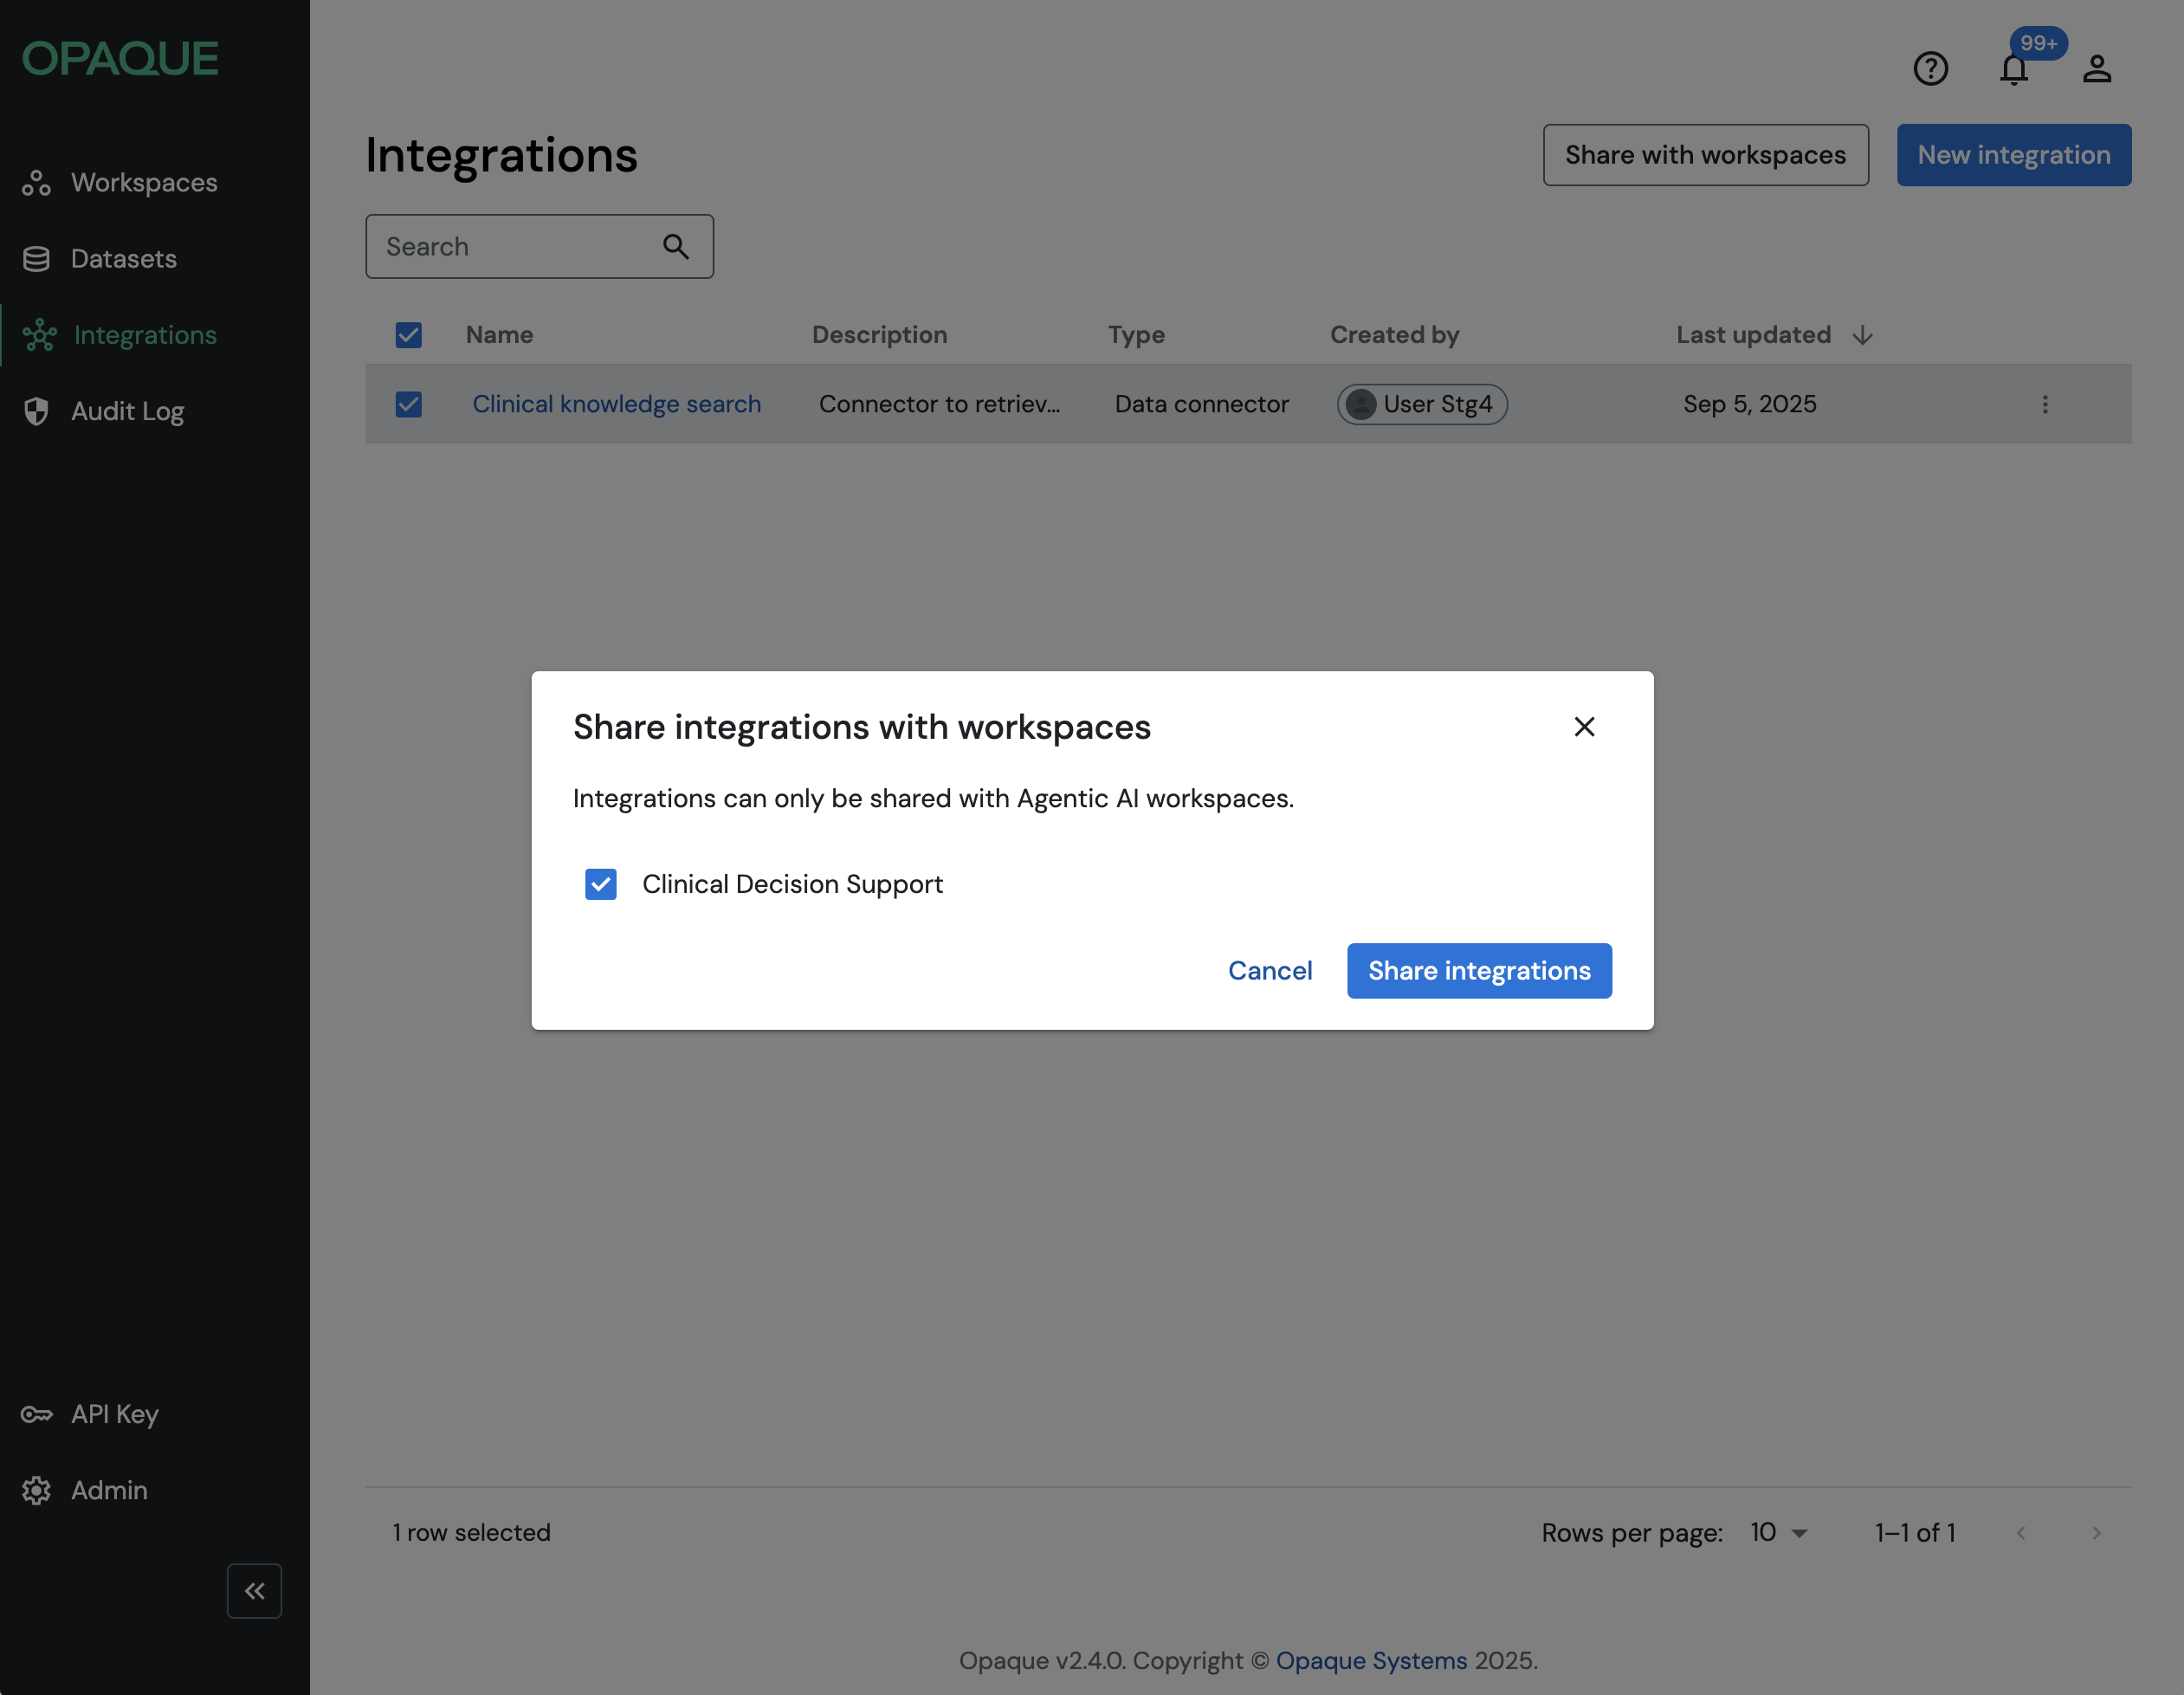
Select the workspace(s) and click Share integration.
You’ll see a confirmation notification that your new integration has been shared with the selected workspace(s).
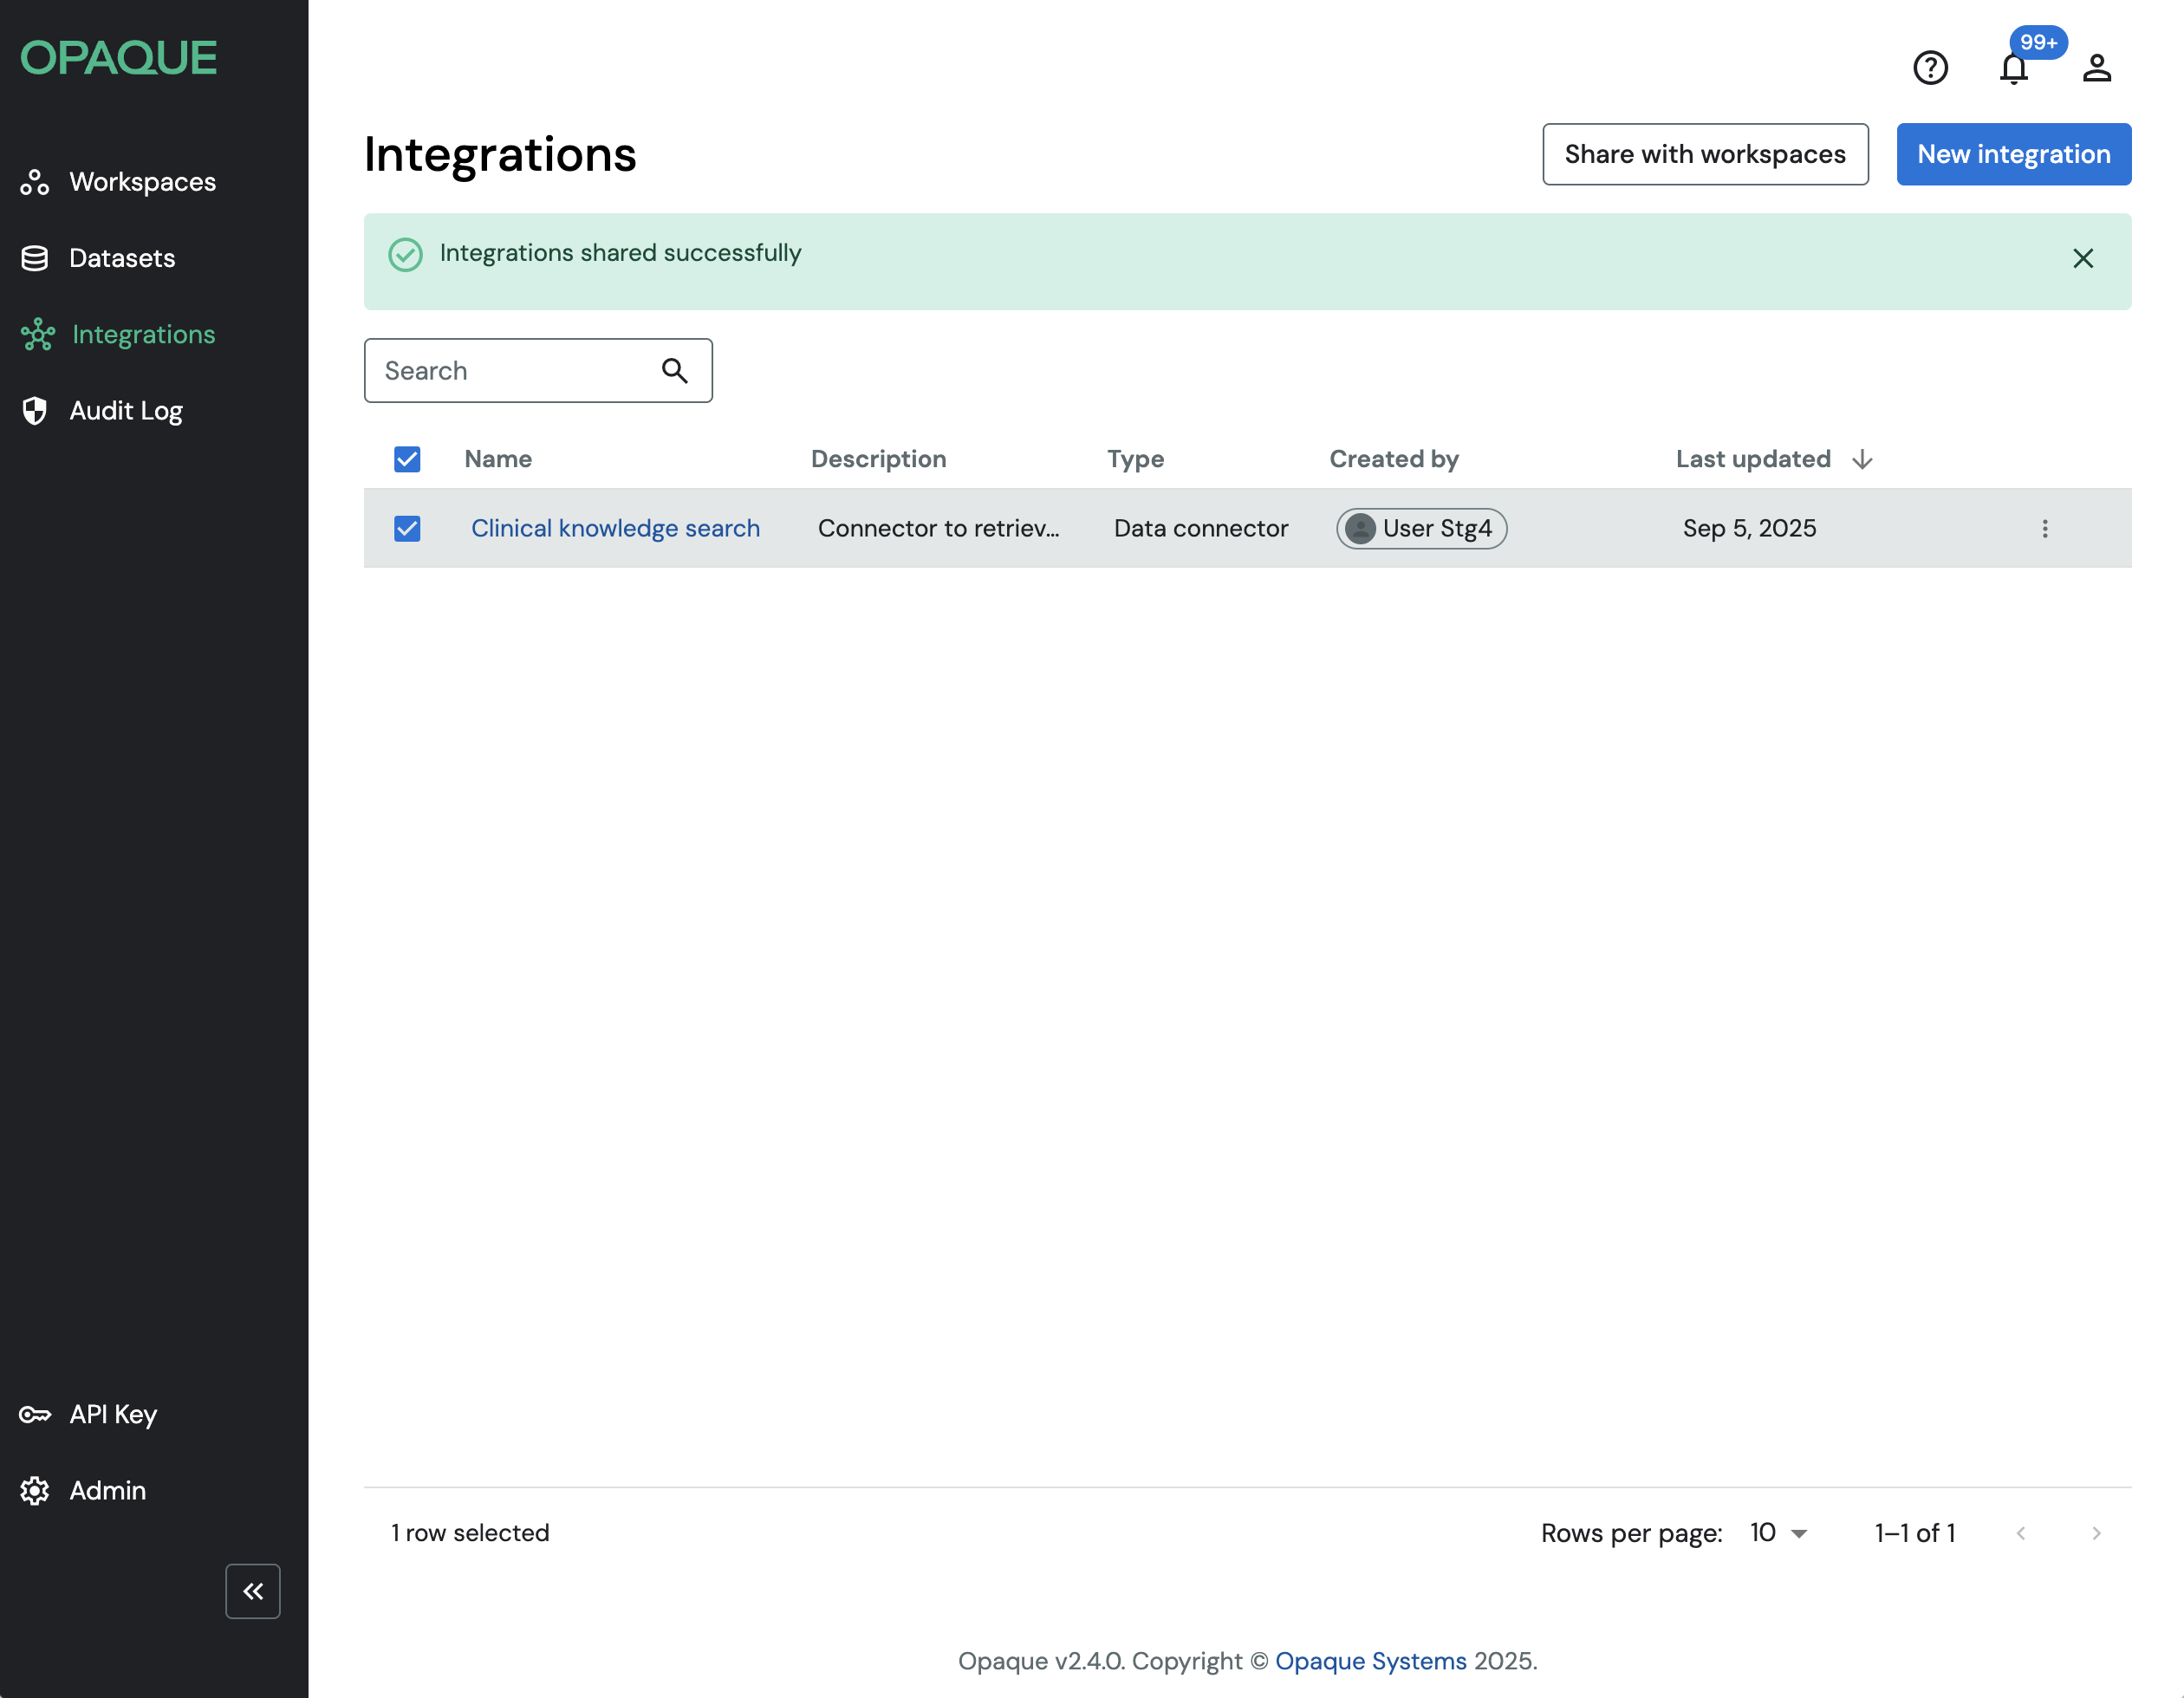
To confirm, go to the target workspace and open the Integrations tab. You should see the shared integration listed.
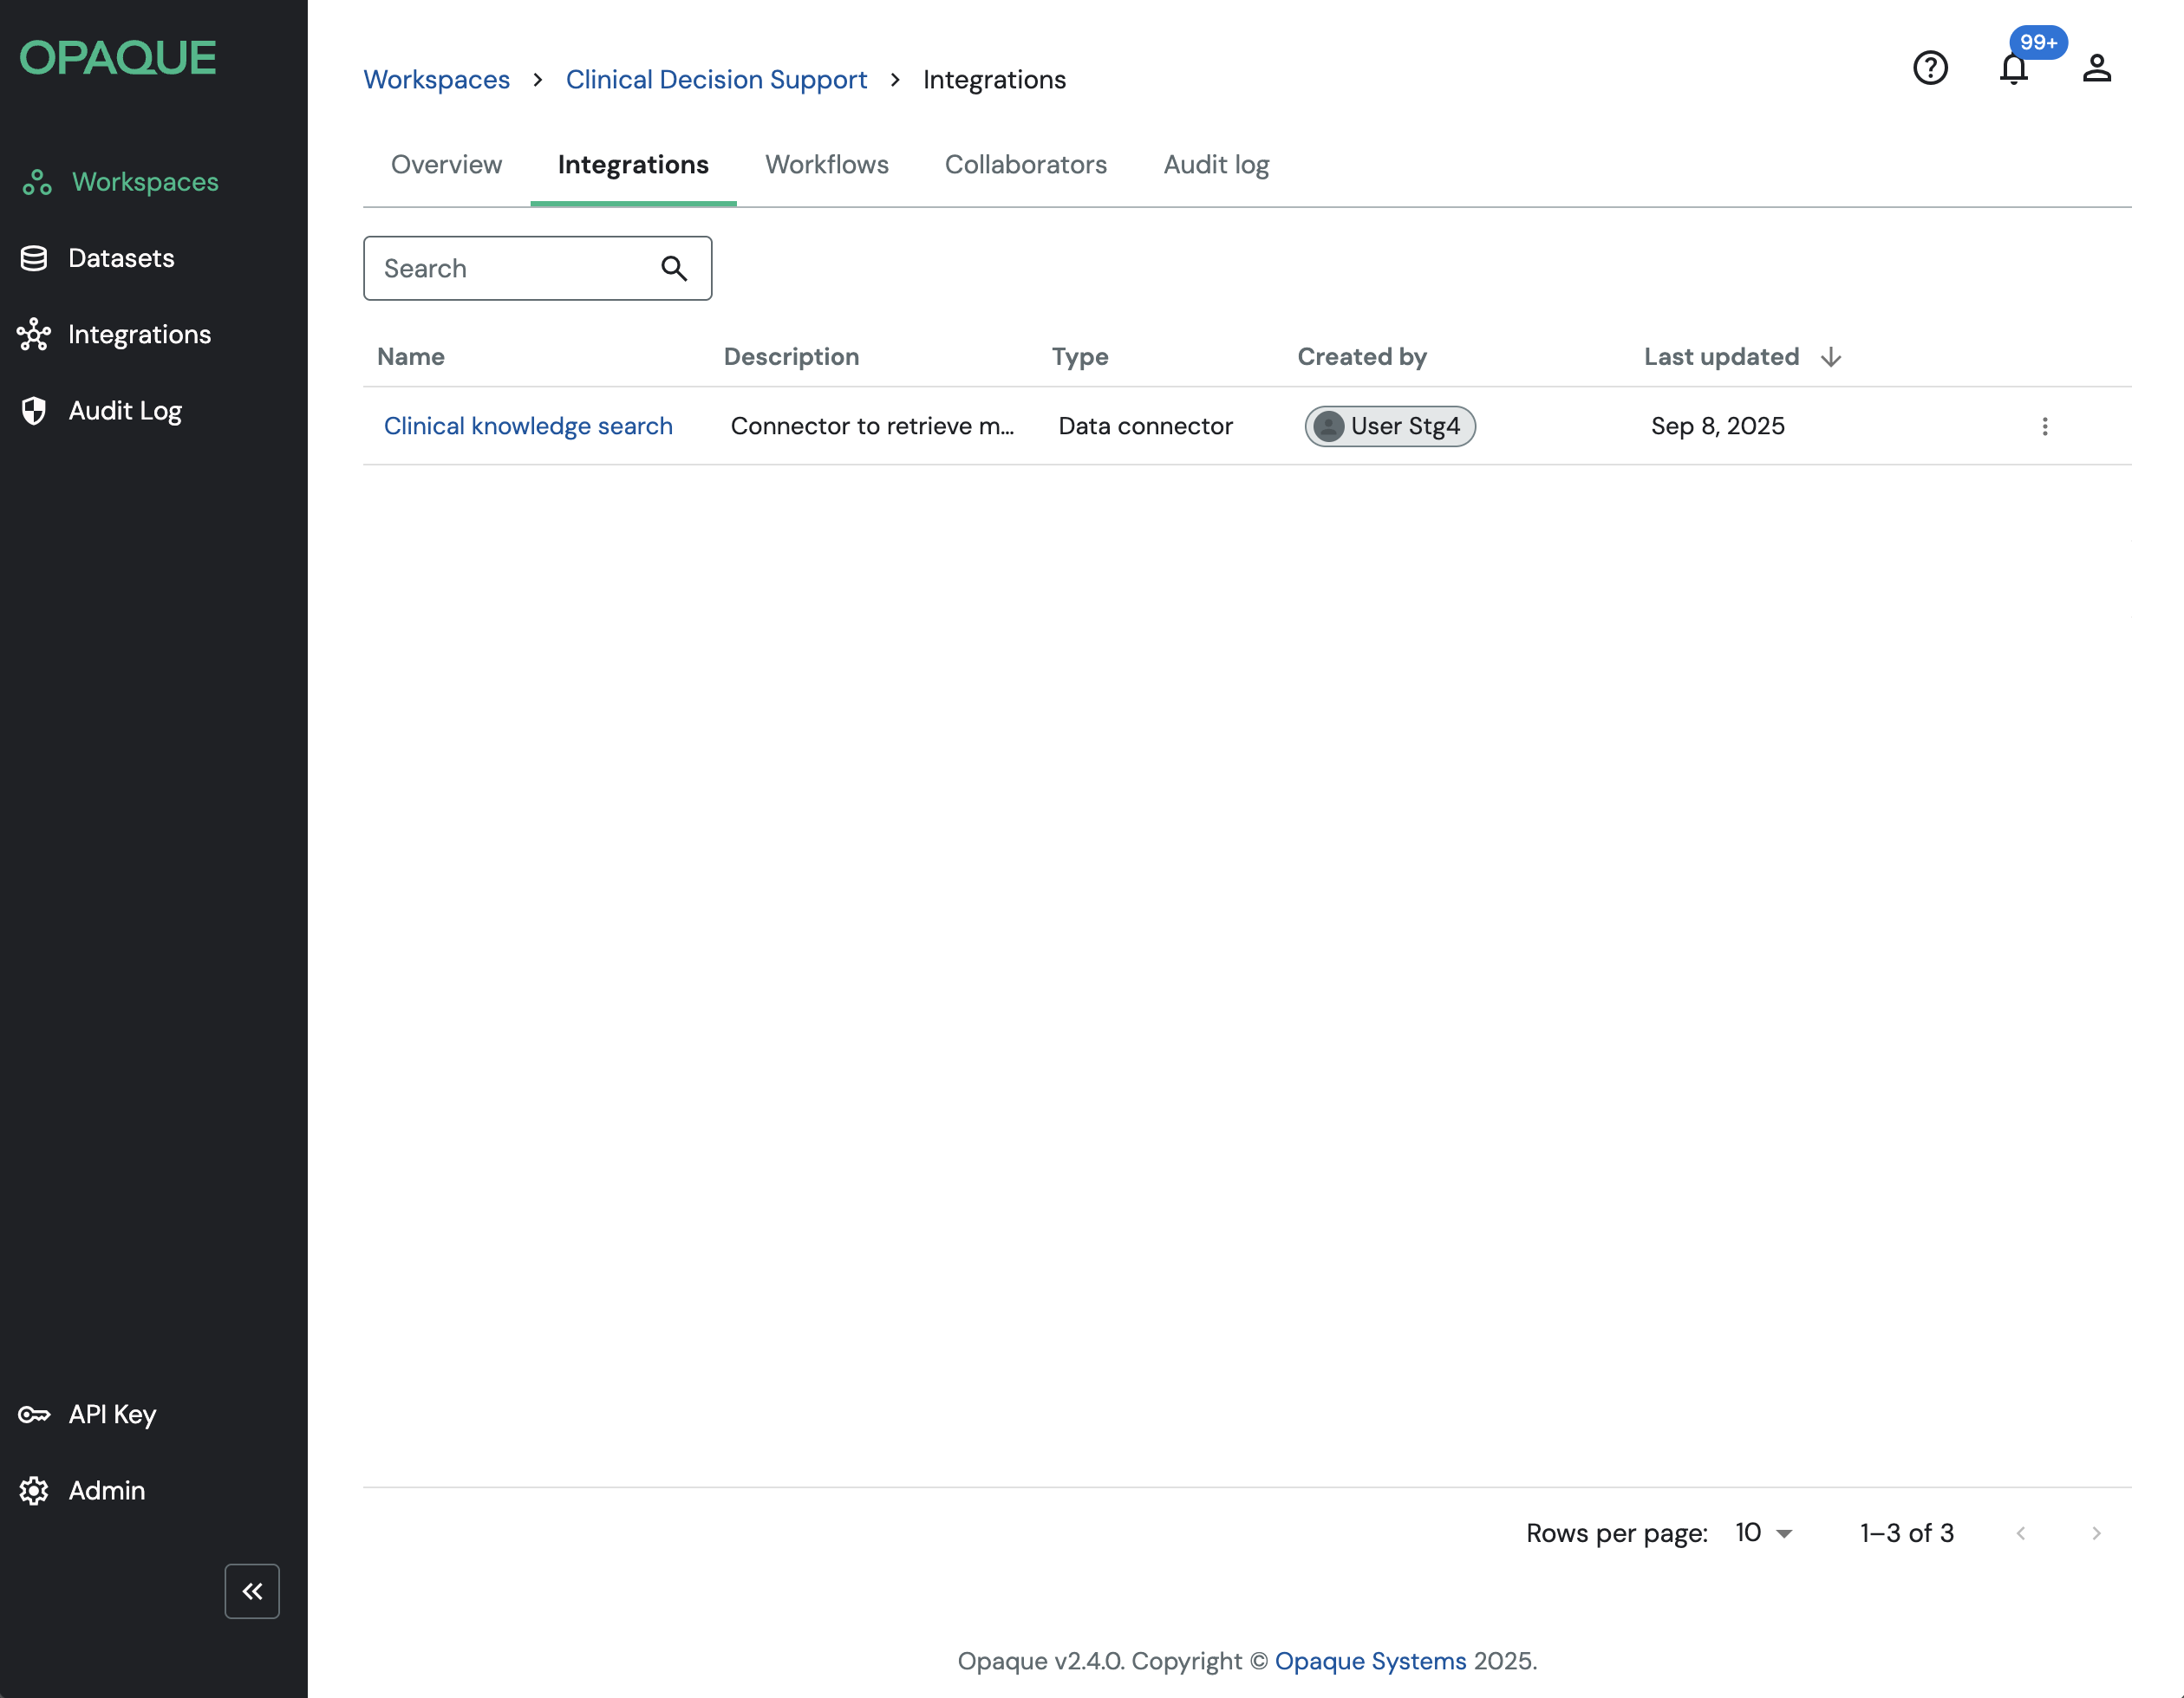
Shared integrations appear on the Integrations tab of your workspace.
Click the more () icon, to open a drawer that shows the integration's configuration details.
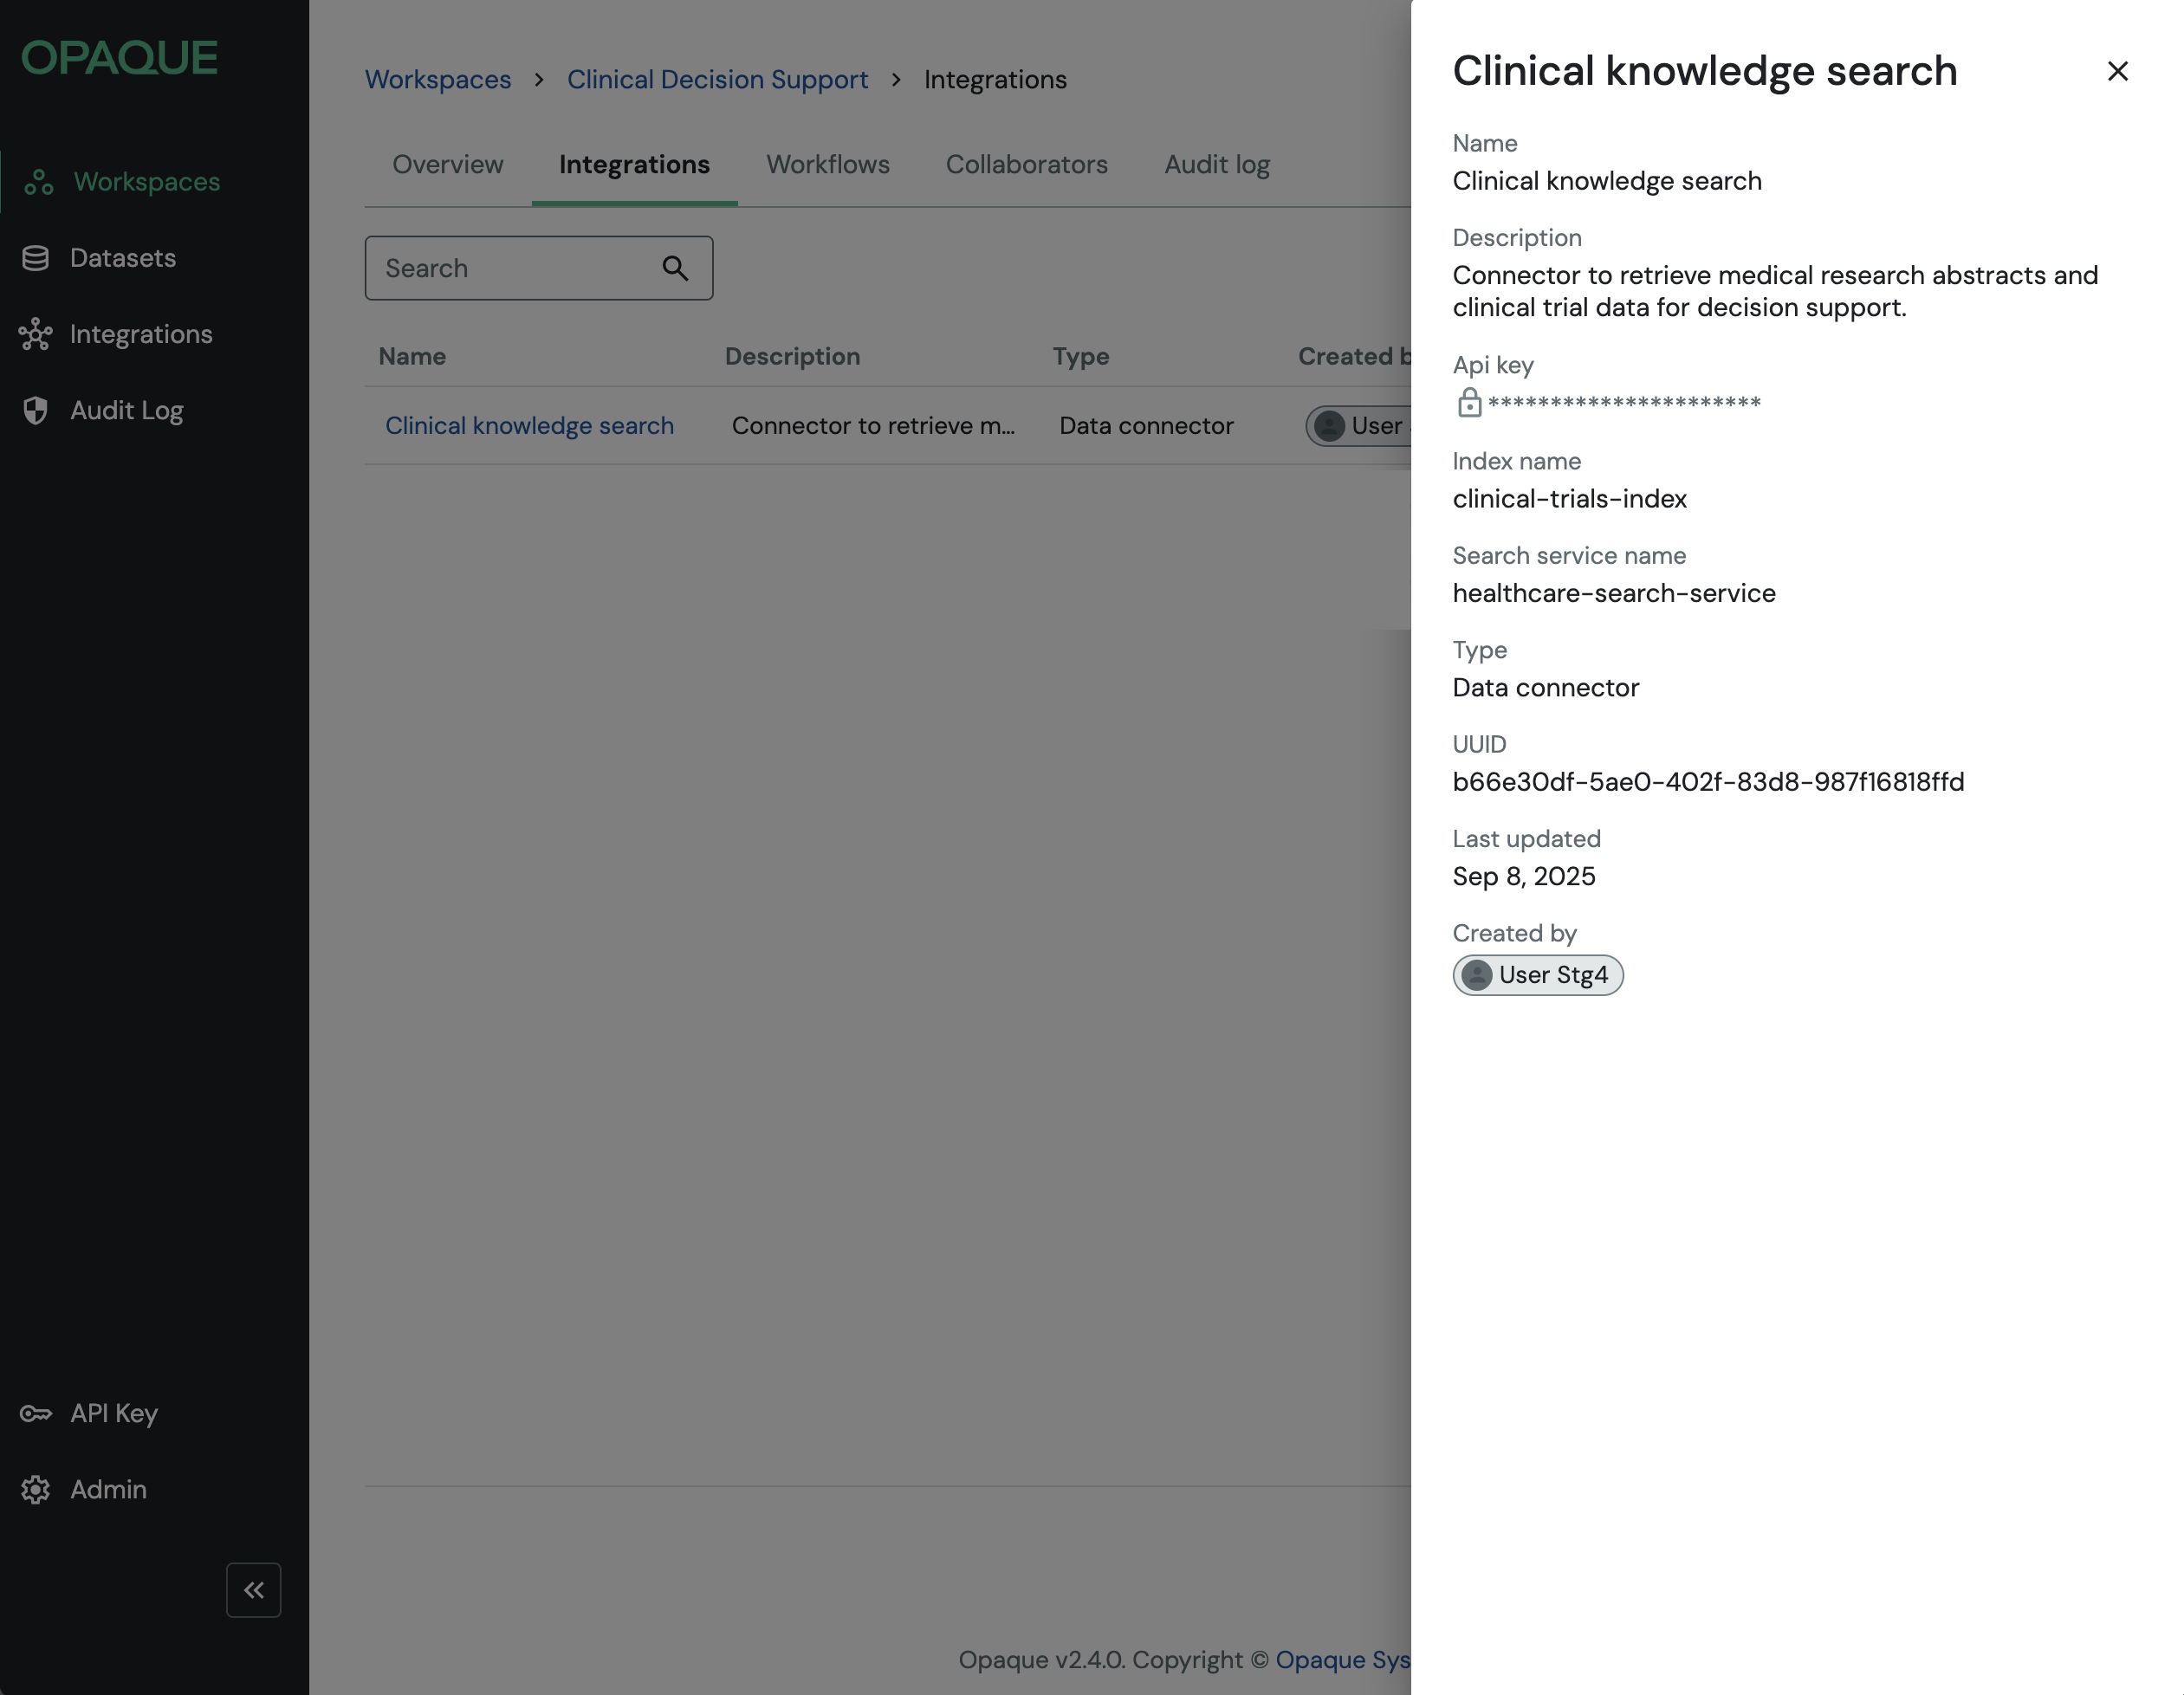
An integration's configuration drawer shows the locked configuration settings.
Once shared, integrations appear in the Nodes panel of your workflow, with a hub icon () next to them. From there, they behave just like nodes you configure yourself — you can connect them in workflows, define prompts, and add guardrails as needed.
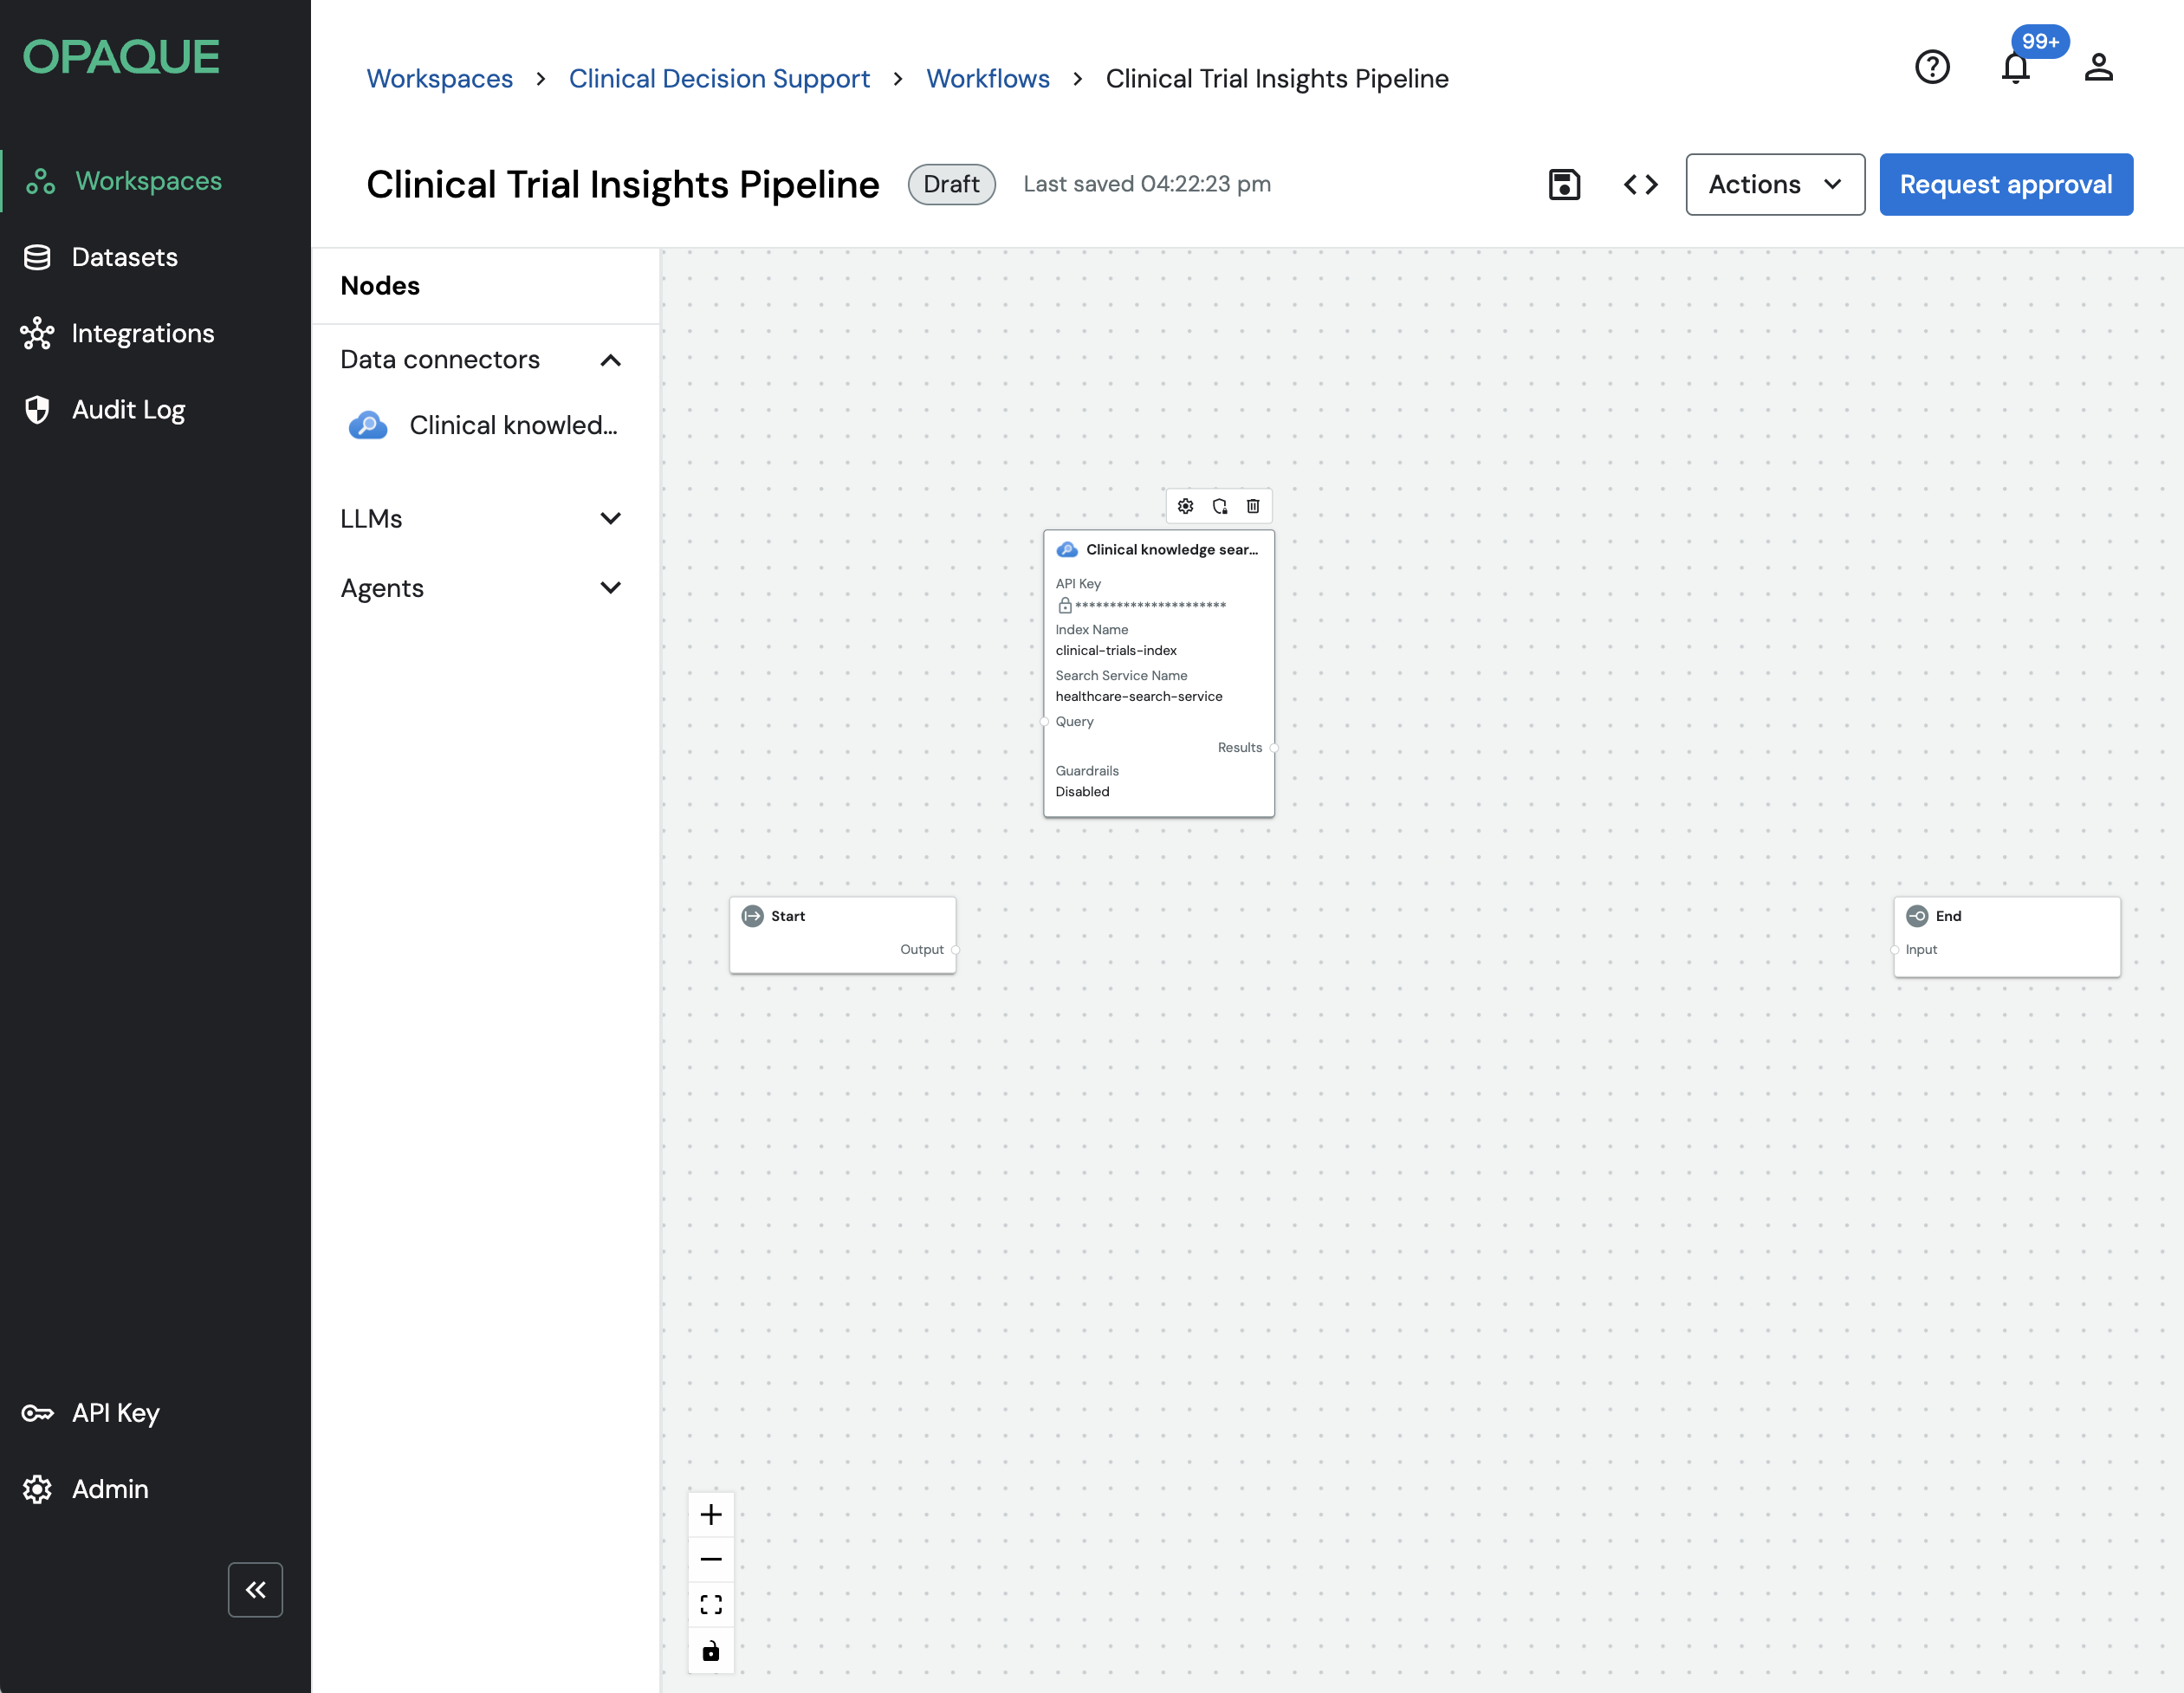
Shared integrations appear in the Nodes panel under their type: data connectors or LLMs.
Note
Any fields set by the integration creator are locked and cannot be edited in the workflow.