UI basics
When you first sign in to OPAQUE, you'll land on a clean, minimal interface.
While the features available depend on your role—organization admin, workspace admin, or workspace member—the overall layout remains consistent across the platform. Here’s a quick tour of the main interface elements to help you get oriented.
Core interface elements
The OPAQUE interface includes the following core components, visible to all OPAQUE users:
- Navigation panel
- Page view
- Utility nav
- OPAQUE version
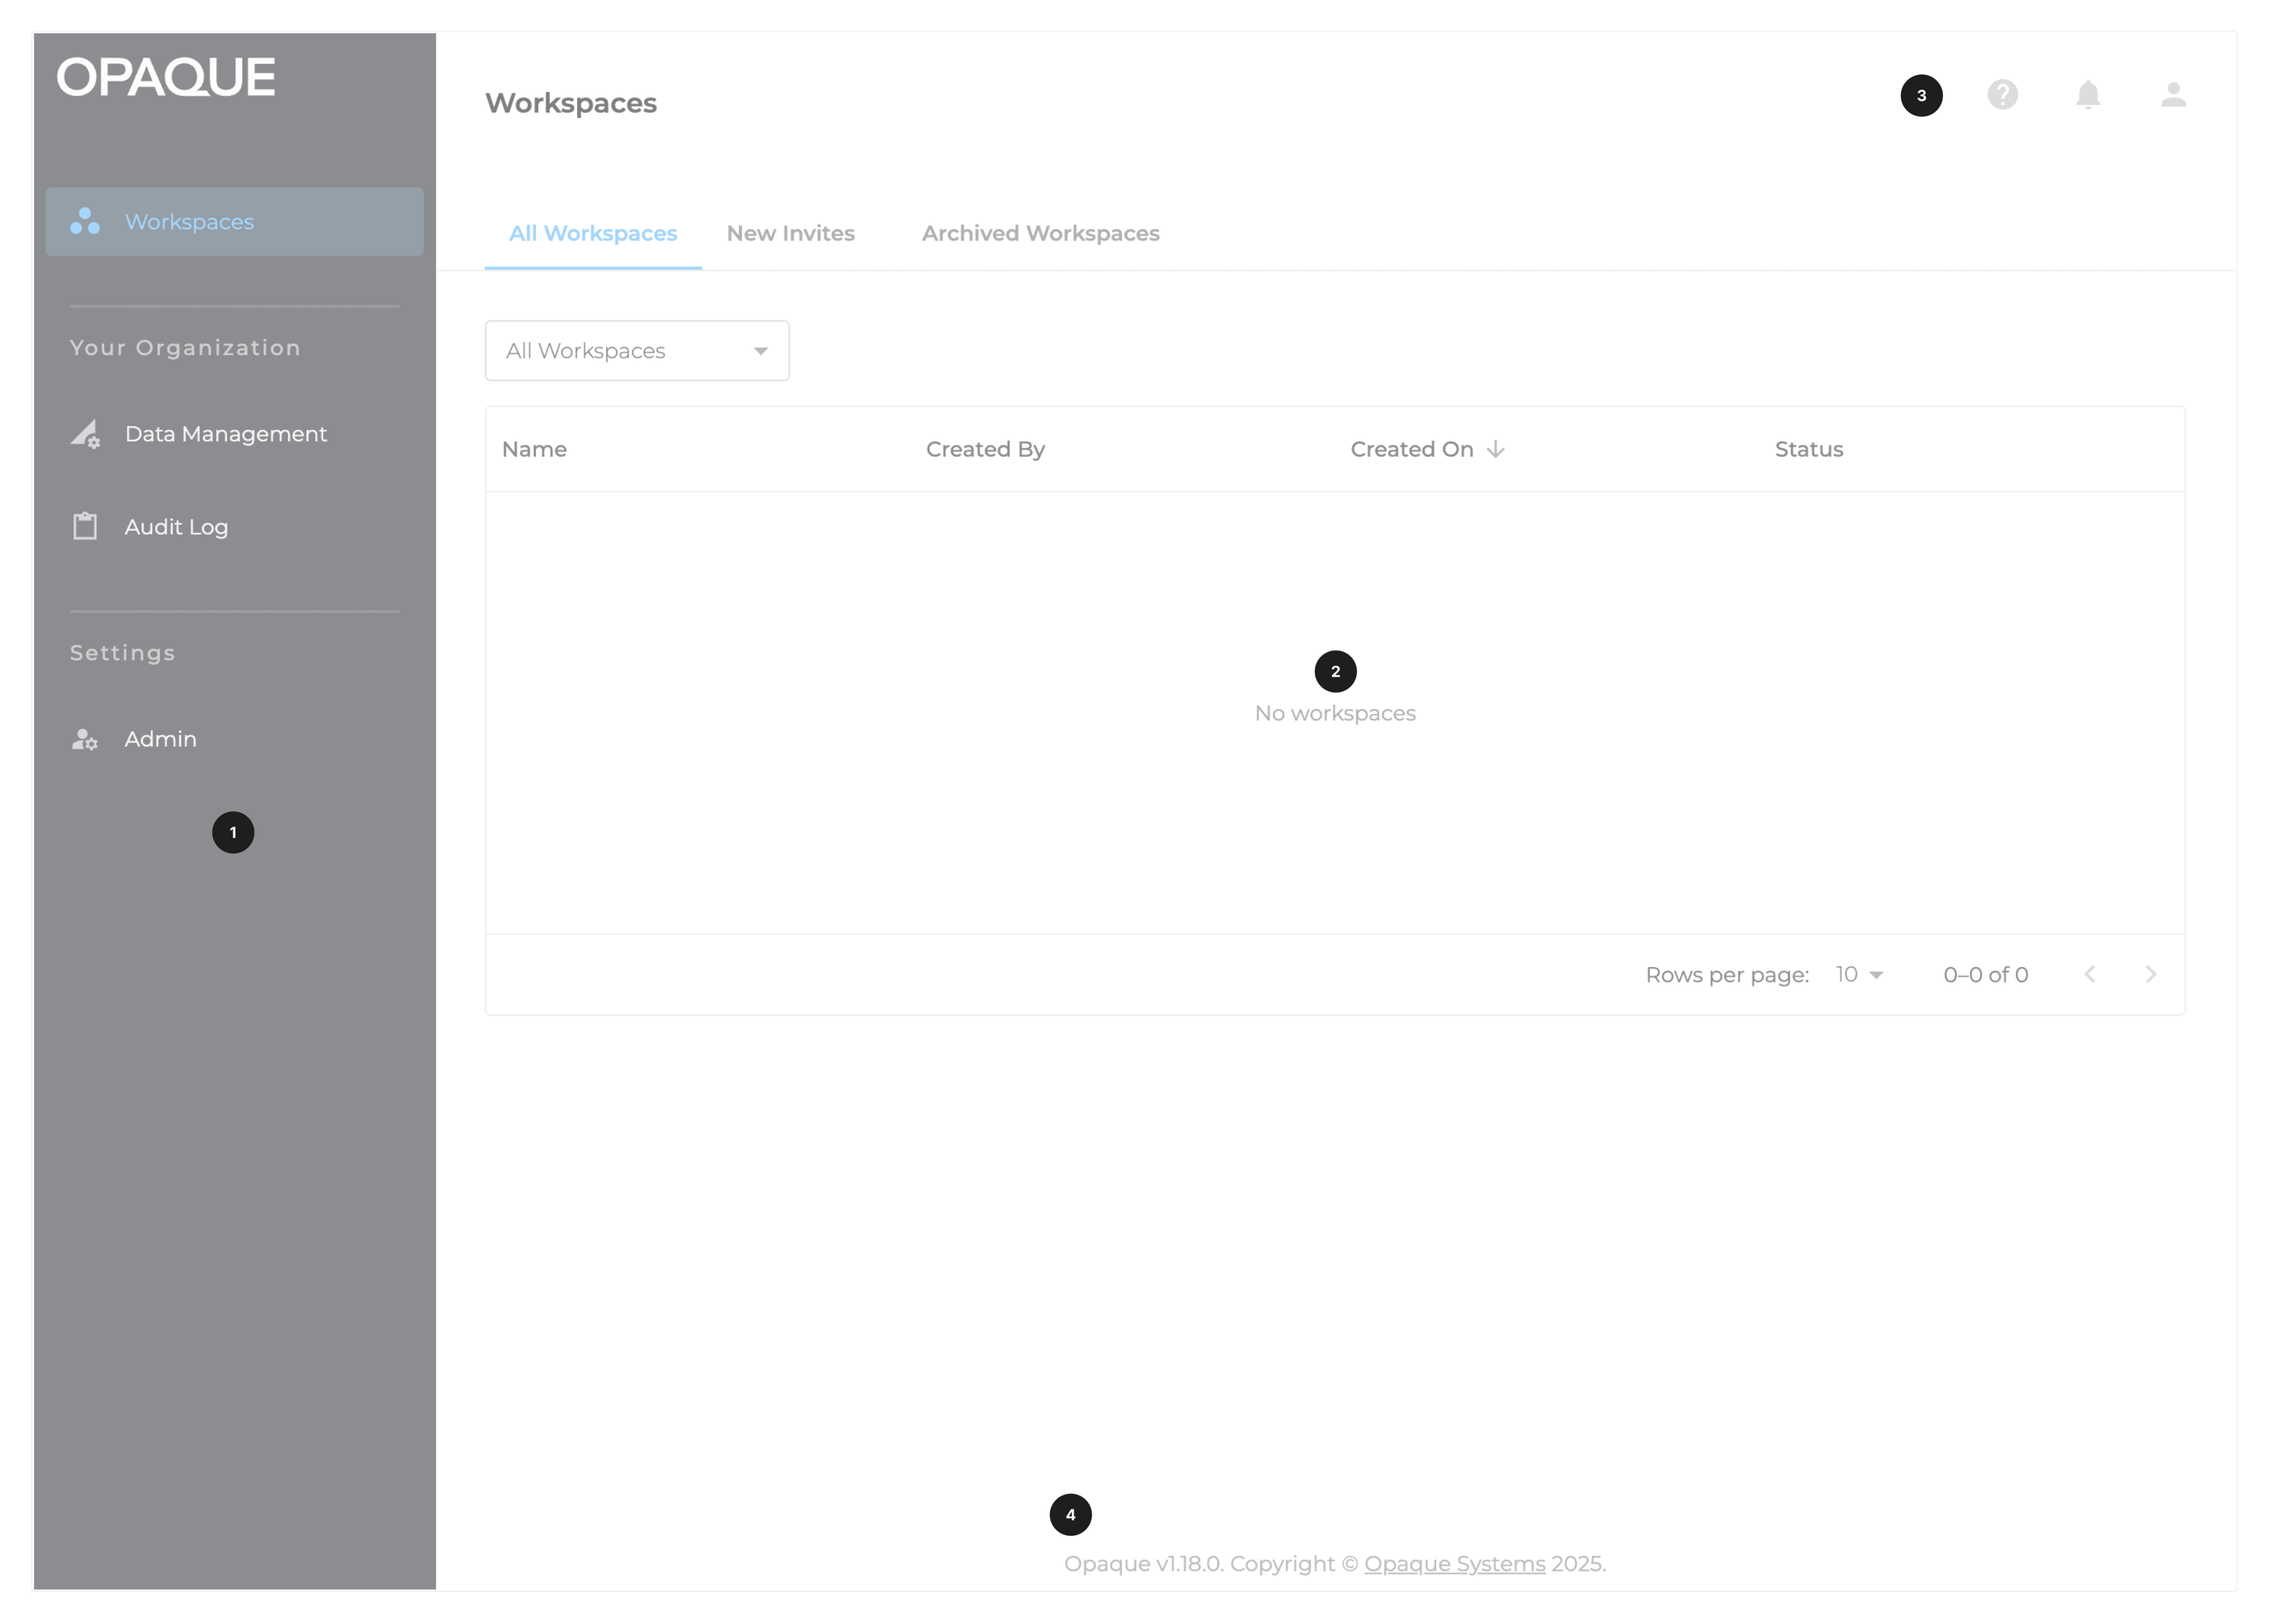
The core OPAQUE user interface elements.
Navigation panel
Use the left-hand navigation panel to access the platform’s main sections. What you see here depends on your role:
- Workspaces: View and switch between workspaces you’ve joined—or created, if you're a workspace admin.
- Datasets: Connect datasets for use in analytics and ML workflows.
- Integrations: Share preconfigured, reusable components across agentic workspaces and workflows.
- Trust (org admins only): Access attestation reports and track actions across the platform for compliance and verification.
- API Key: Retrieve an API key for accessing Opaque services programmatically.
- Admin (org admins only): View and edit the roles of organization members.
You can toggle the side navigation to icons only using the control at the bottom of the panel.
The following figures show examples of the default admin and user (workspace member) views after signing in to Opaque.
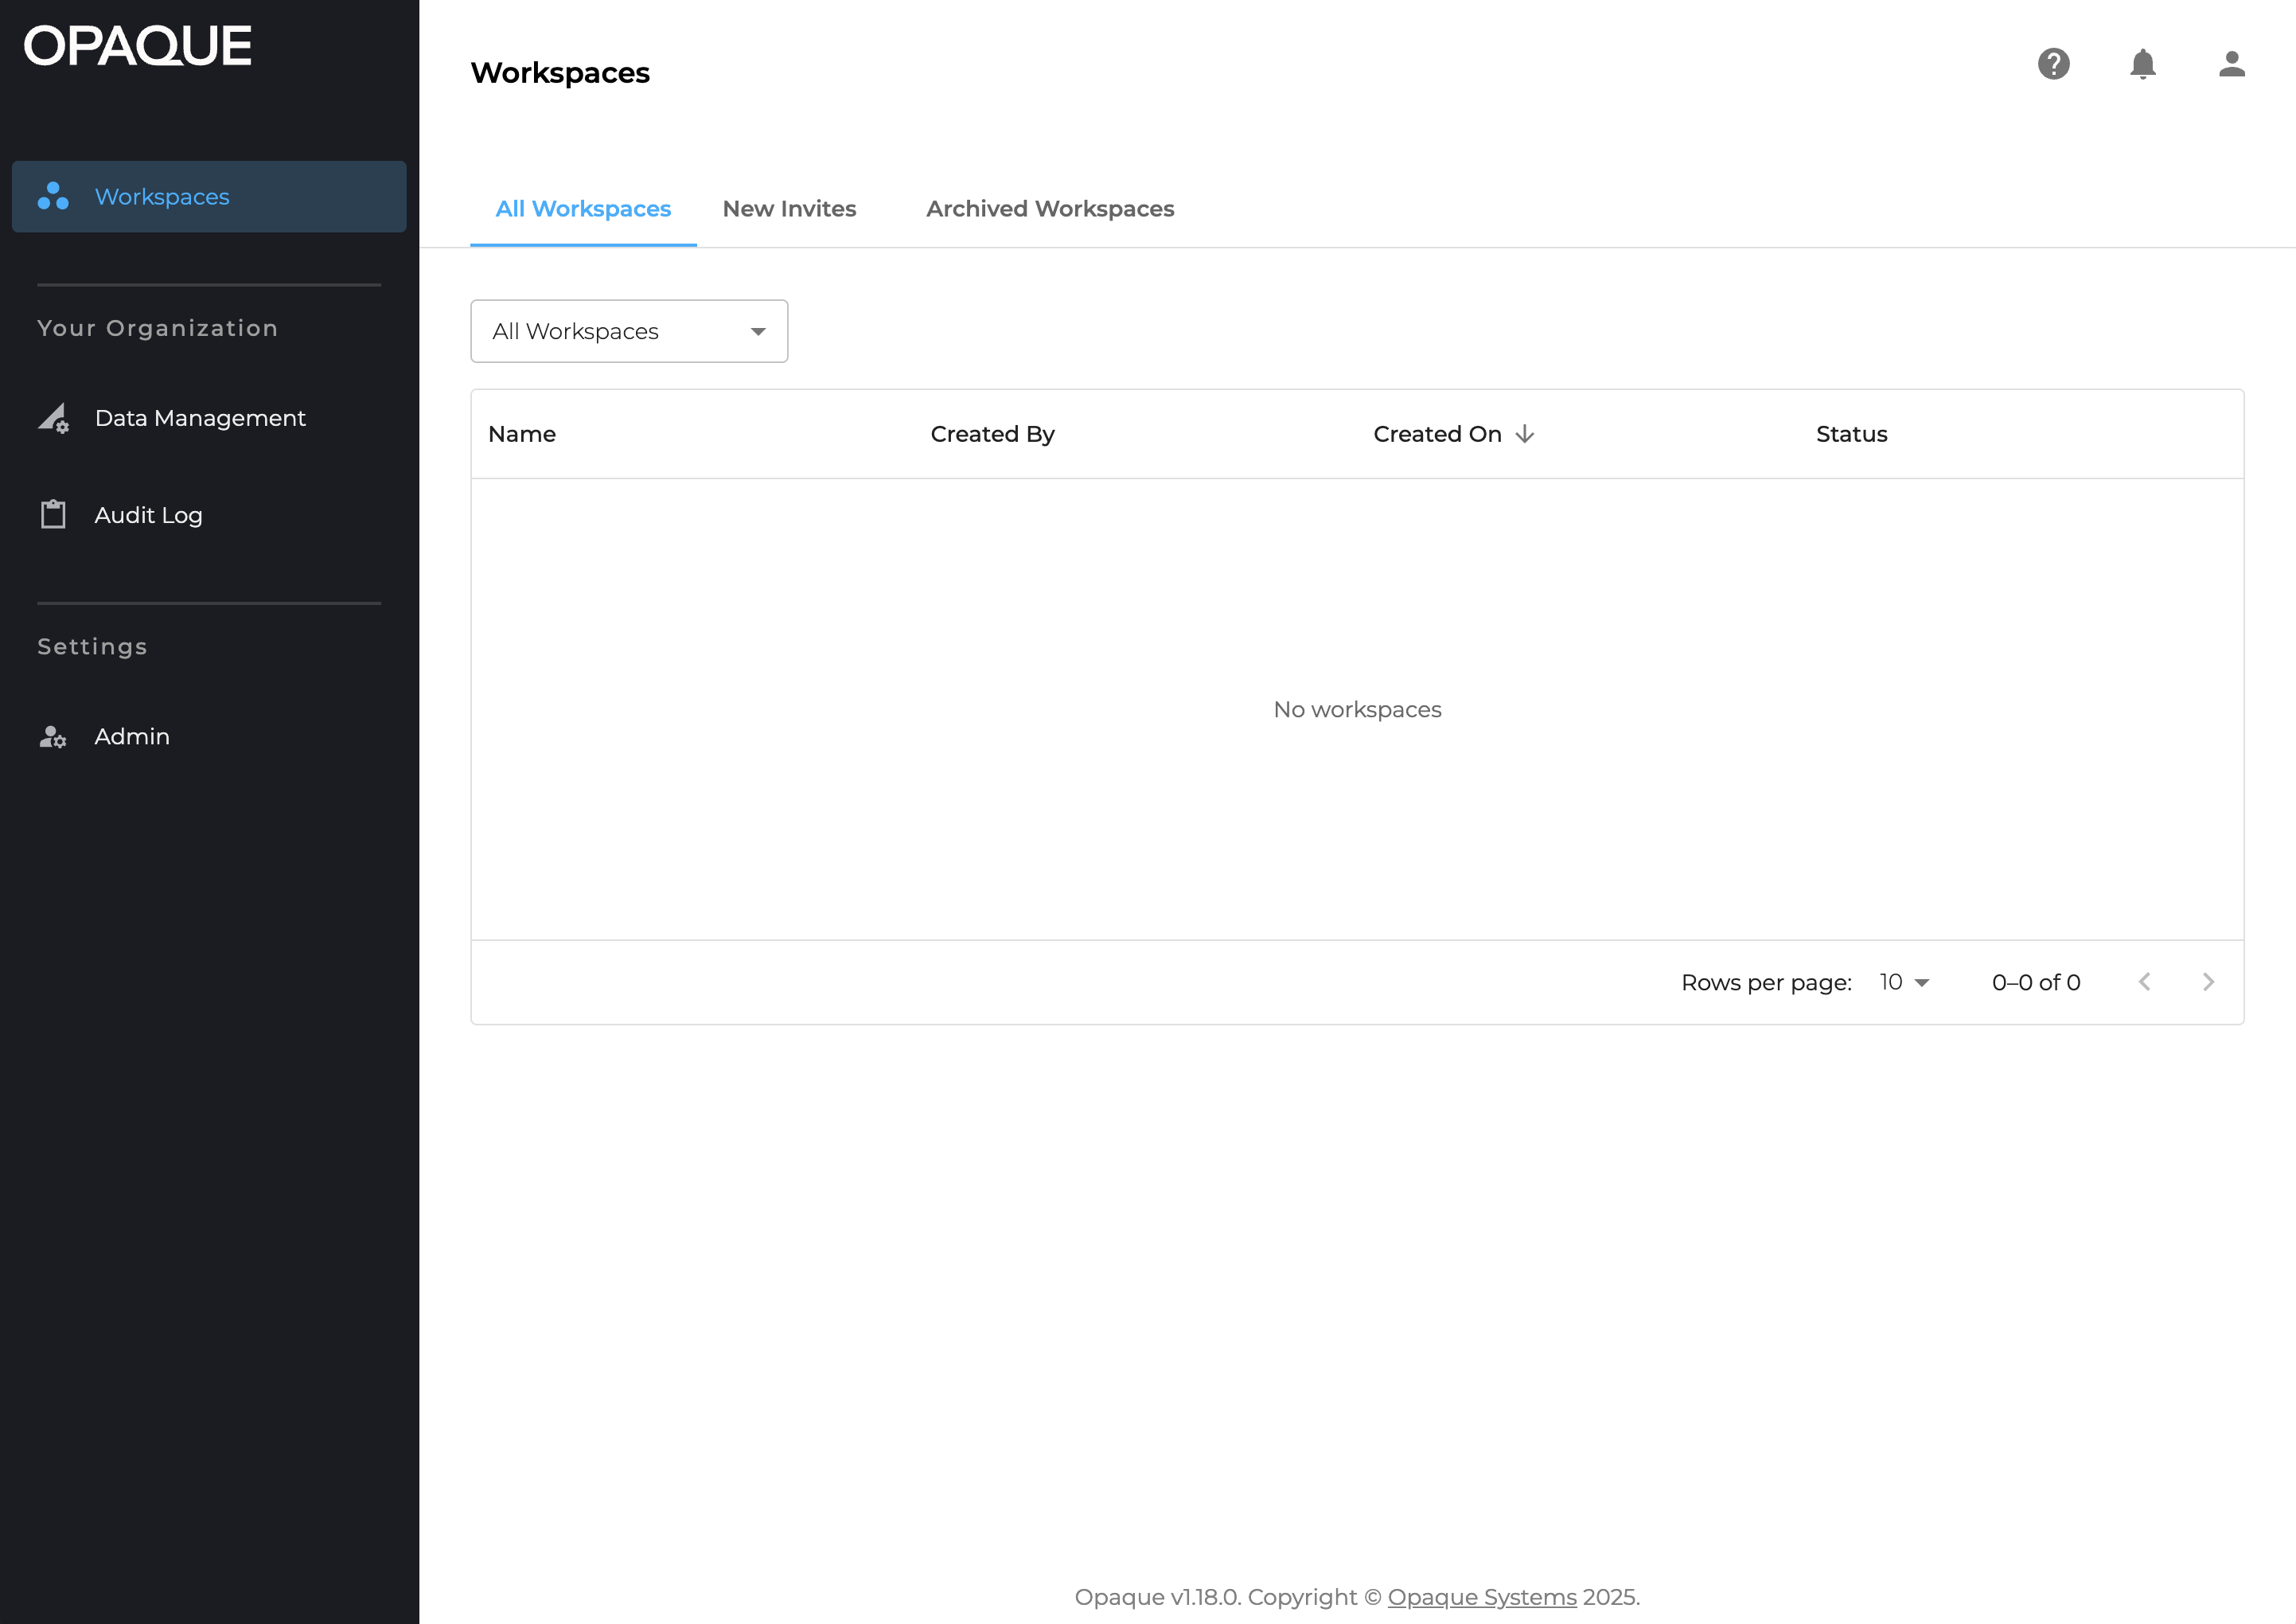
Organization admin view: Only org admins can access the Trust center and manage all users (Admin).
Workspace admin view
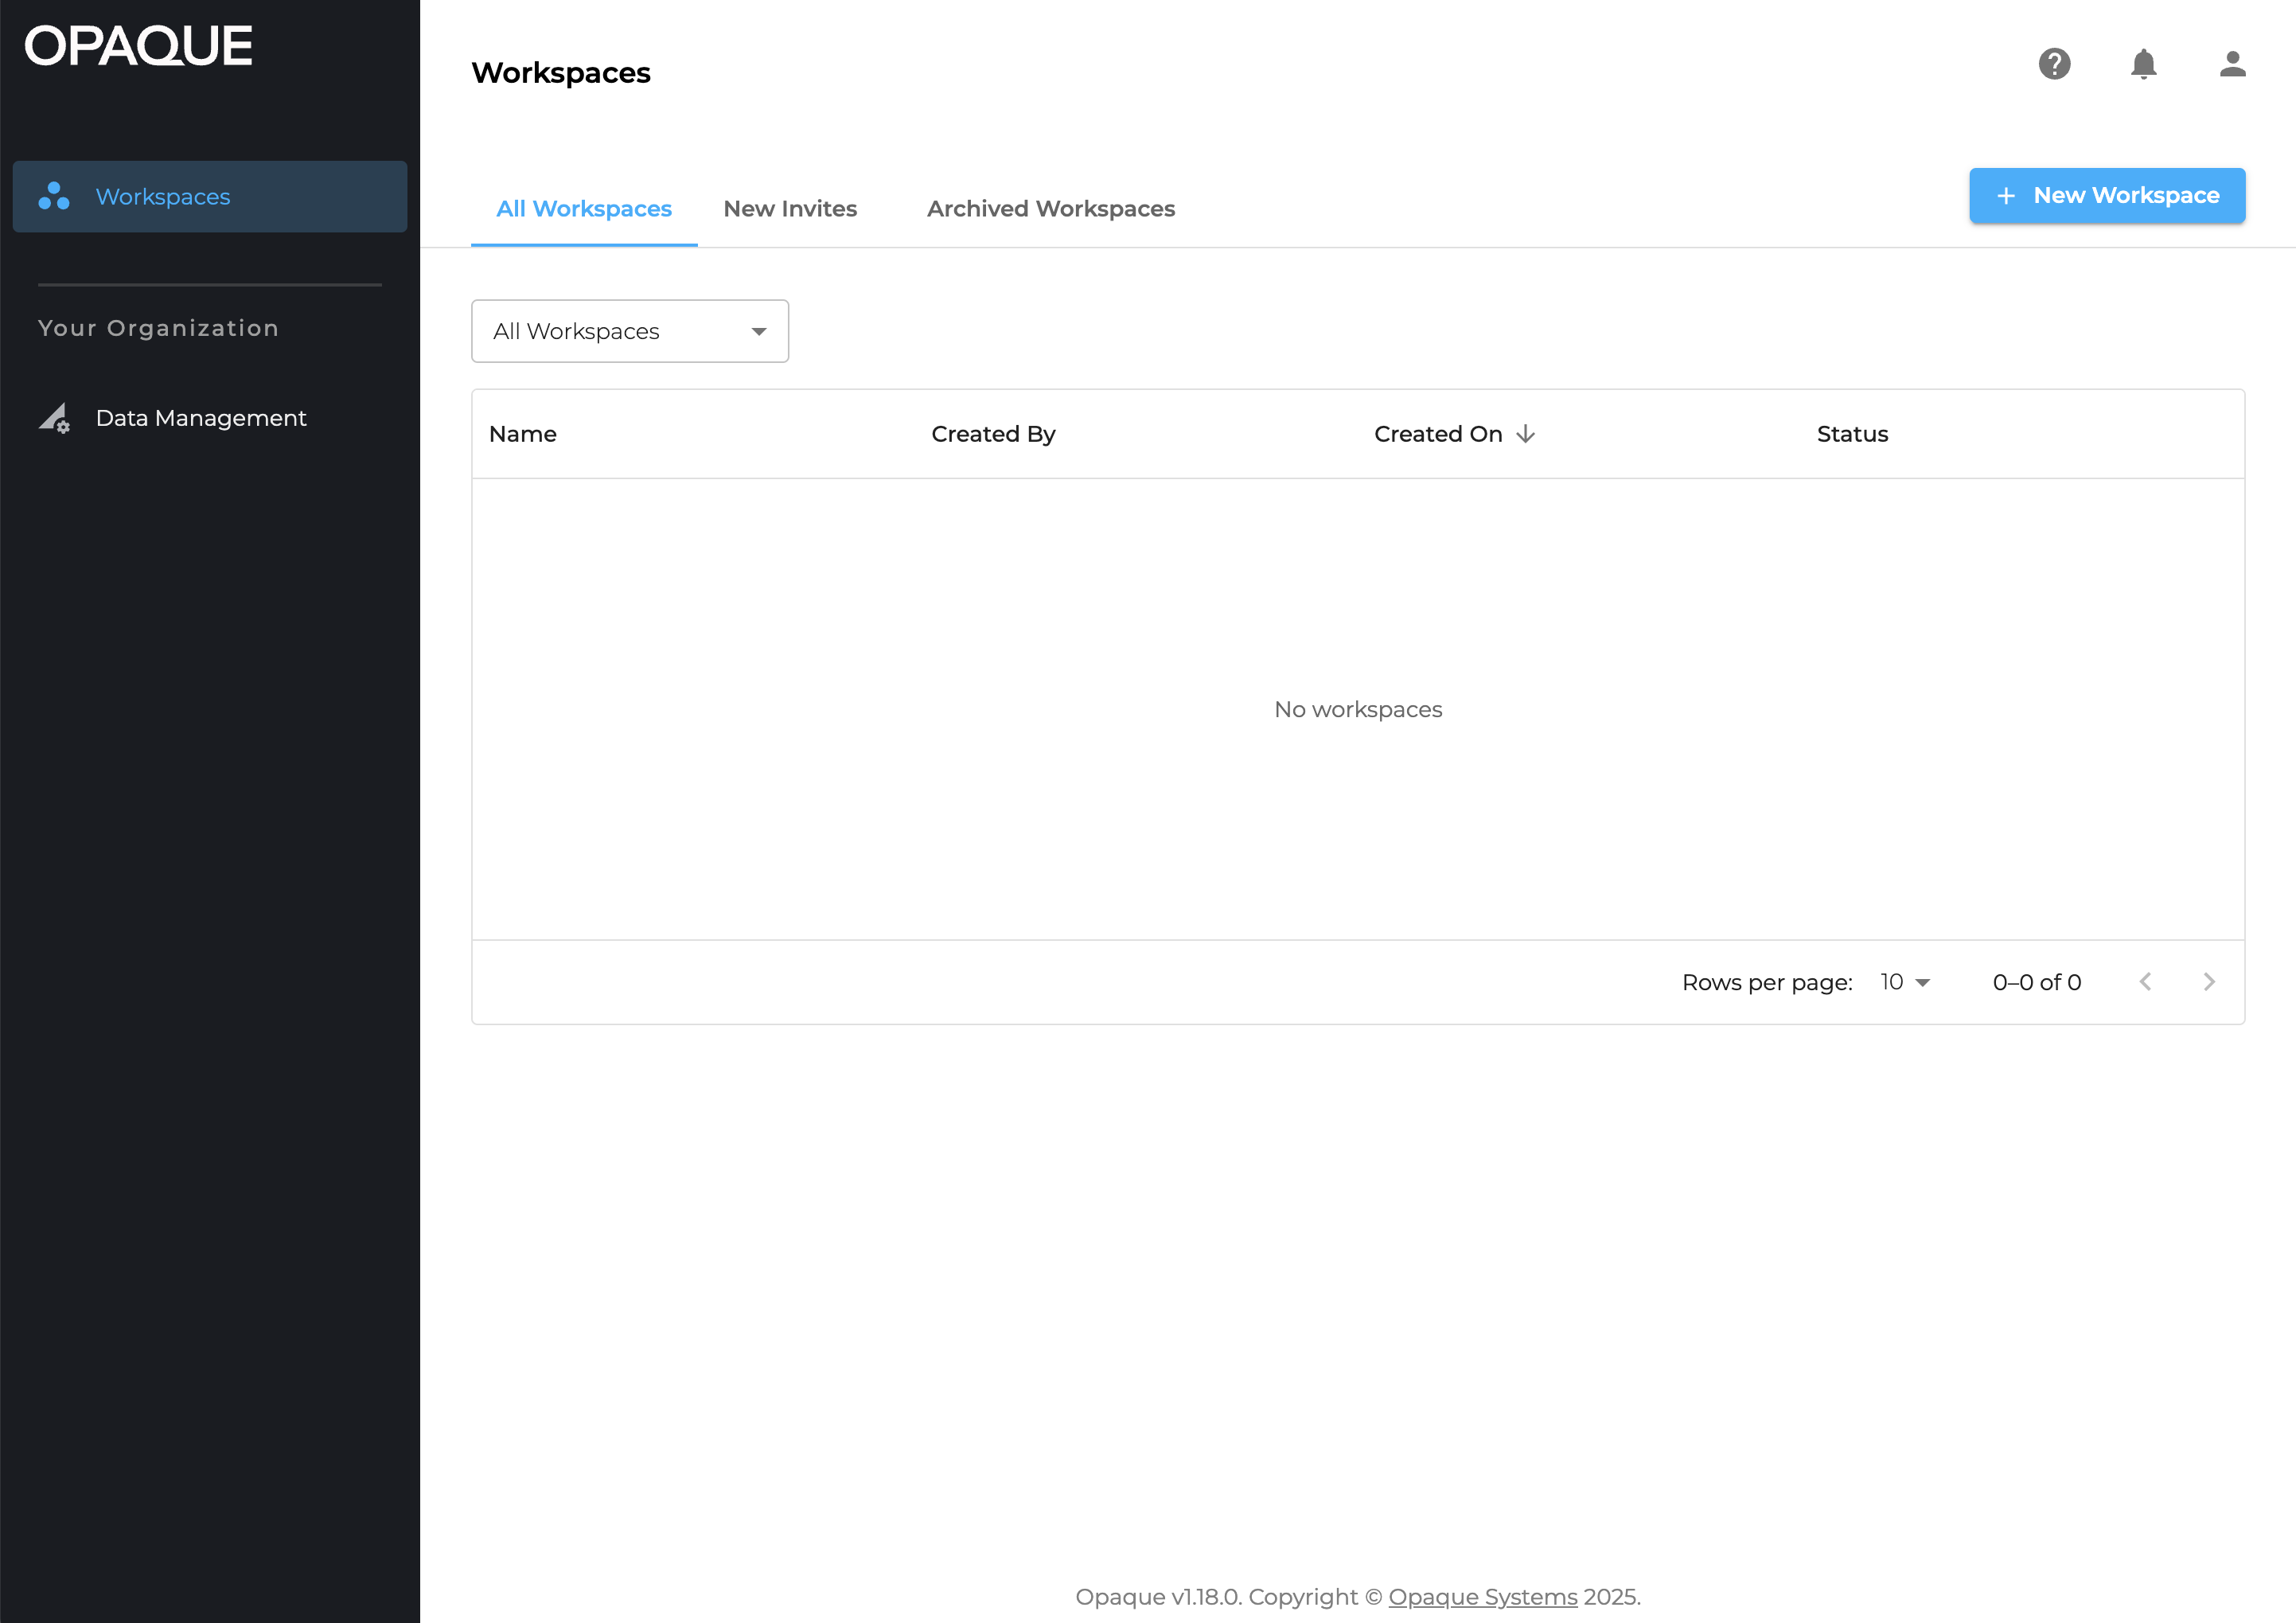
The Workspace admin view: Only workspace admins can create workspaces.
Workspace member view
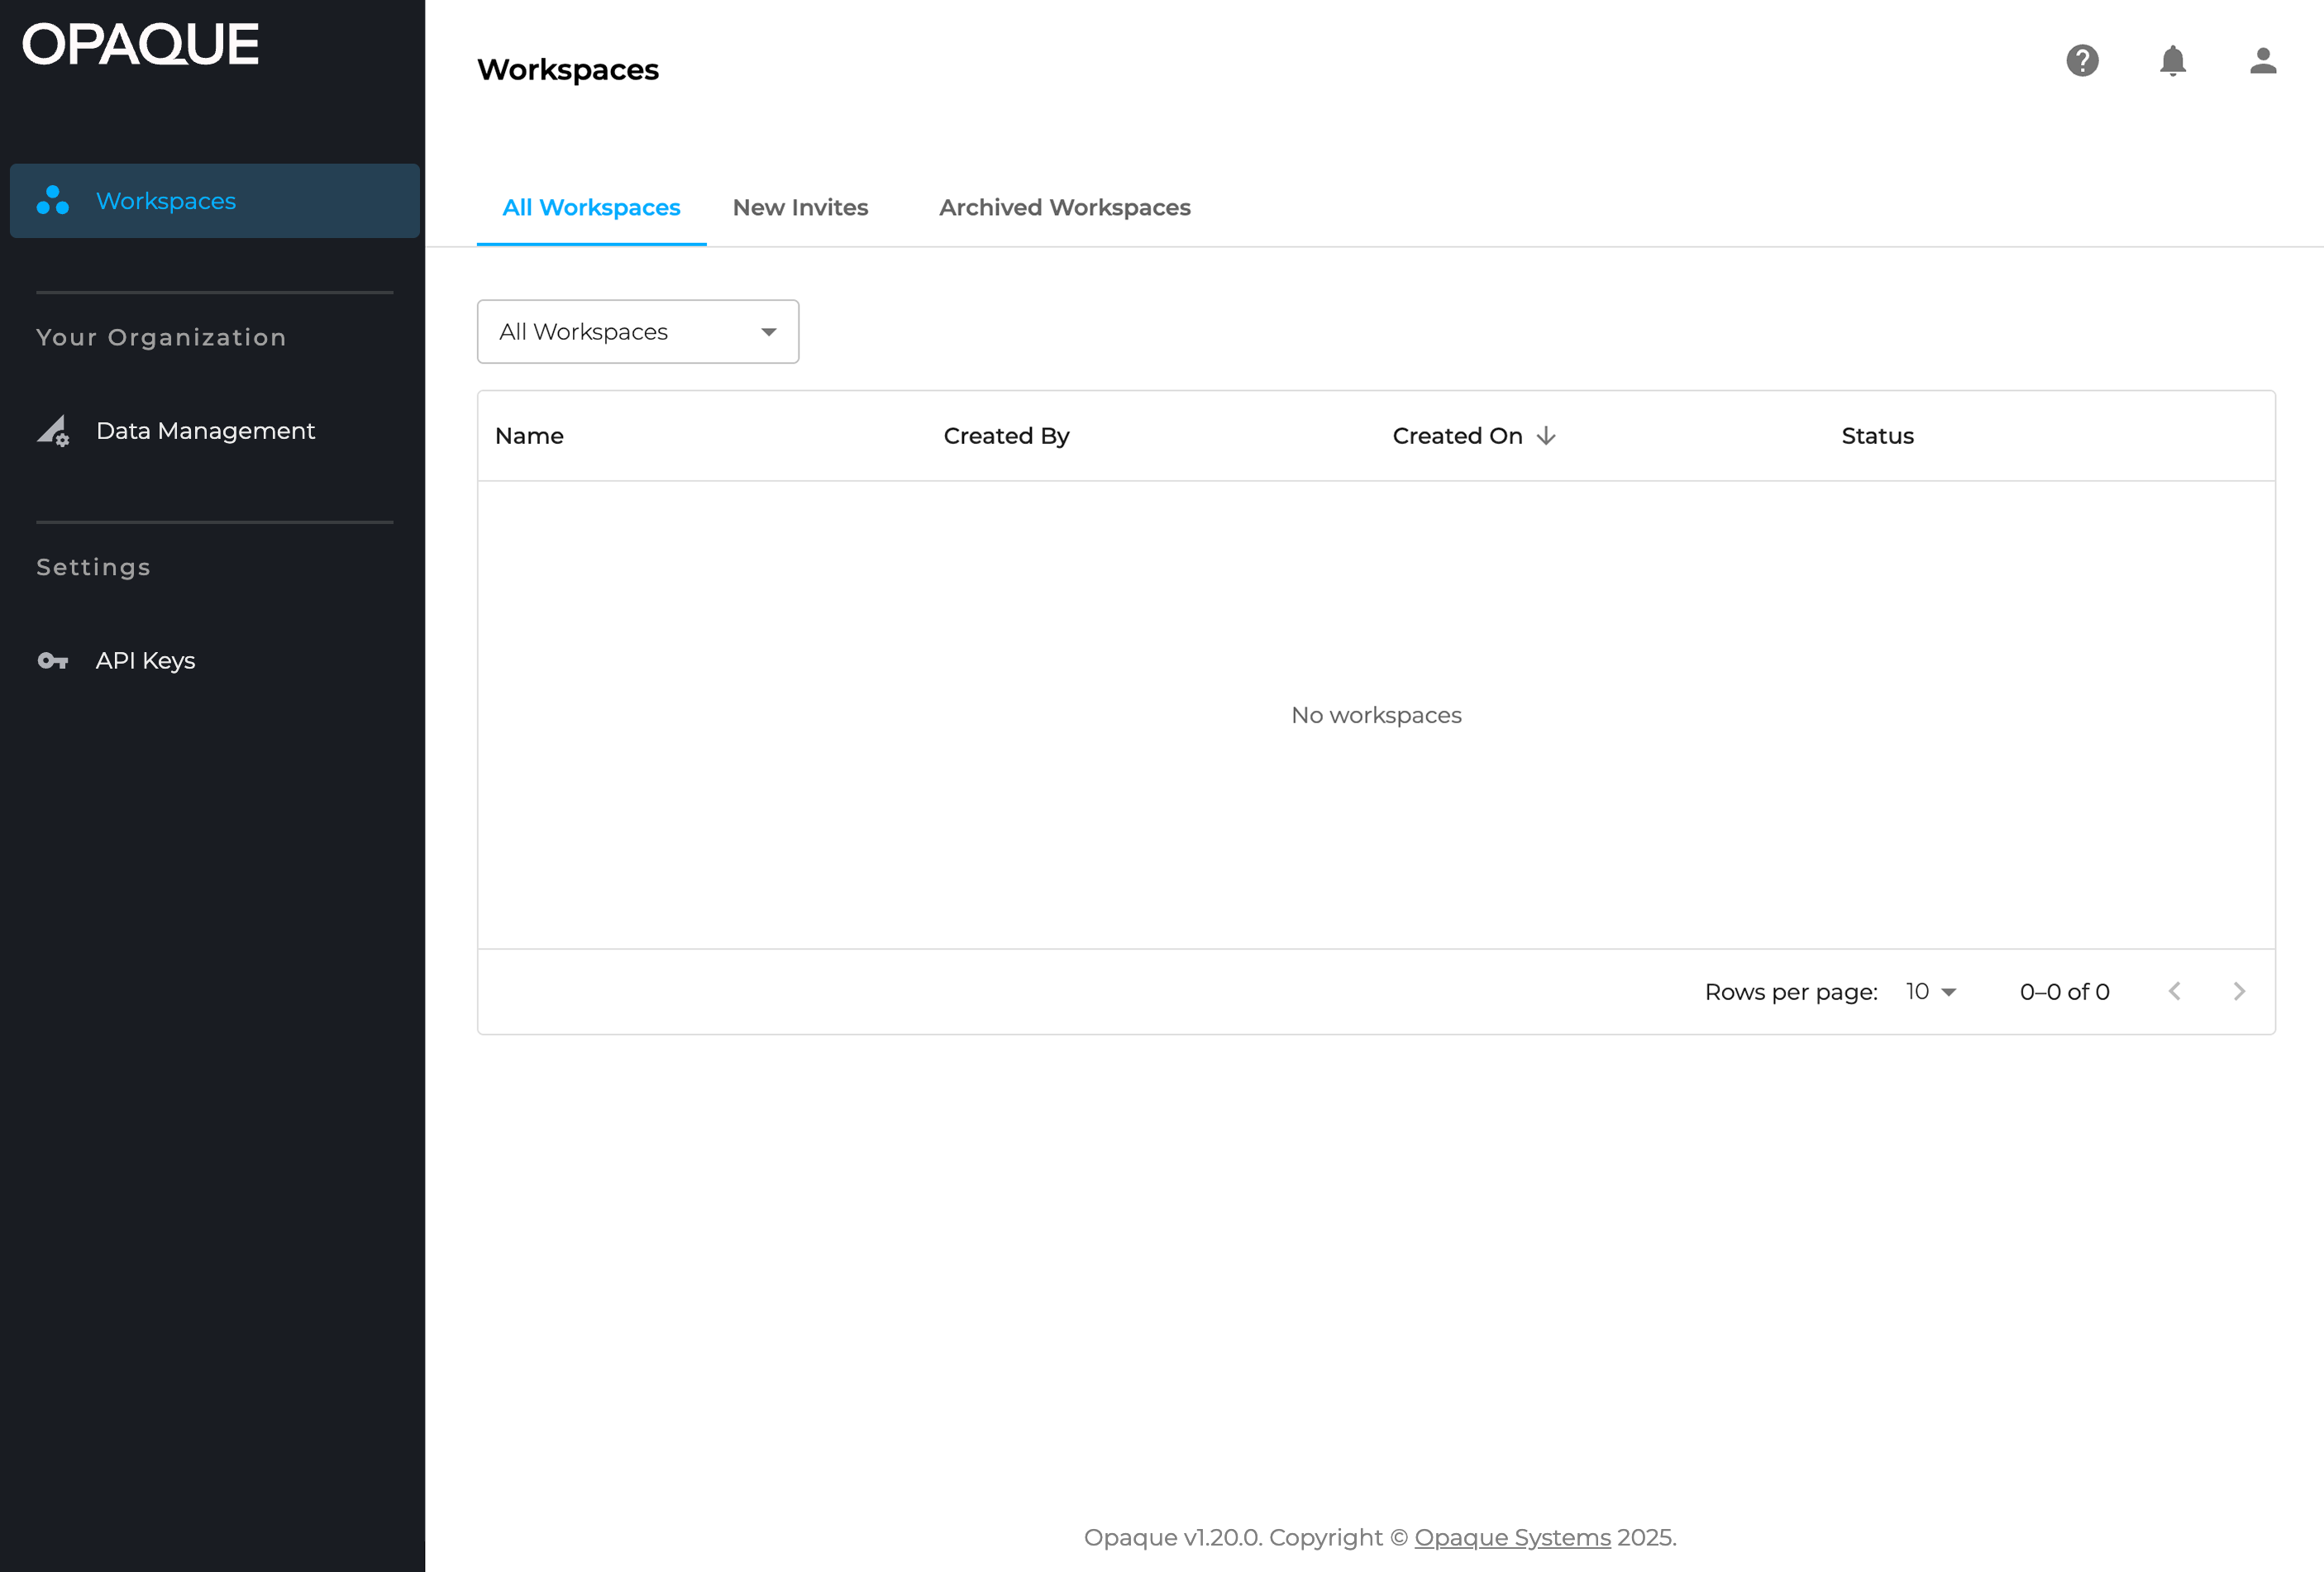
The workspace member view after first sign-in.
Page view
This section updates based on the item selected in the navigation panel. This is where you configure workflows, complete tasks, view data, and interact with platform features.
Utility nav
Use the icons in the top-right corner to access:
- Help (): Access the OPAQUE user guide.
- Notifications (): View alerts and system messages.
- User account (): View your sign-in email and log out.
Notifications
Notifications keep you informed about important events in Opaque asnd include:
- Workspace management updates (workspace admins): Status updates related to workspace creation, review, or configuration.
- Data and analytics activity: Notifications related to dataset uploads, sharing, and job status (for example, when a job completes or fails).
Each notification includes a brief description, a timestamp, and a link to the relevant page or action.
To view notifications:
- Click the bell () icon in the upper-right corner of the interface.
- Notifications are sorted with the most recent first.
- Use the toggle to show only unread notifications.
- Use filters to display unread, read, or all notifications.
- Click a notification to open the related page or action.
Once opened, notifications are marked as read.
Configuring your view
Many pages in Opaque display data in tables that you can customize using sorting and filtering controls.
To adjust how rows are displayed, hover over a column header and click the menu that appears.
- Sort by ASC sorts rows in ascending order based on that column's values (A to Z, or earliest to most recent date and time).
- Sort by DESC sorts rows in descending order based on that column's values (Z to A, or most recent to earliest date and time).
- Filter enables you to set conditions based on that column, to display only rows that meet the specified condition.
-
Unsort restores the default ordering of that table. This command appears only after a sort has been applied.
Note
A table accepts only one active filter at a time.