Get started
To create or manage notebook jobs, open an Analytics & ML workspace and select Notebook Jobs.
This opens the Notebook Jobs page, which lists all jobs in the workspace. From here, you can:
- Monitor job status
- Access job details
- Filter, review, or rerun jobs
Step 1: Draft your job
To analyze shared data in a workspace, create a job and define a query using one or more datasets.
Create a job
- In your Analytics & ML workspace, go to Jobs → Notebook Jobs and click New Job.
- Enter a name (max 50 characters) and optional description (max 150 characters).
- (Optional) Enable Request approval for reruns if you plan to rerun this job.
- Click Save.
Your new job opens on the Query tab; any shared datasets appear in the Datasets panel.
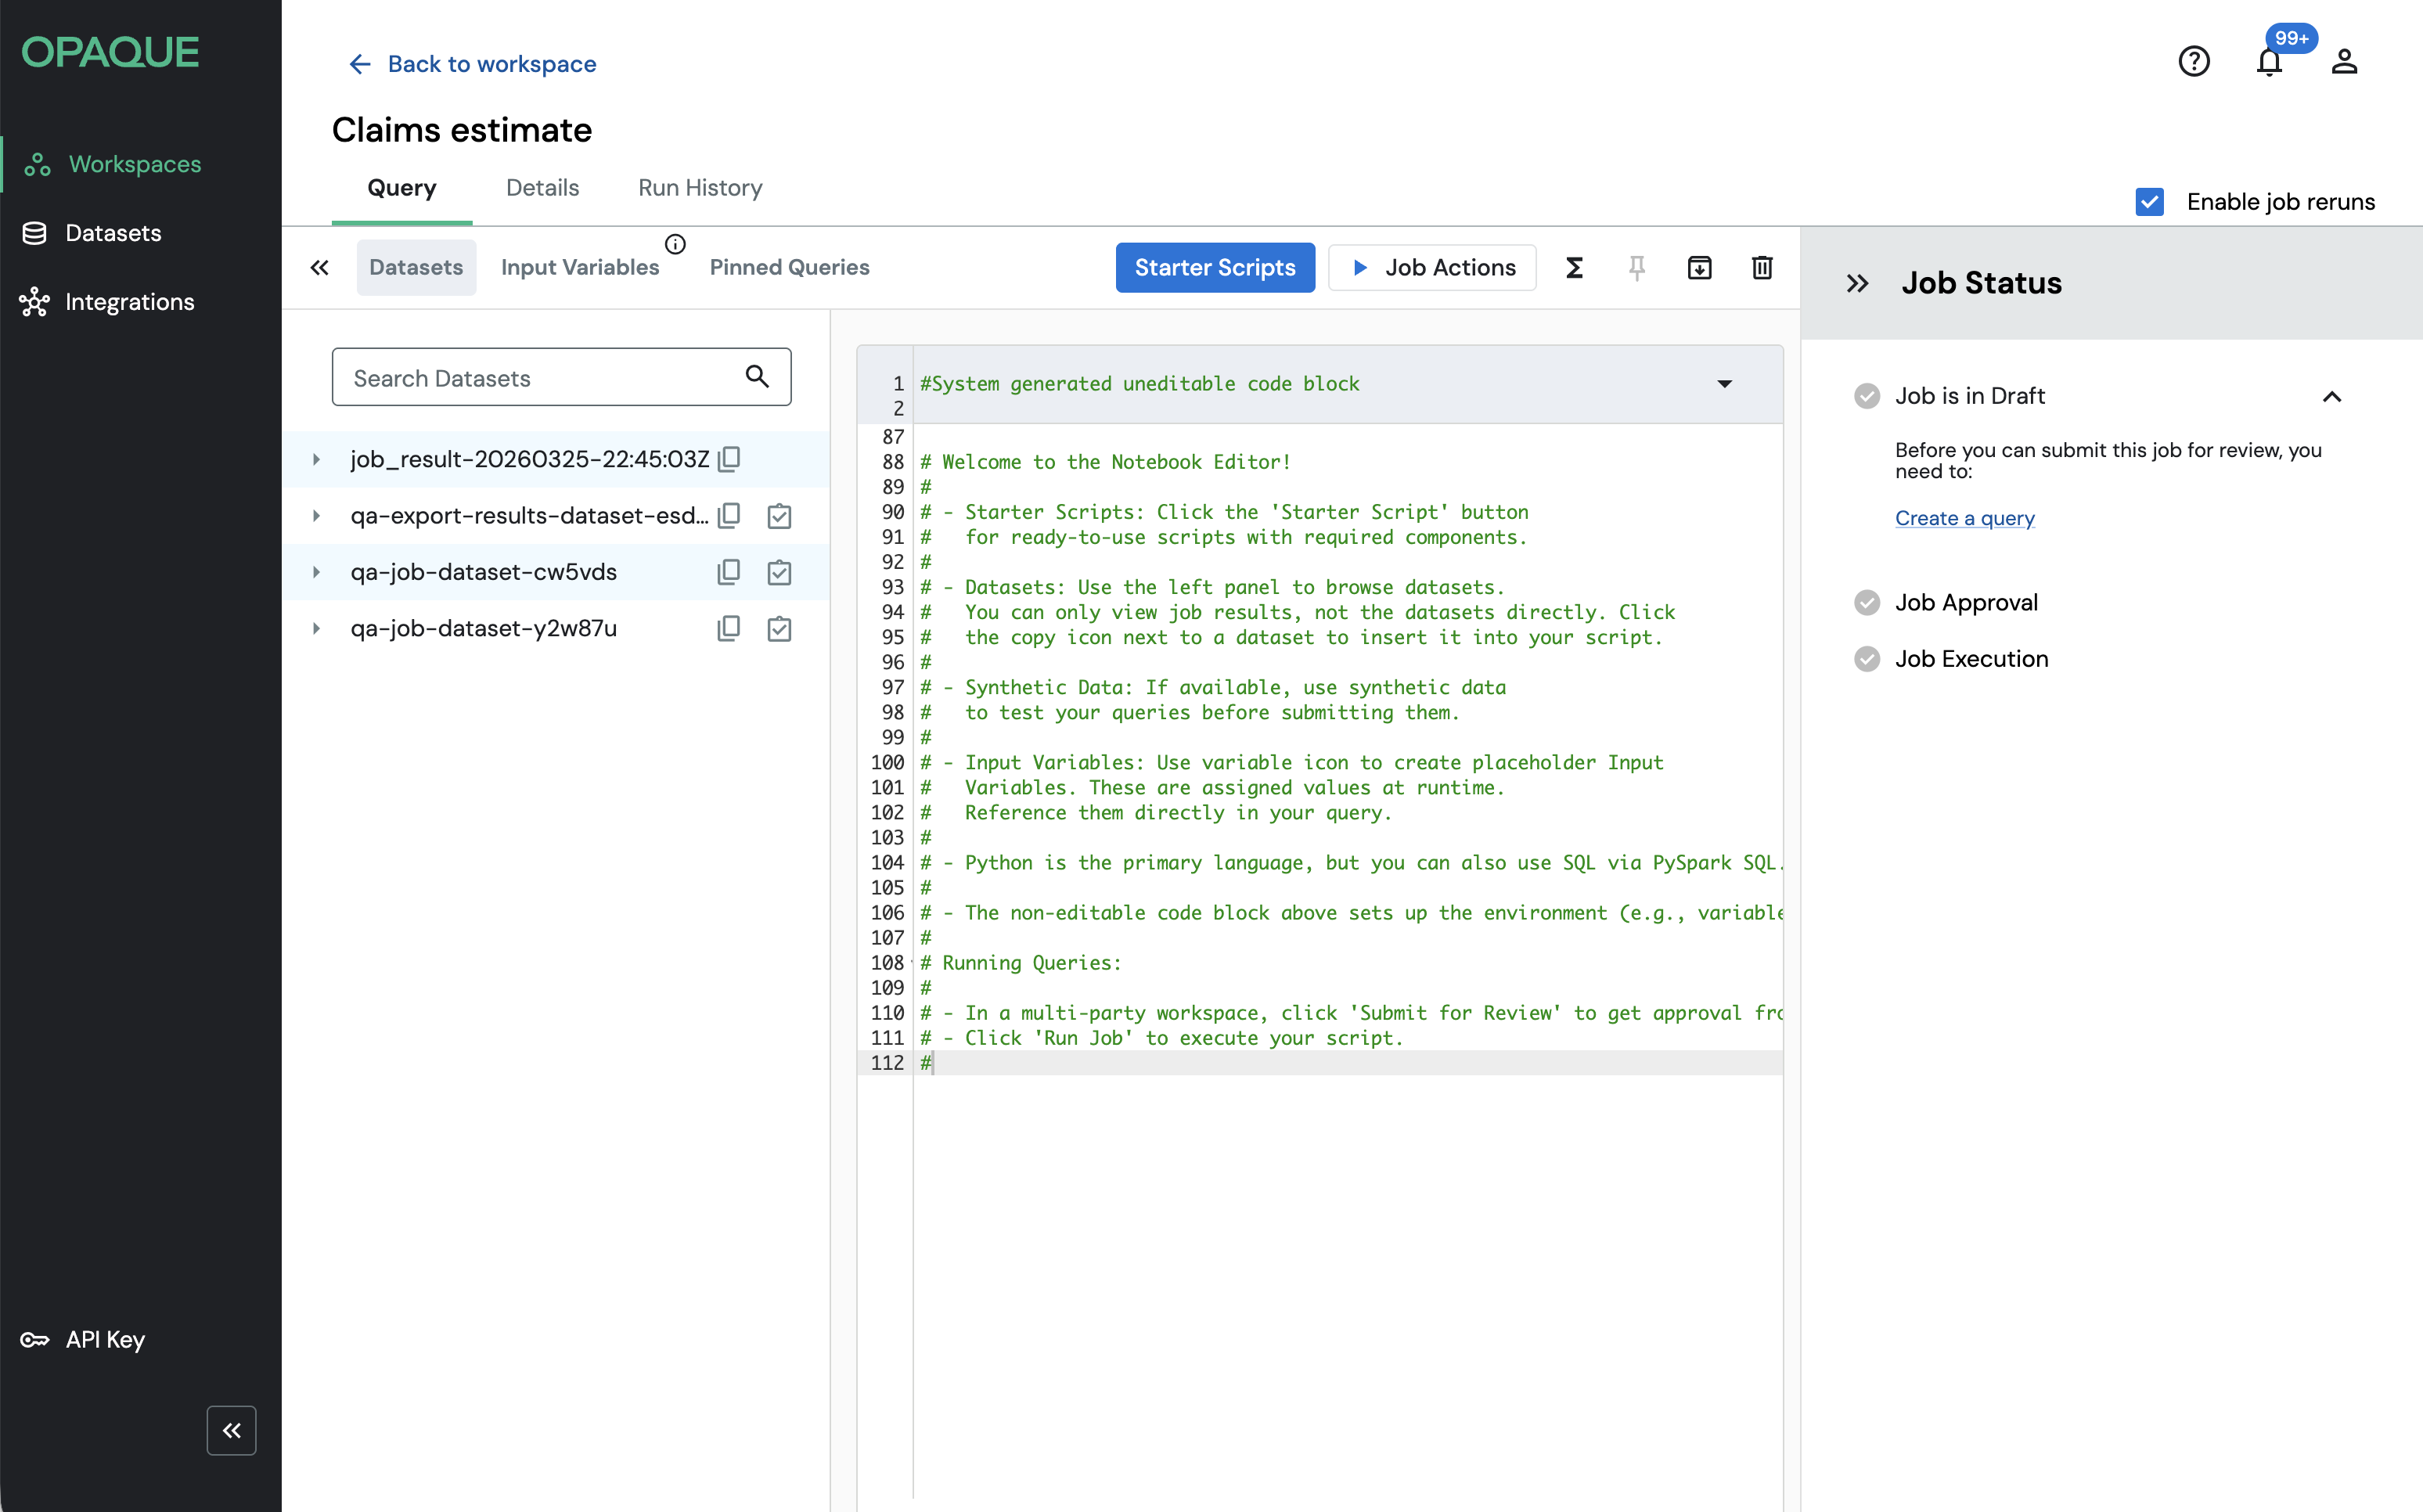
Write your query
The new job opens on the Query tab, where datasets shared with the workspace appear in the Datasets panel.
In the Query editor, write your logic using Python (PySpark) or PySpark SQL.
- We recommend starting with a starter script, which provides the required structure for loading encrypted datasets and saving results.
- See Write queries for details on using starter scripts and referencing datasets.
- Note: Inserting a starter script replaces the current contents of the editor.
Edits are saved automatically. You can return at any time to continue writing or test your logic using synthetic data.
While in draft, the job and its query are visible to all workspace members.
Test your job
While your job is in draft, you can test it using synthetic data. This helps validate your logic without exposing real data.
To test your job:
- Complete your query in the editor.
- Click Job Actions → Test on mock data.
- Open the Run History tab to view test results and logs.
Note
The dataset must have test data available. Look for the clipboard icon next to the dataset name in the sidebar.
You can continue editing the job until it is submitted for review or run. Once under review, it becomes read-only (you can cancel review to return to draft). After a job is run, it can no longer be edited. For more information on testing, see Use test data.
Step 2: Prepare for review
This step applies only to multiparty workspaces. In single-party workspaces, you can skip it.
Submit your job for review
When your job is ready for approval, click Submit for Review.
- The job status changes from Draft to Under Review.
- Workspace members are notified.
- You can track responses in the Job Status panel.
Known limitation
Notifications are general status updates, not individual review requests. You may need to notify reviewers separately.
Revise and resubmit (if rejected)
If a reviewer rejects the job:
- Open the Job Status panel and review the comment.
- On the Query tab, click Cancel Review to move the job back to Draft.
- Update your query and resubmit for review.
Review a job
To review a notebook job:
- On the Jobs list page, select the job name, or click View job in your Notifications.
- In the Query tab, review the query, variables, and metadata.
- You can also test the job using synthetic data.
- View those test results to validate the logic before submitting your review.
- Click Accept Job or Reject Job.
- If rejecting, you must provide a comment.
- Comments are visible to all workspace members.
- Click Submit.
You cannot change your review after submission.
Note
If the job includes input variables, you must confirm both Reviewed? checkboxes before approving.
Step 3: Run your job
Once all members approve the job, its status changes to Accepted, and it becomes locked.
Only the job creator can run the approved job:
- Go to the Query tab and click Run Job.
- Note that the job's status changes to Queued.
If another job is running, it remains queued until resources are available. Once execution begins, the status updates to Running.
Note
If your job includes input variables, you’ll be prompted to provide values before execution. For details, see Define Input Variable values.
Step 4: Retrieve the results
When a job completes successfully, results are encrypted and stored in your organization’s storage.
- If the job succeeds, you can view or export results.
- If it fails or is canceled, no results are produced—check logs for details.
View logs
Only members of the job creator workspace can access logs.
- In the Query tab, select Logs.
- Review execution details of errors.
- Click Export Logs to download a TXT file.
Export results
Only members of the job creator workspace can view results.
- On the Query tab, select Results to preview the first 100 rows of the job results.
- Click Export Results to download a CSV file.
Rerun a job
After approval, you can rerun a job without resubmitting it for review.
Reruns are useful for recurring workflows, testing across data snapshots, or running with updated inputs.
You can rerun a job as-is or update input variables before execution. Each run is recorded in the Run History, allowing you to compare results across executions.
See Job reruns for details.